Hey y’all!
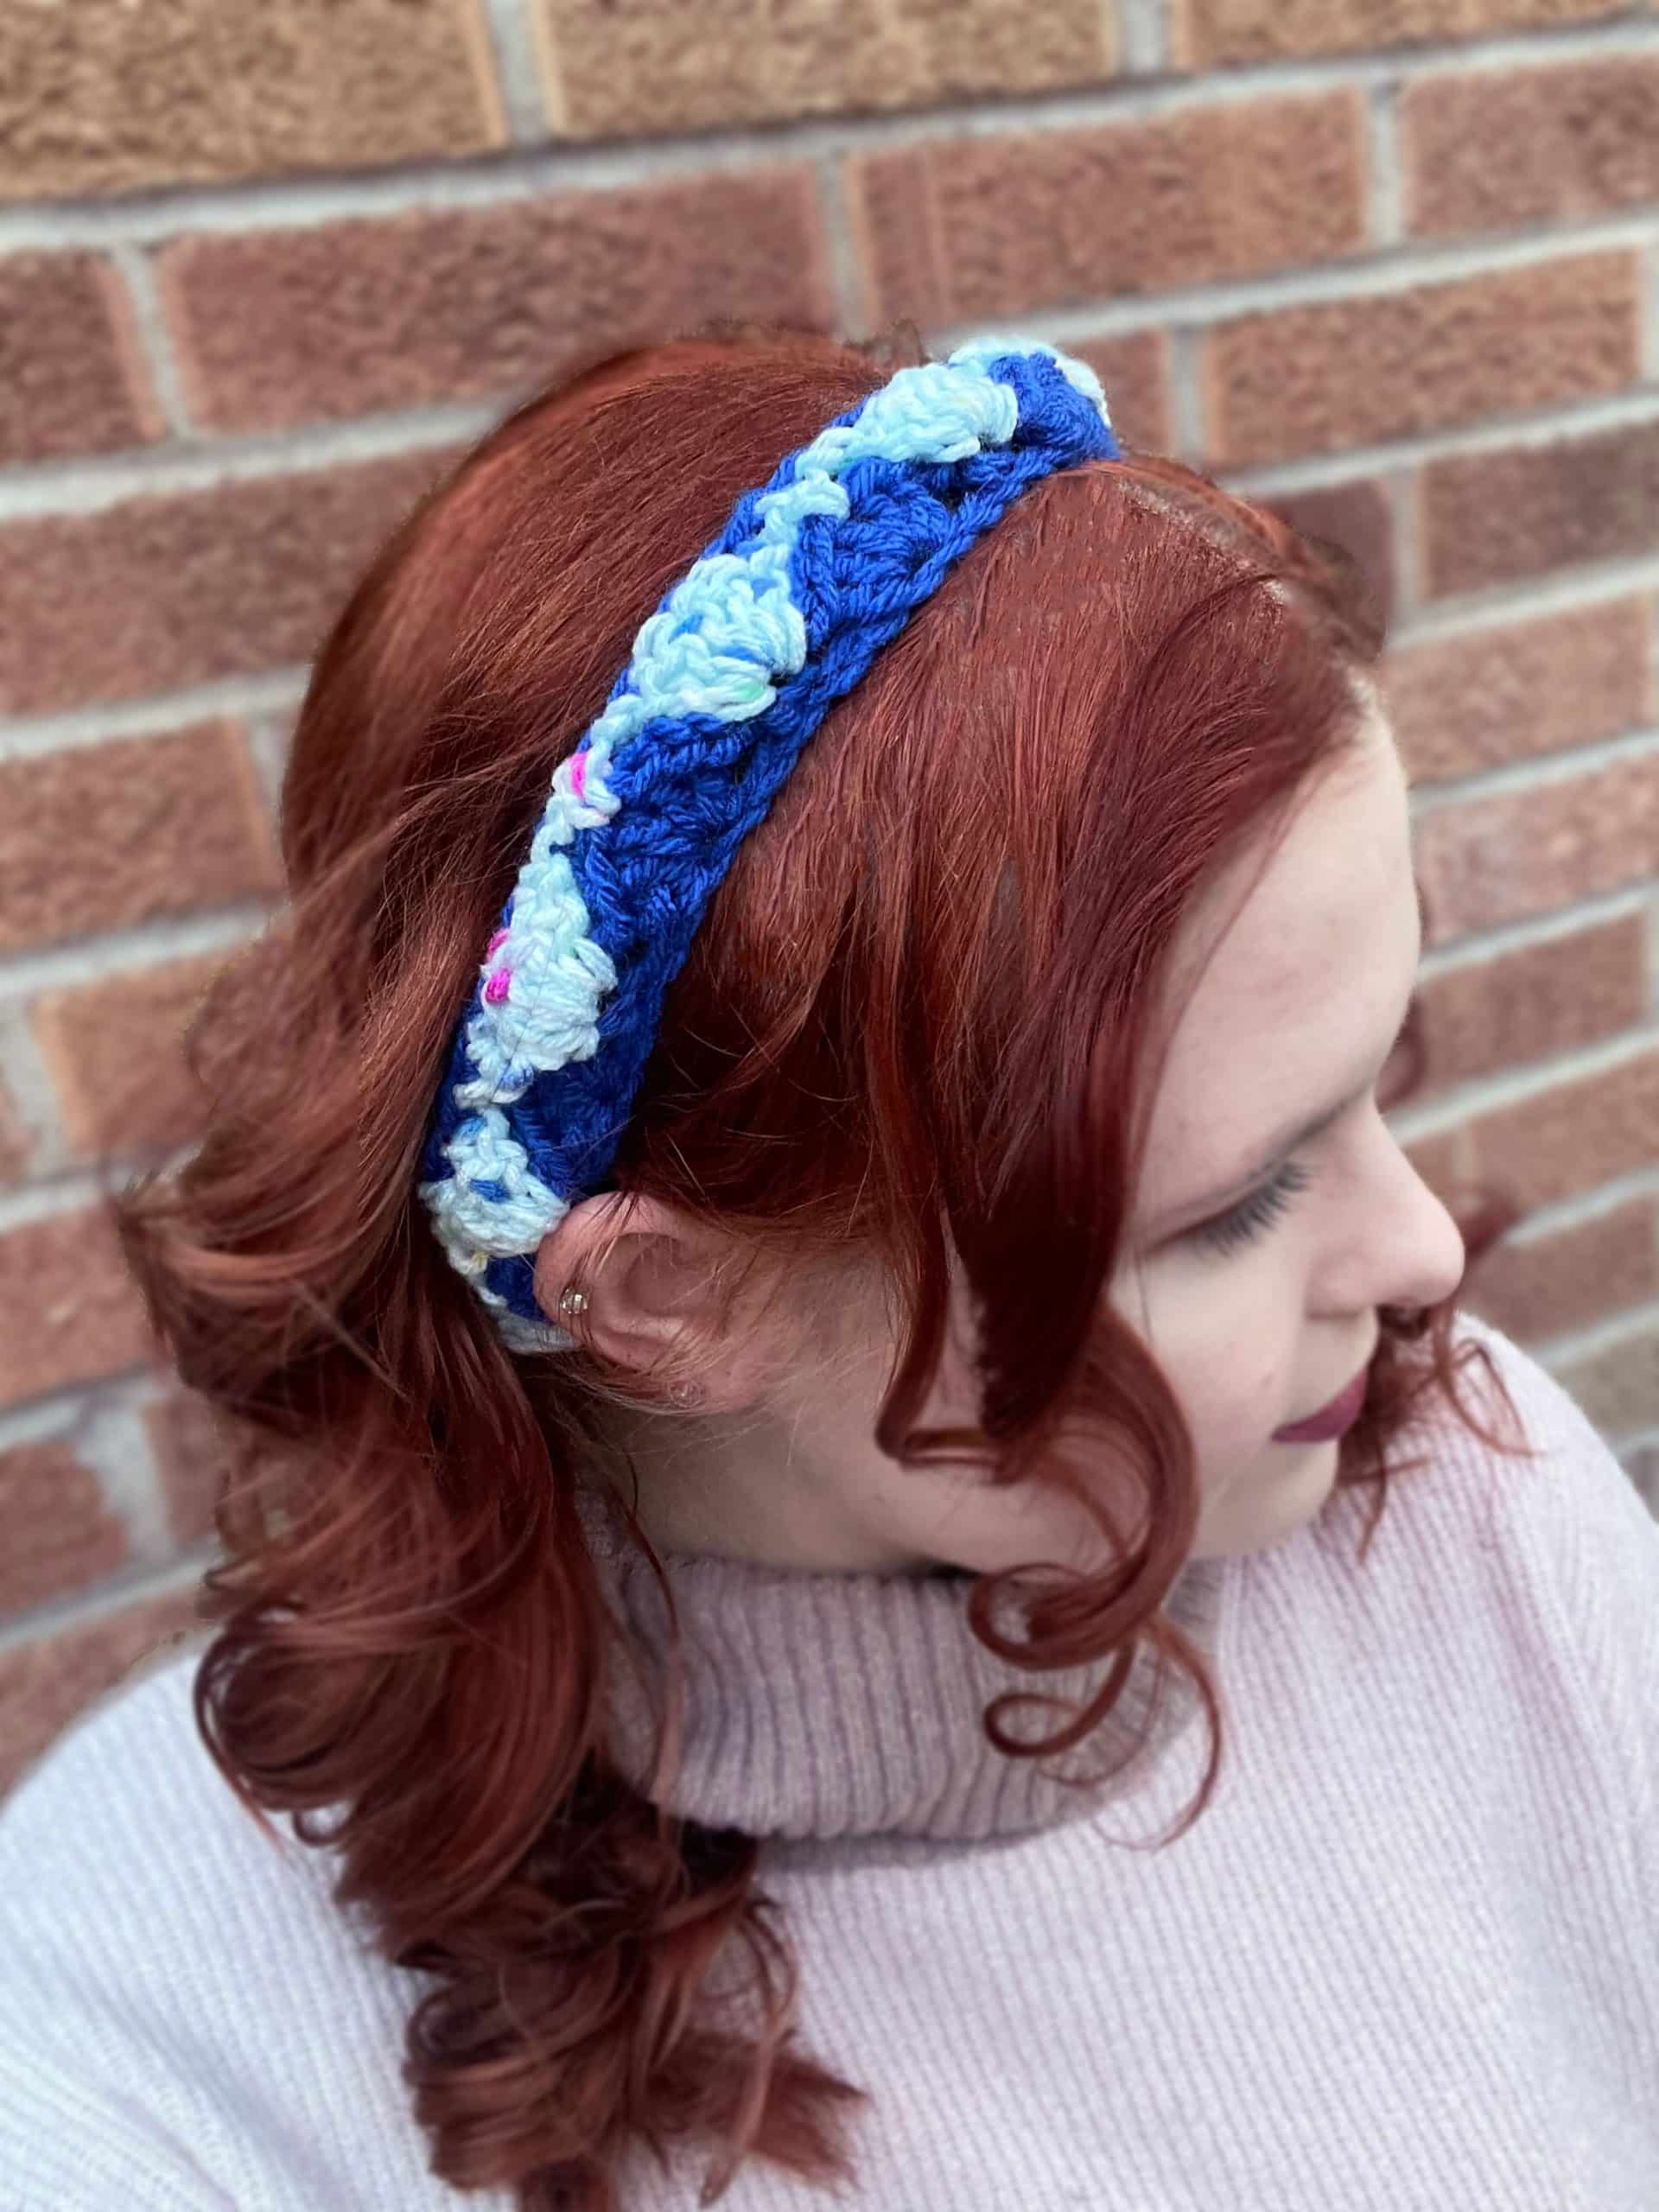
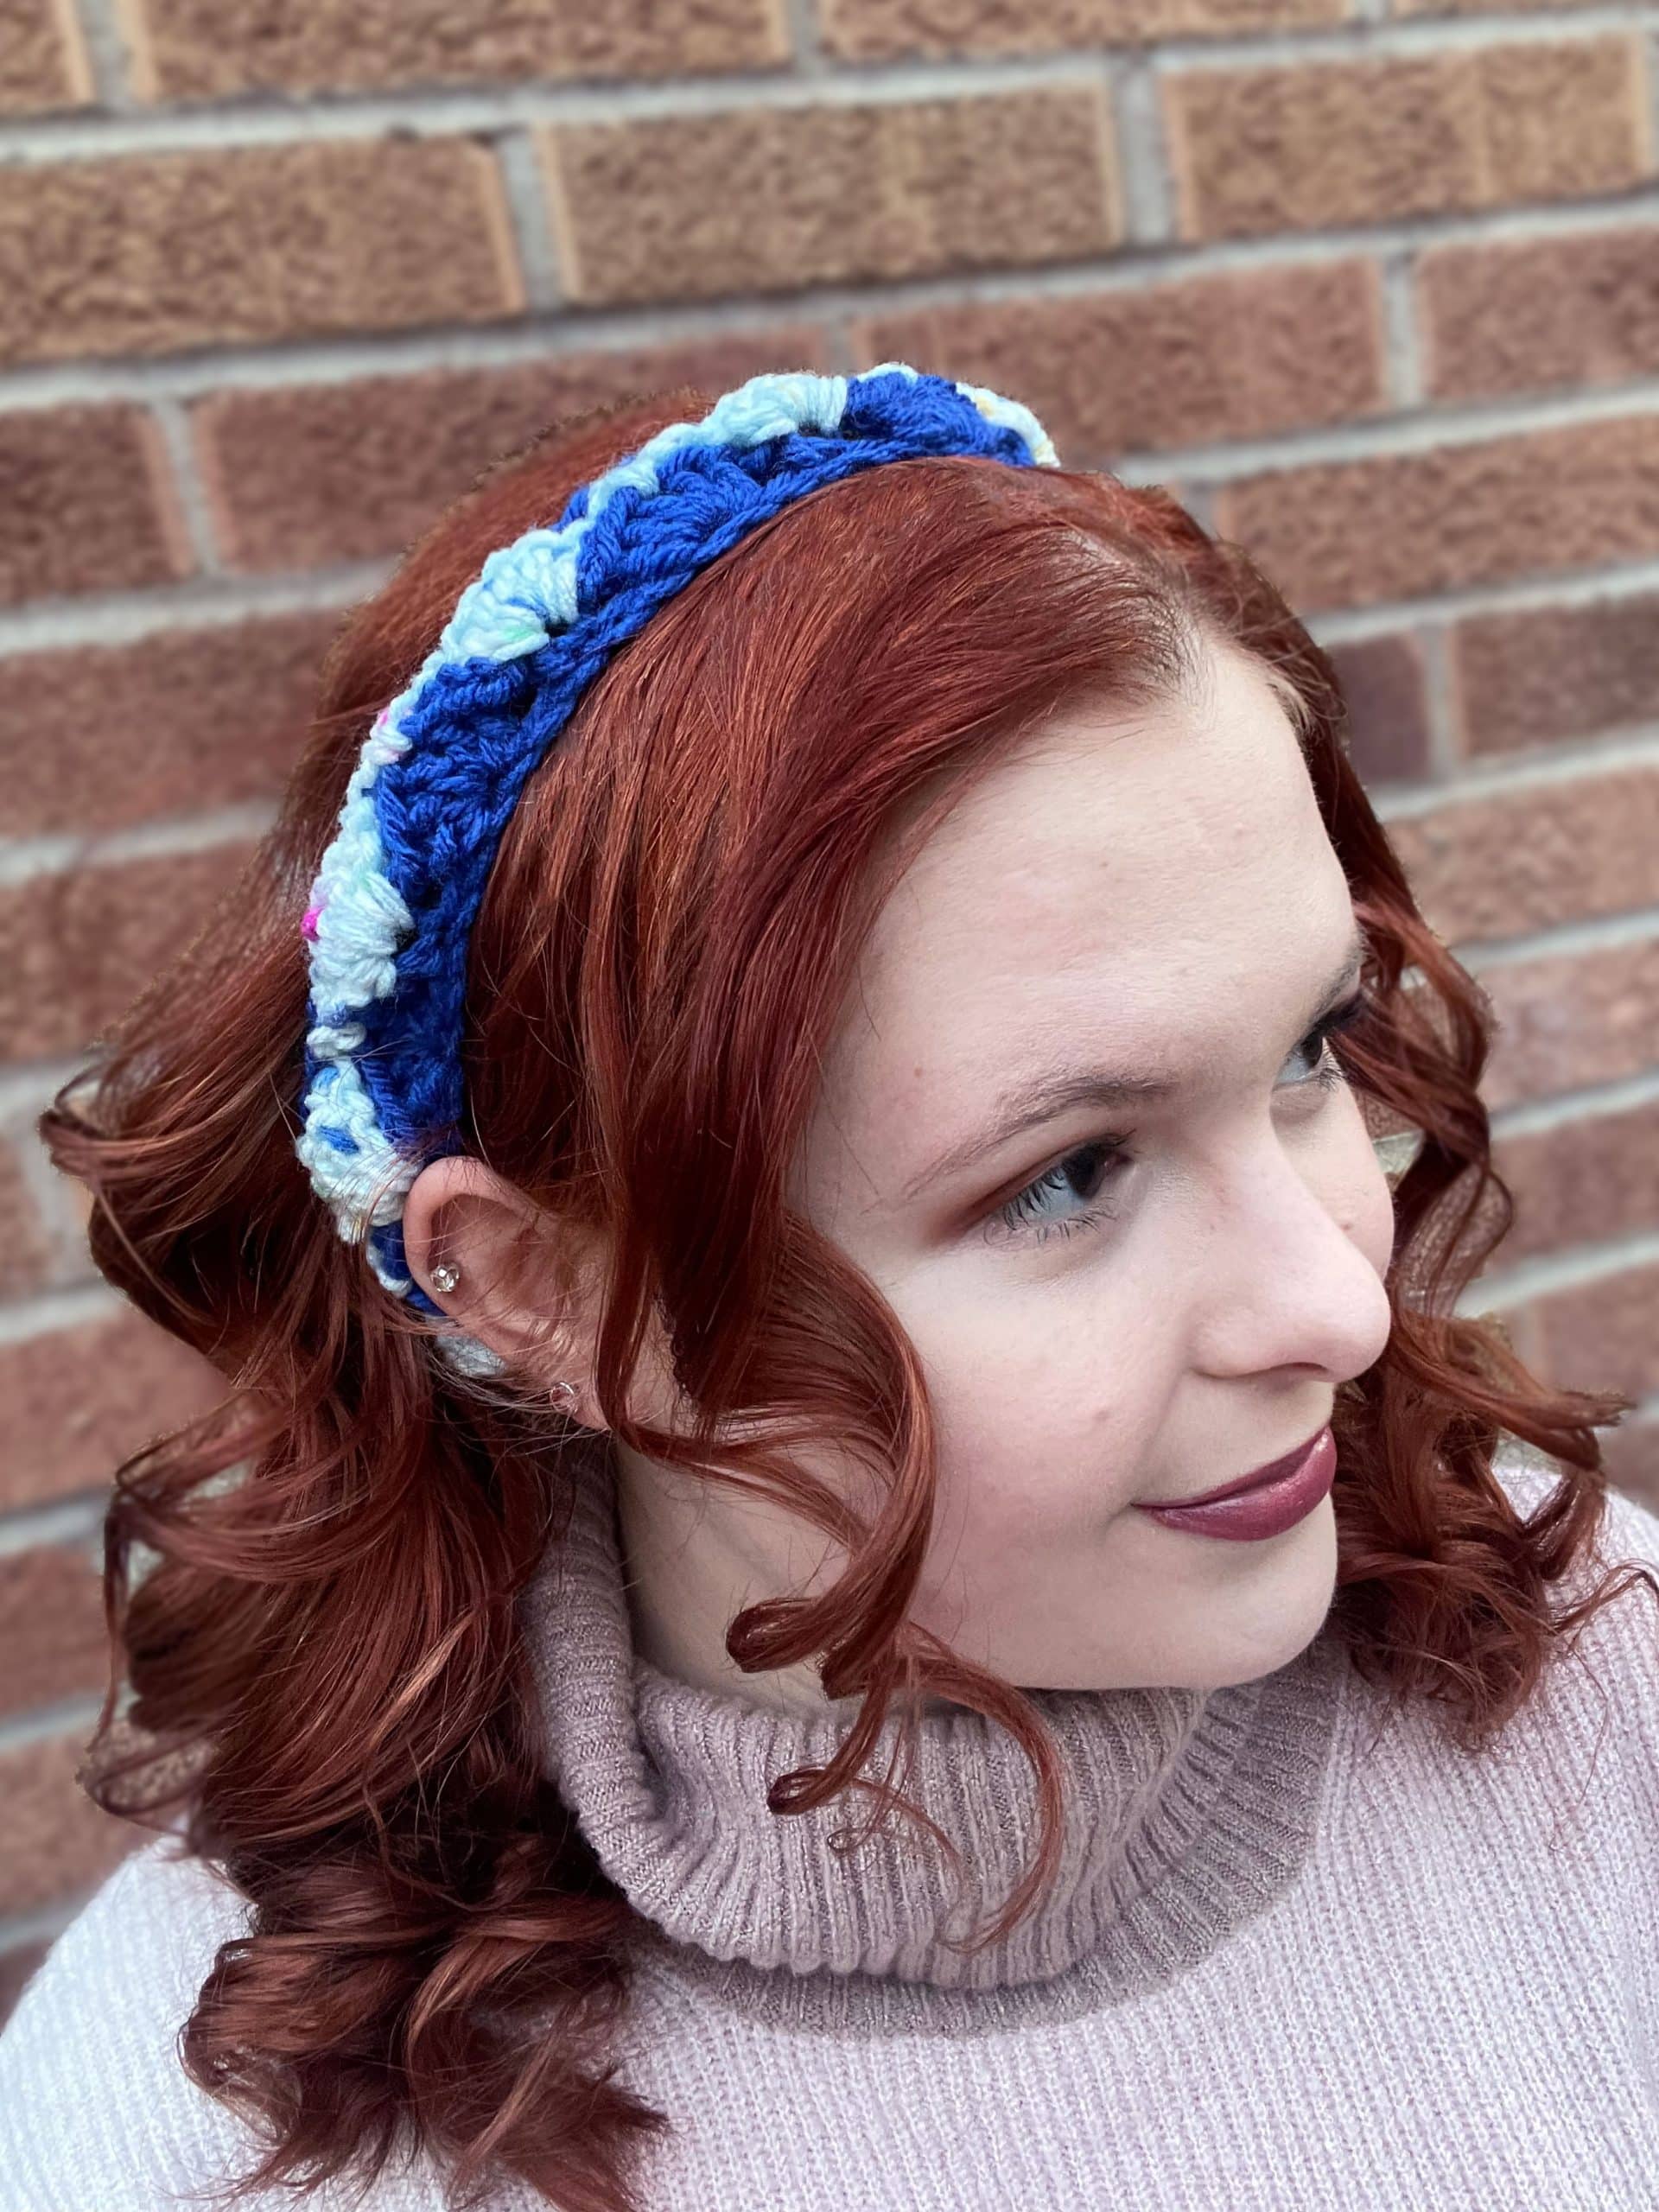
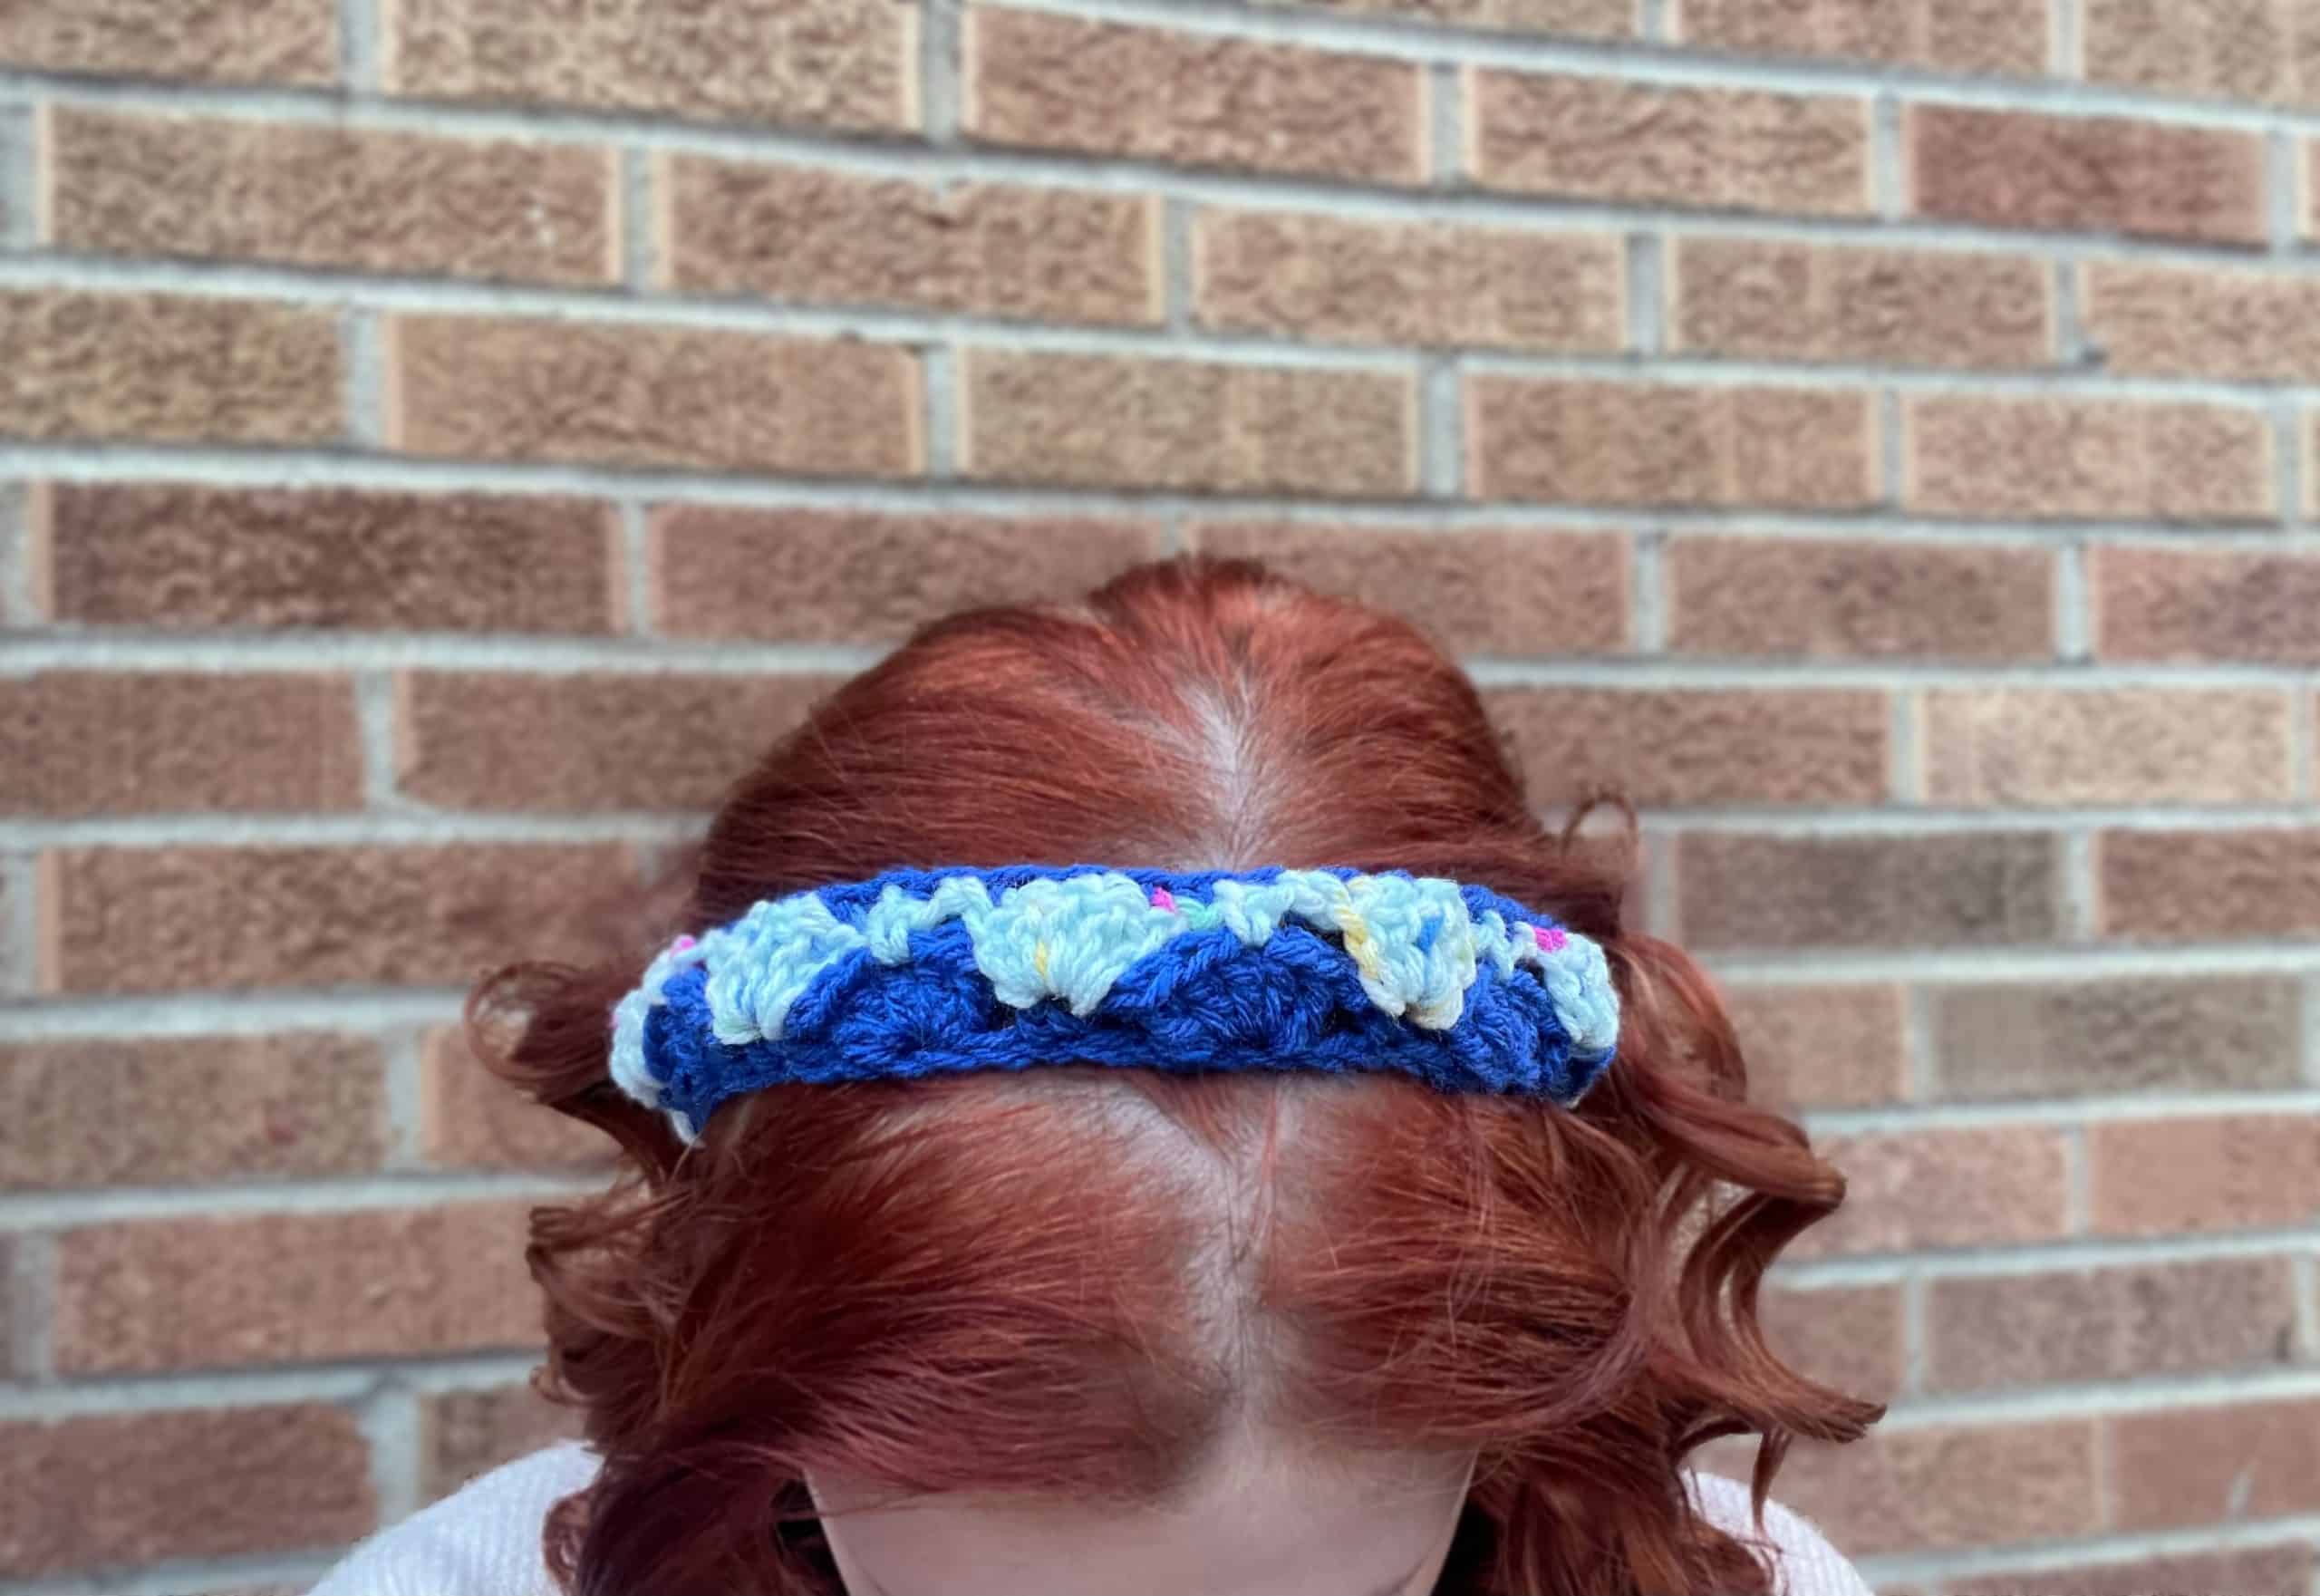
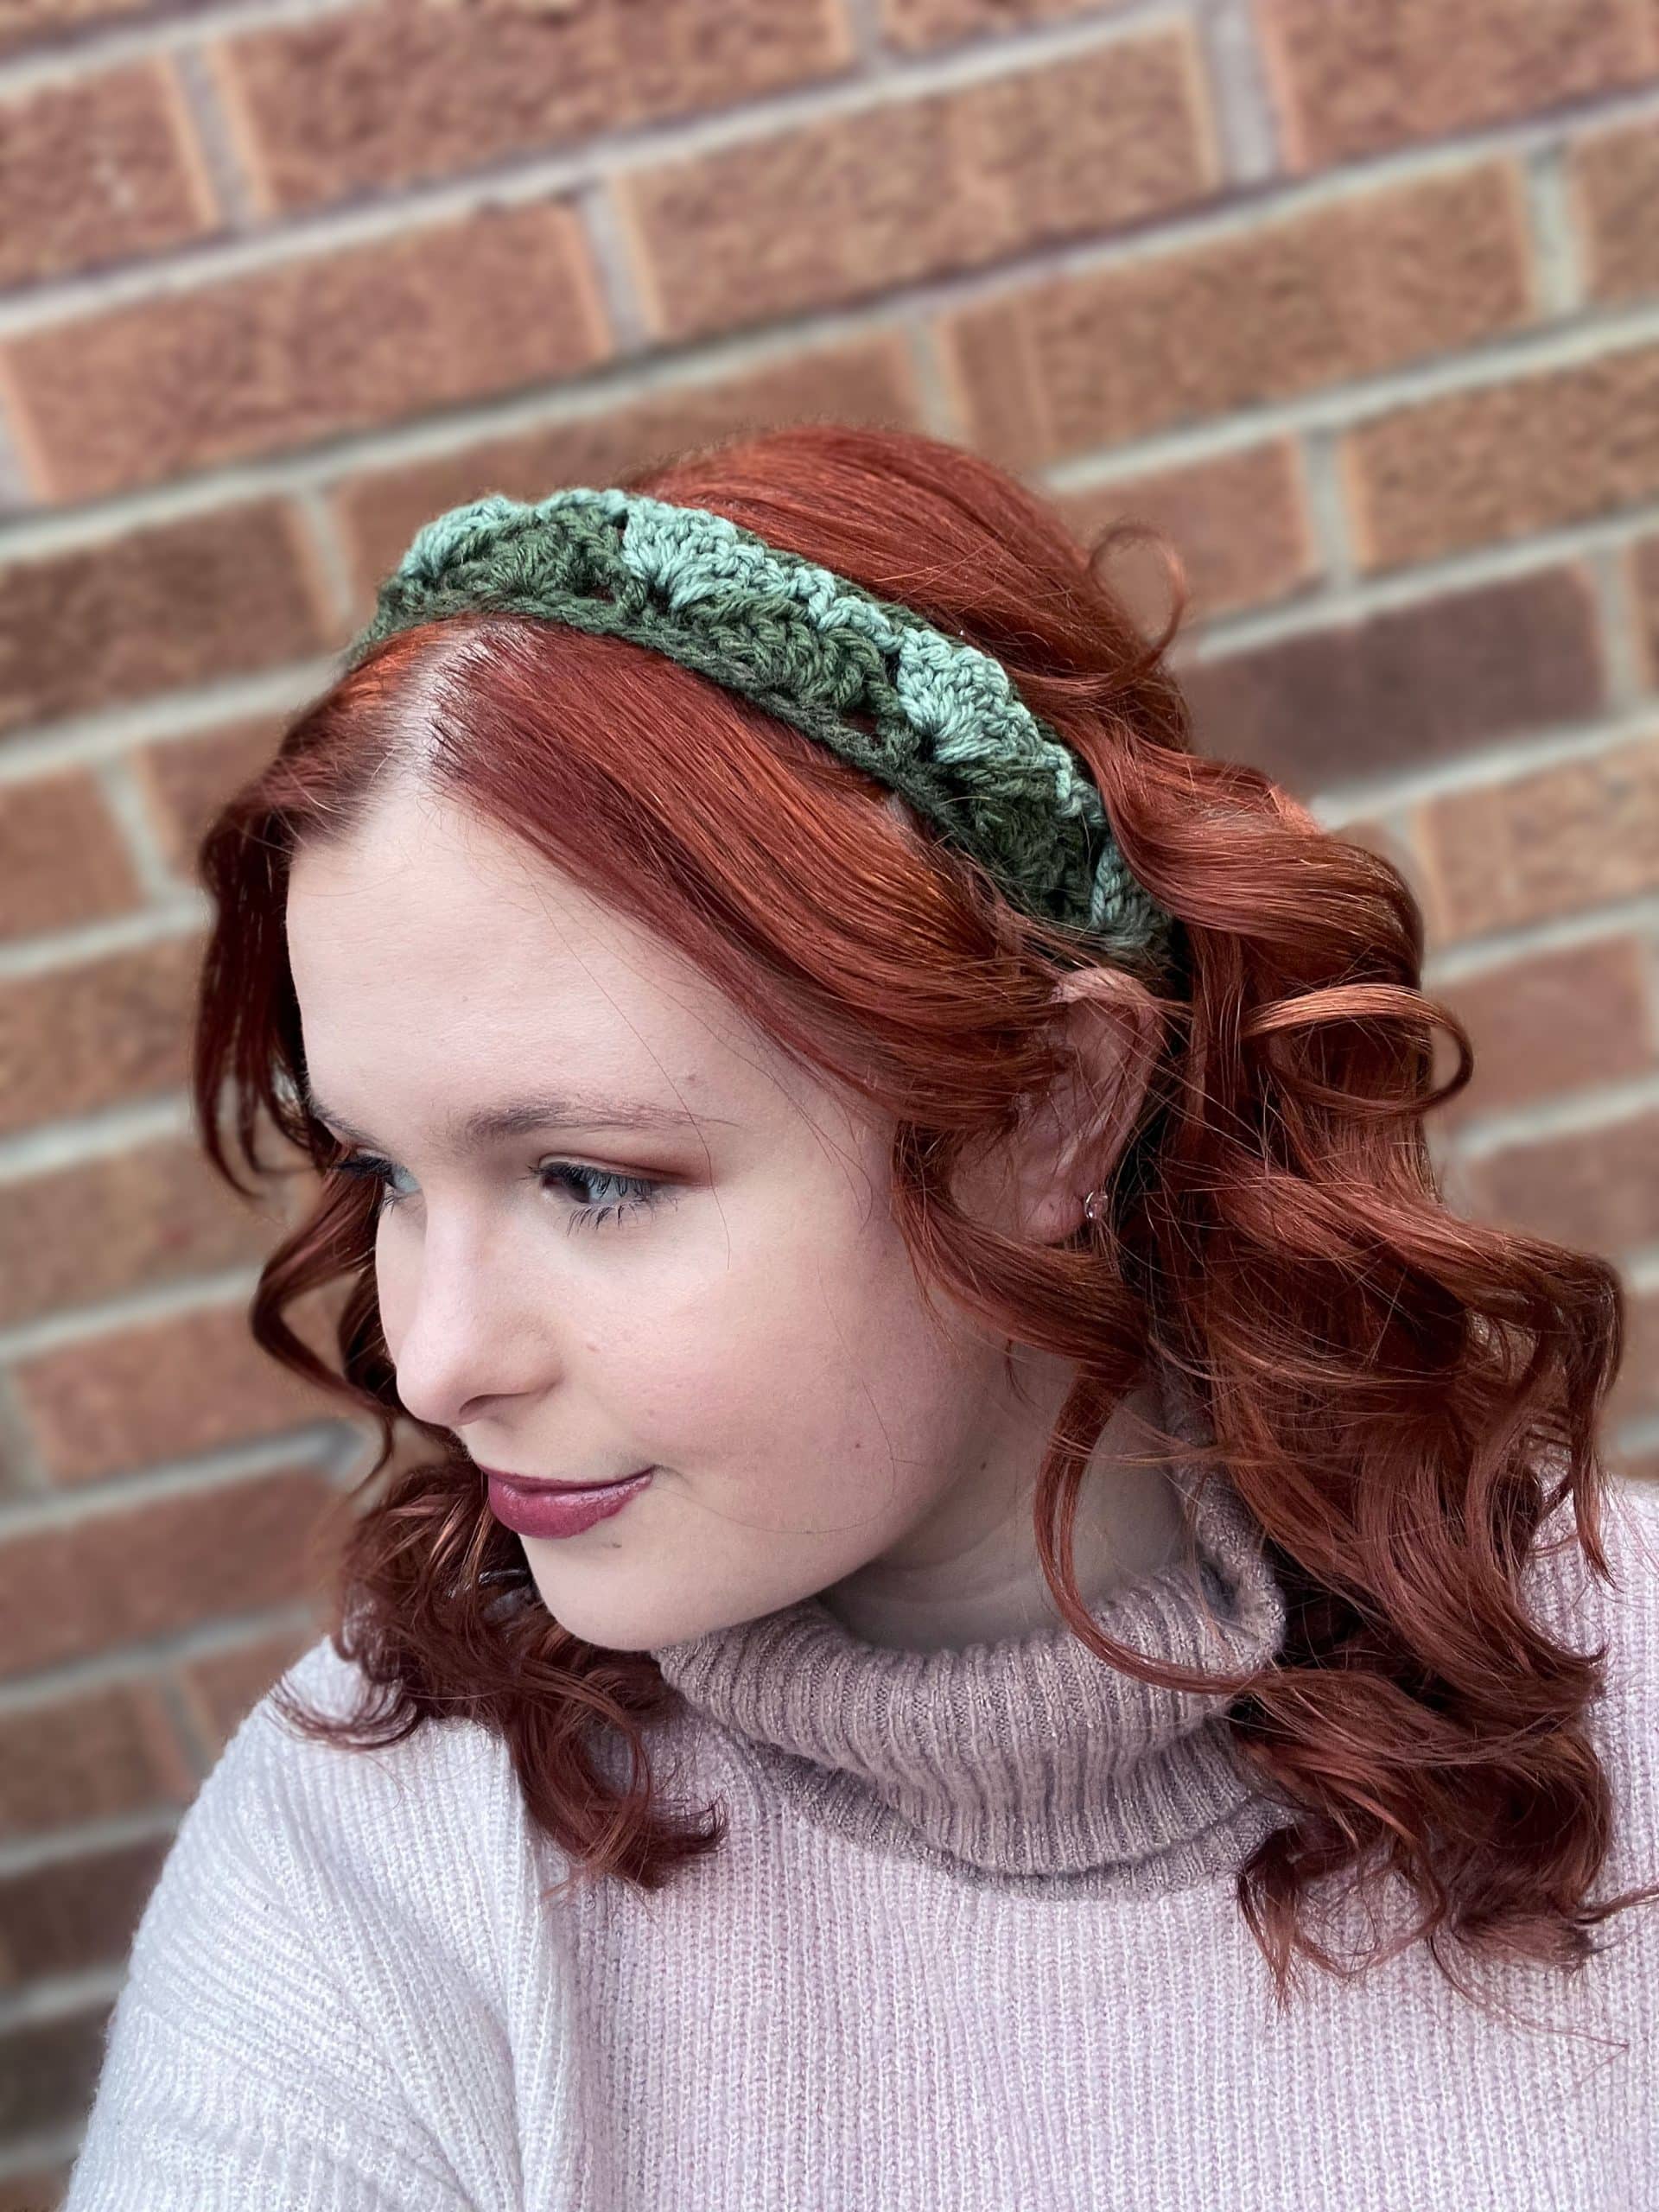
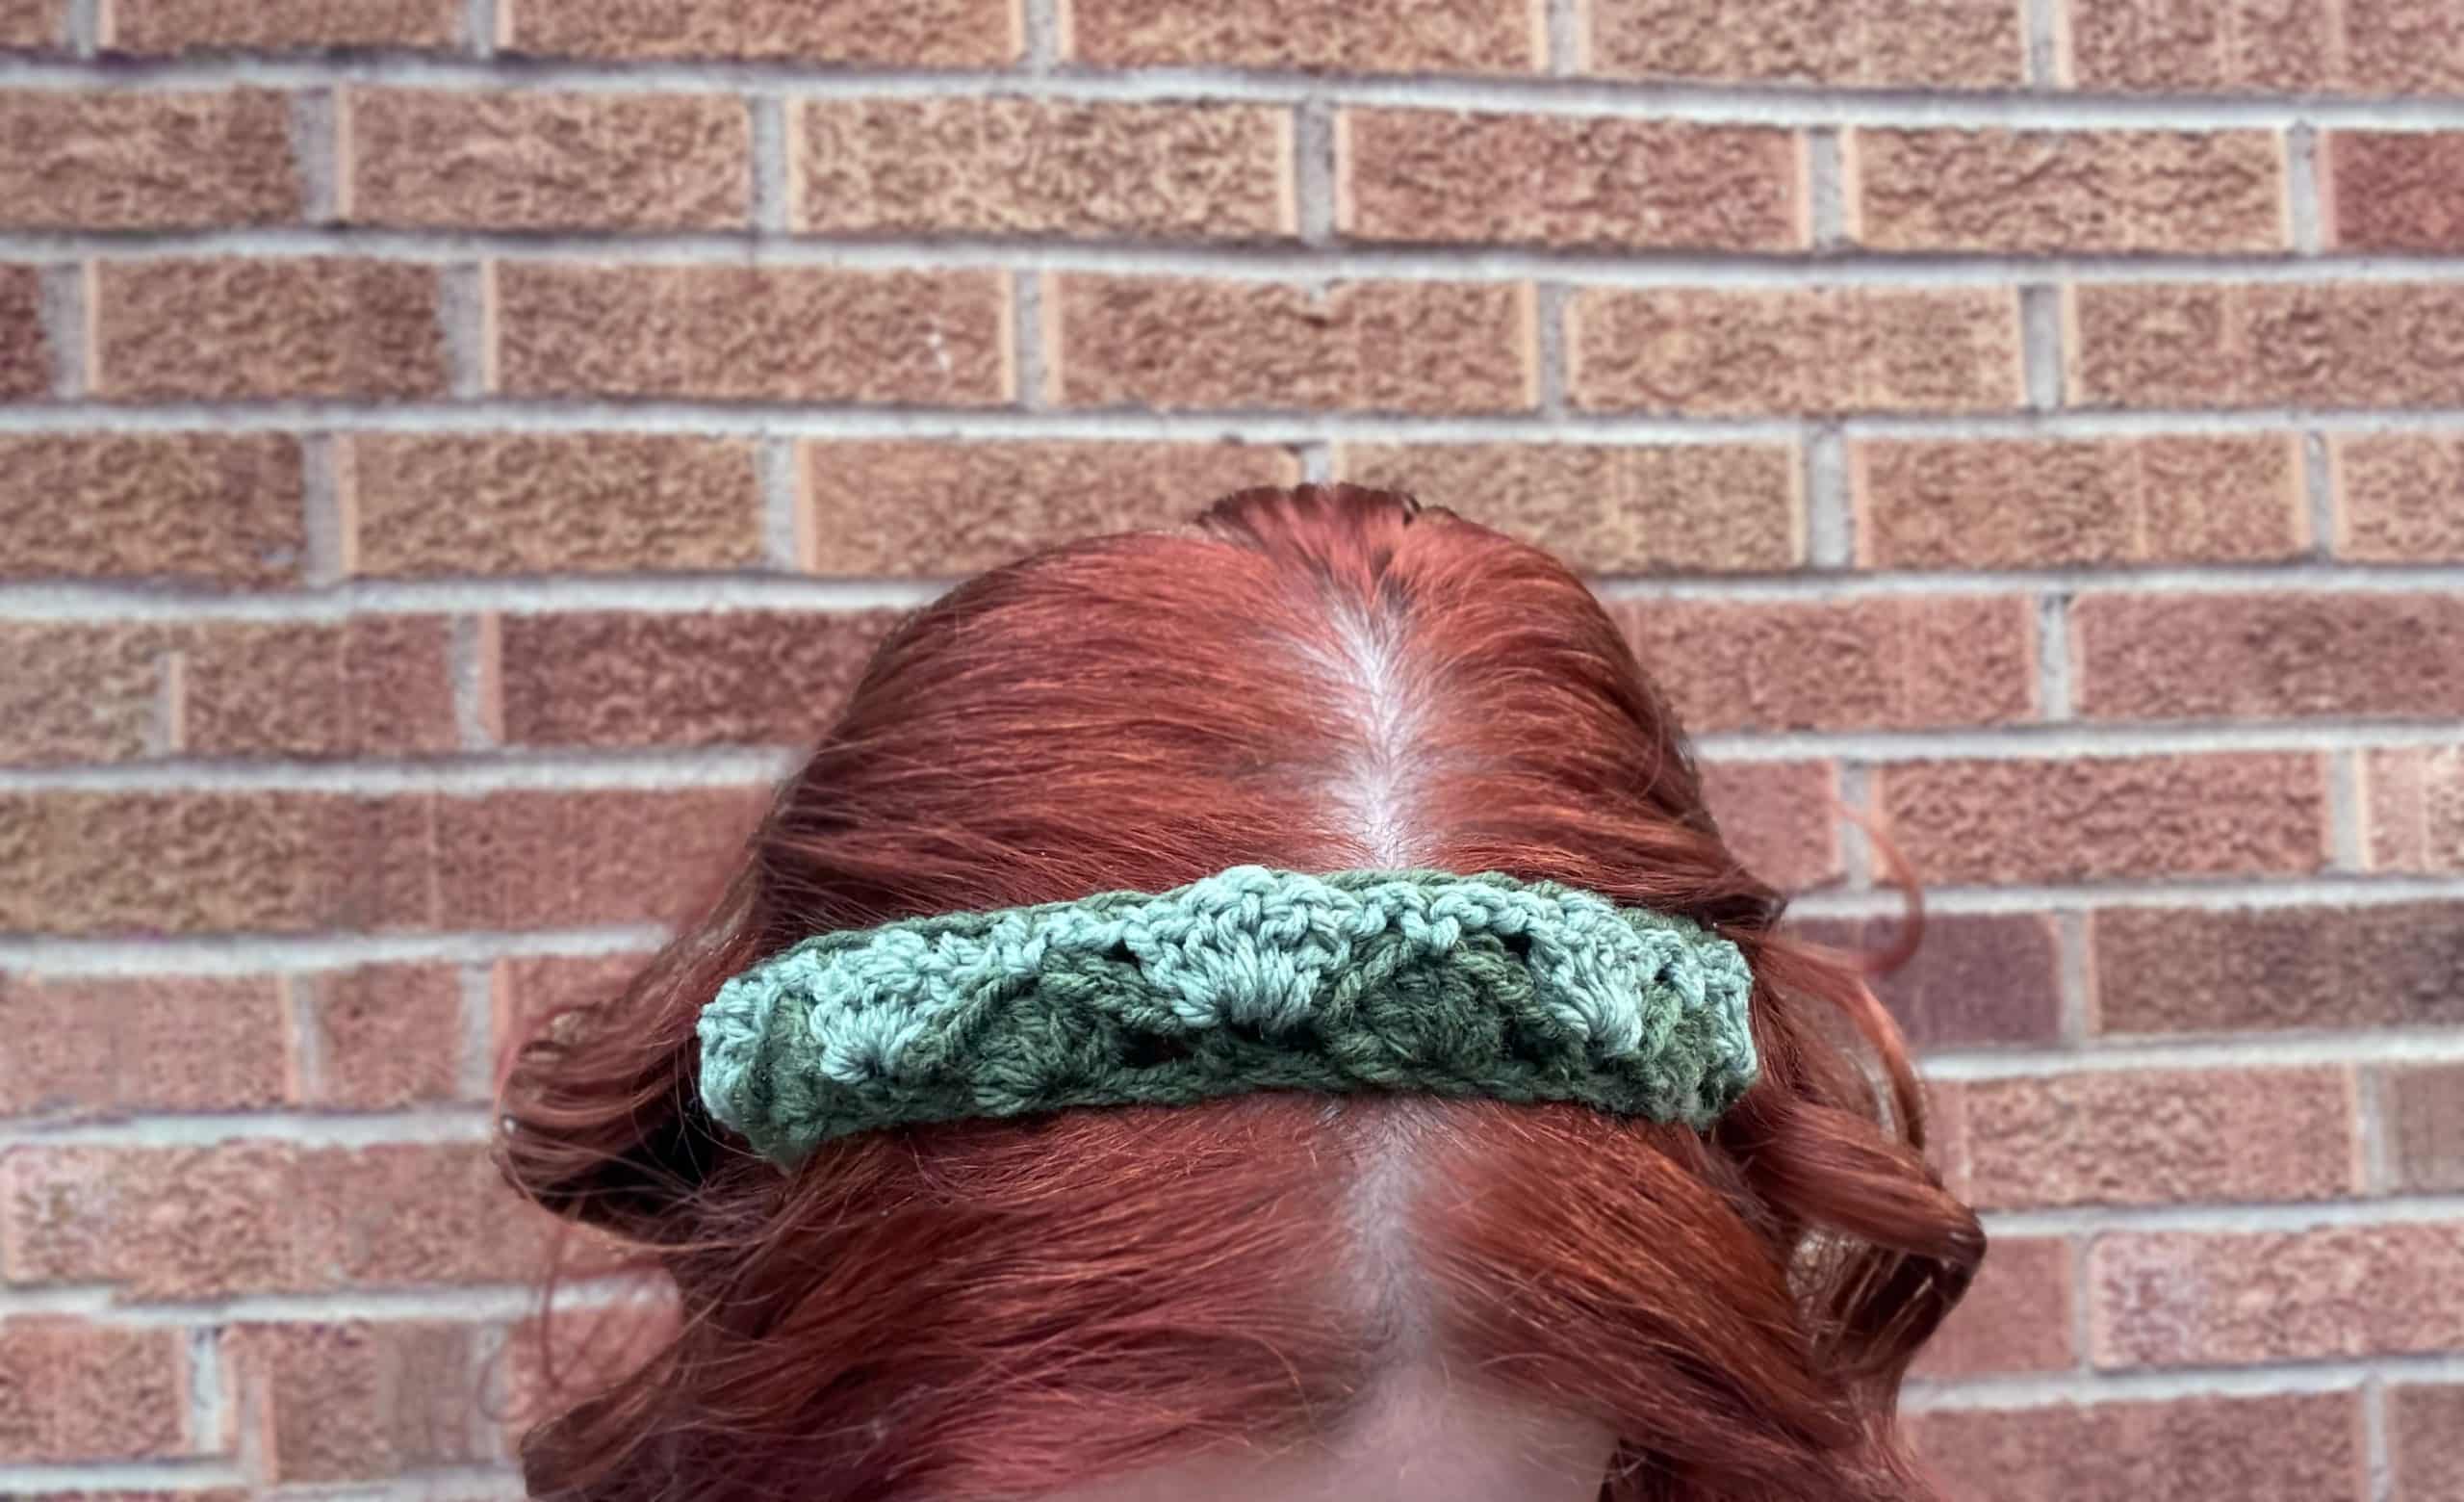
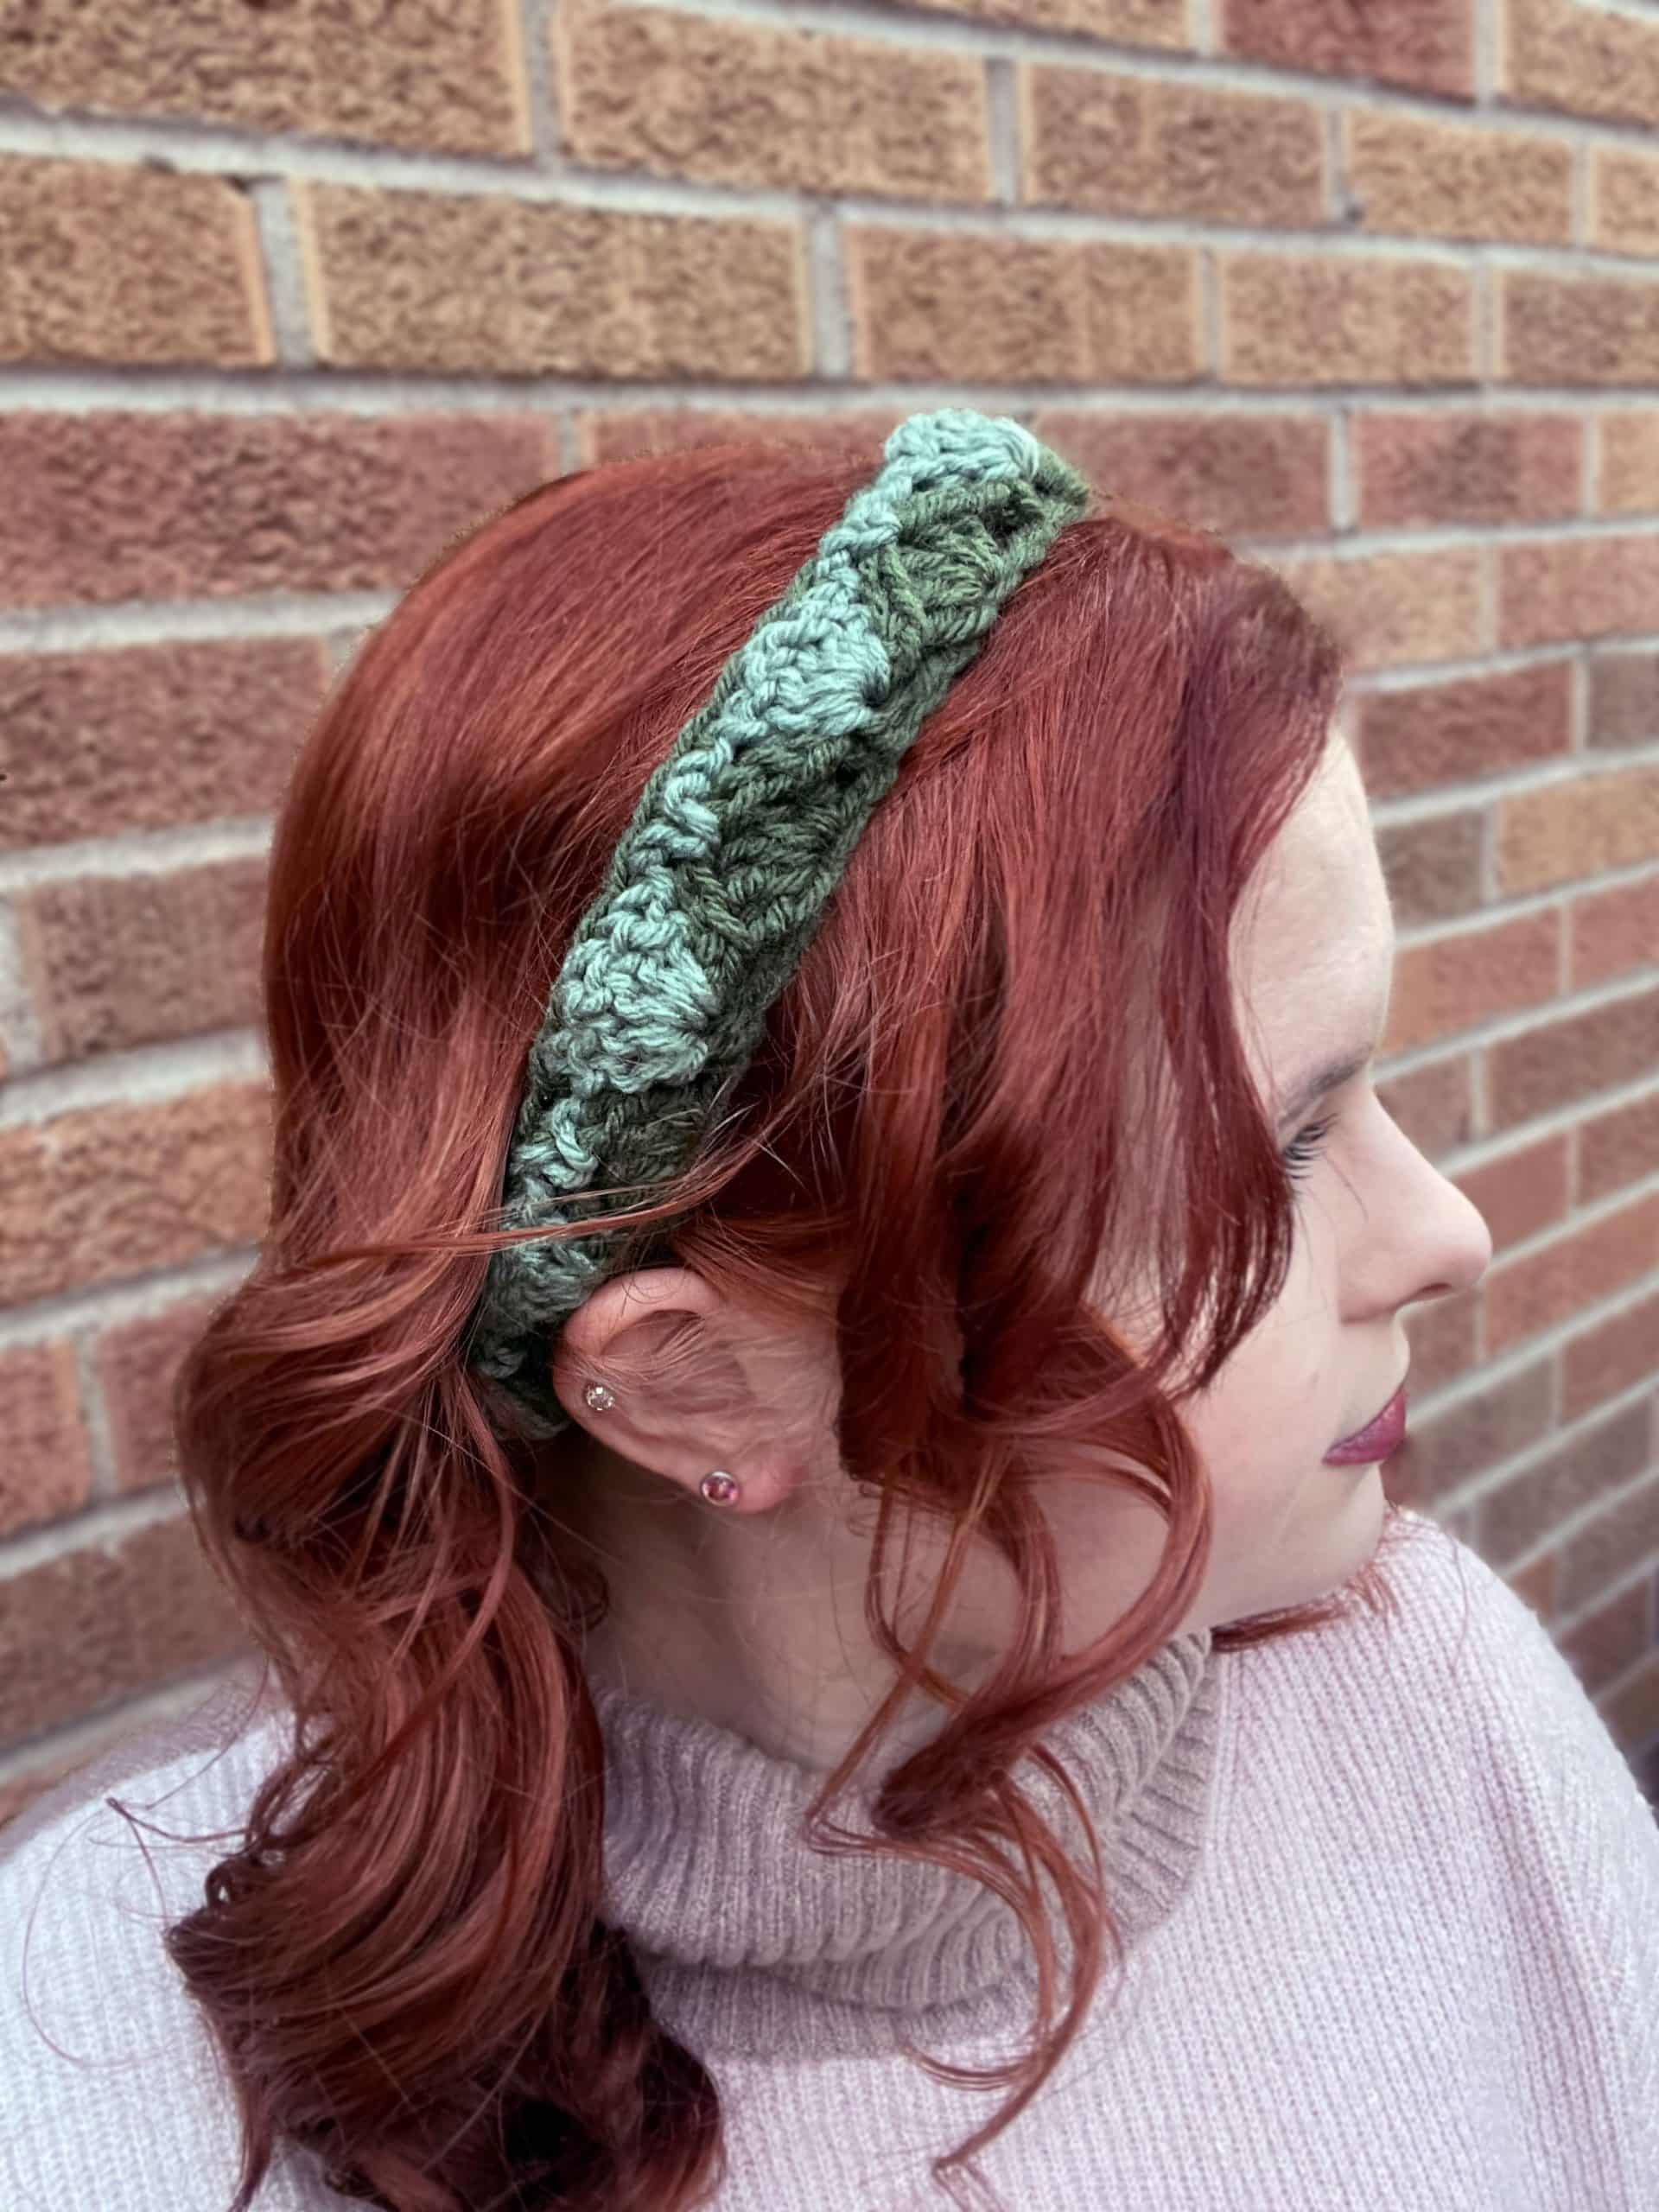
In continuation of my collection of headband patterns, I have made this triangle stitch headband that I really love. I had no idea what to name it so this is the best I could do. I love making it in two different colors, but you can do as many as you would like!
This free crochet pattern is easy to make. I’ll walk you through all the steps with photos along the way.
If you would like to purchase the downloadable and printable PDF version of this pattern, you can find it on my Etsy or on Ravelry.

Read on for this free Inner Triangle Stitch Headband Crochet Pattern!
Disclosure: This post may contain affiliate links and I may receive a commission if you purchase through them, at no extra cost to you.
Yarn and Stitches
Yarn
I used weight 4 acrylic yarn for this headband, but you could use whatever you want.
Basic Stitches Used (US Terminology)
Slip Knot: tutorial by SarahMaker
Here’s a helpful video tutorial.
Inner Triangle Stitch Headband Crochet Pattern/Tutorial
Skill Level: Intermediate
Materials and Tools
Crochet Headband Sizes
Adult Large – 21 inches
Adult Medium – 20 inches
Age 8 and older – 19 inches
Age 2-7 – 18 inches
Age 6-12 months – 17 inches
Newborn to 6 months – 15 inches
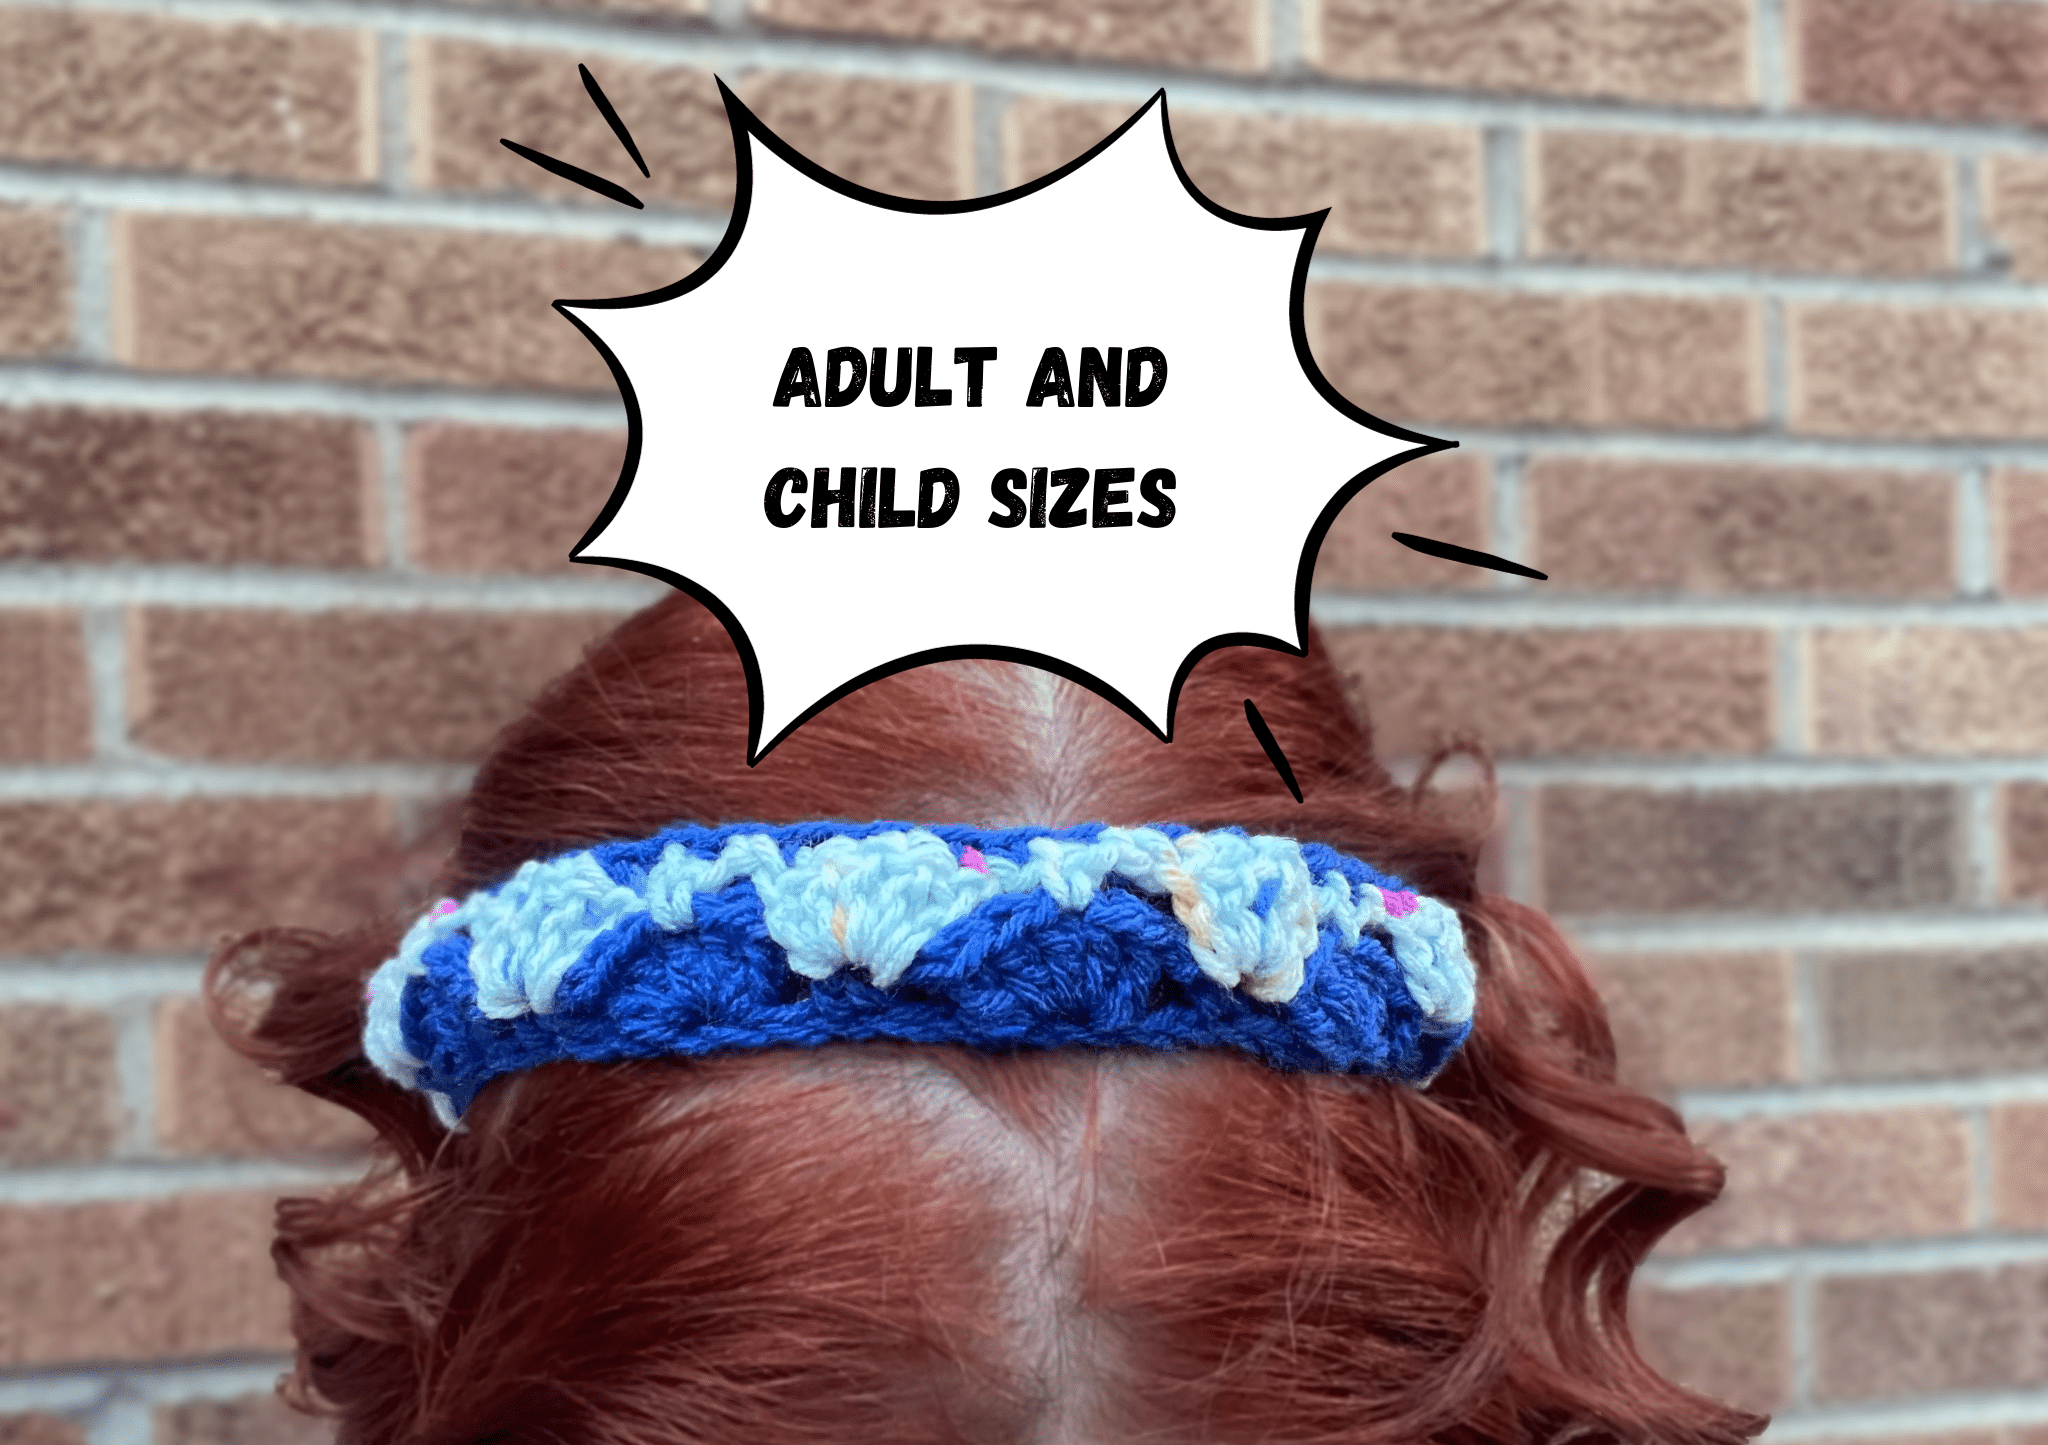
I would recommend this headband in older children and adult sizes. I’ve never tried a newborn-young child size for this pattern.
How to Crochet an Inner Triangle Stitch Headband Steps
Notes:
I wanted some puff to the stitches, so don’t be alarmed when one side has more stitches than the other, this gets corrected on the last round. (If you don’t want any puff, instead of chaining 2, you can probably chain 3 on the first round to even it out more.)
You need the base chain to be a multiple of 8 + 4. I did 68 and it was pretty big. I personally like a looser headband though.
If it’s too tight you can always do a couple SC rows on one end to lengthen it before slip stitching together.
Steps:
Start with a base chain that is a multiple of 8 + 4. I did 68 and it was pretty big.
R1:
(color 1) Starting in 4th chain from hook:
Do 5 DC in that stitch. CH 2, skip 2 stitches, SC, skip 2 stitches, do 5 DC in next stitch. Continue this alternating of SC and 5 DC with CH 2 in between until the end of the row.
R2:
(color 2) CH 1, SC, CH2, 5 DC into SC from last round, CH 2, SC into center of wave.
Continue the alternating of putting 5 DC into the SC from last round and putting a SC into the center of the wave with chaining 2 and skipping two stitches in between
R3:
(color 1) alternate SC and skipping one stitch across the headband
Put the two ends together and slip stitch them together.

Photo 1: Starting in 4th chain from hook
Photo 2: Put 5 DC in that stitch.
Photo 3: Chain 2.
Photo 4: Skip 2 stitches and then SC into the stitch after that.
Photo 5: Skip 2 more stitches and then put 5 DC into the next stitch.
Photo 5: End of round 2.
Share on Pinterest to Make Later!
More Free Crochet Patterns
Free Giraffe Headband Crochet Pattern
Free Bubble Tie Headband Crochet Pattern
Free Double Crochet Headband Crochet Pattern
And that’s all folks!
Hope you enjoyed this free Inner Triangle Stitch headband crochet pattern. Let me know if you have any questions. And don’t forget to pin this post on Pinterest to save it for later!
Pattern Terms of Use:
This pattern is for personal use only. Do not redistribute. Any redistribution of this pattern is theft. You may sell the finished product. Credit AbiesCustomDesigns for the pattern and use your own photos. Tutorial videos or written instructions of this pattern are prohibited.
@Copyright AbiesCustomDesigns 2024 by Abigail Spencer
All Rights Reserved


