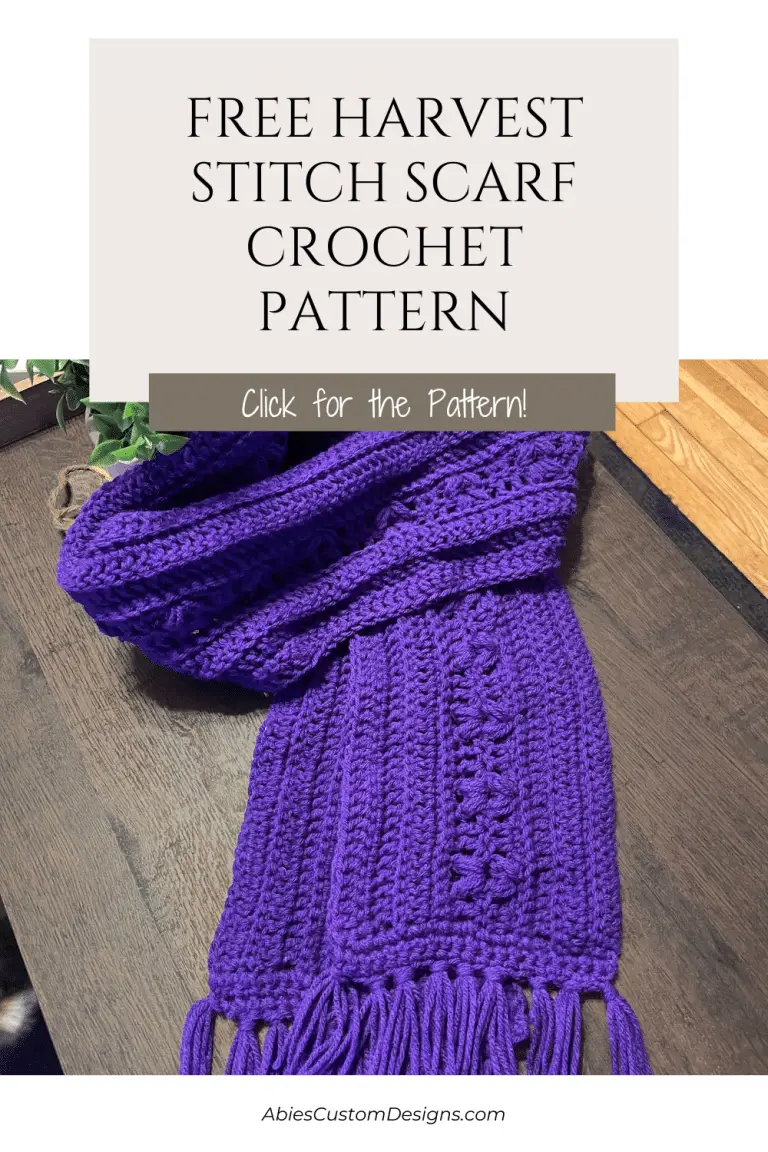
Free Harvest Stitch Scarf Crochet Pattern

Hey y’all!

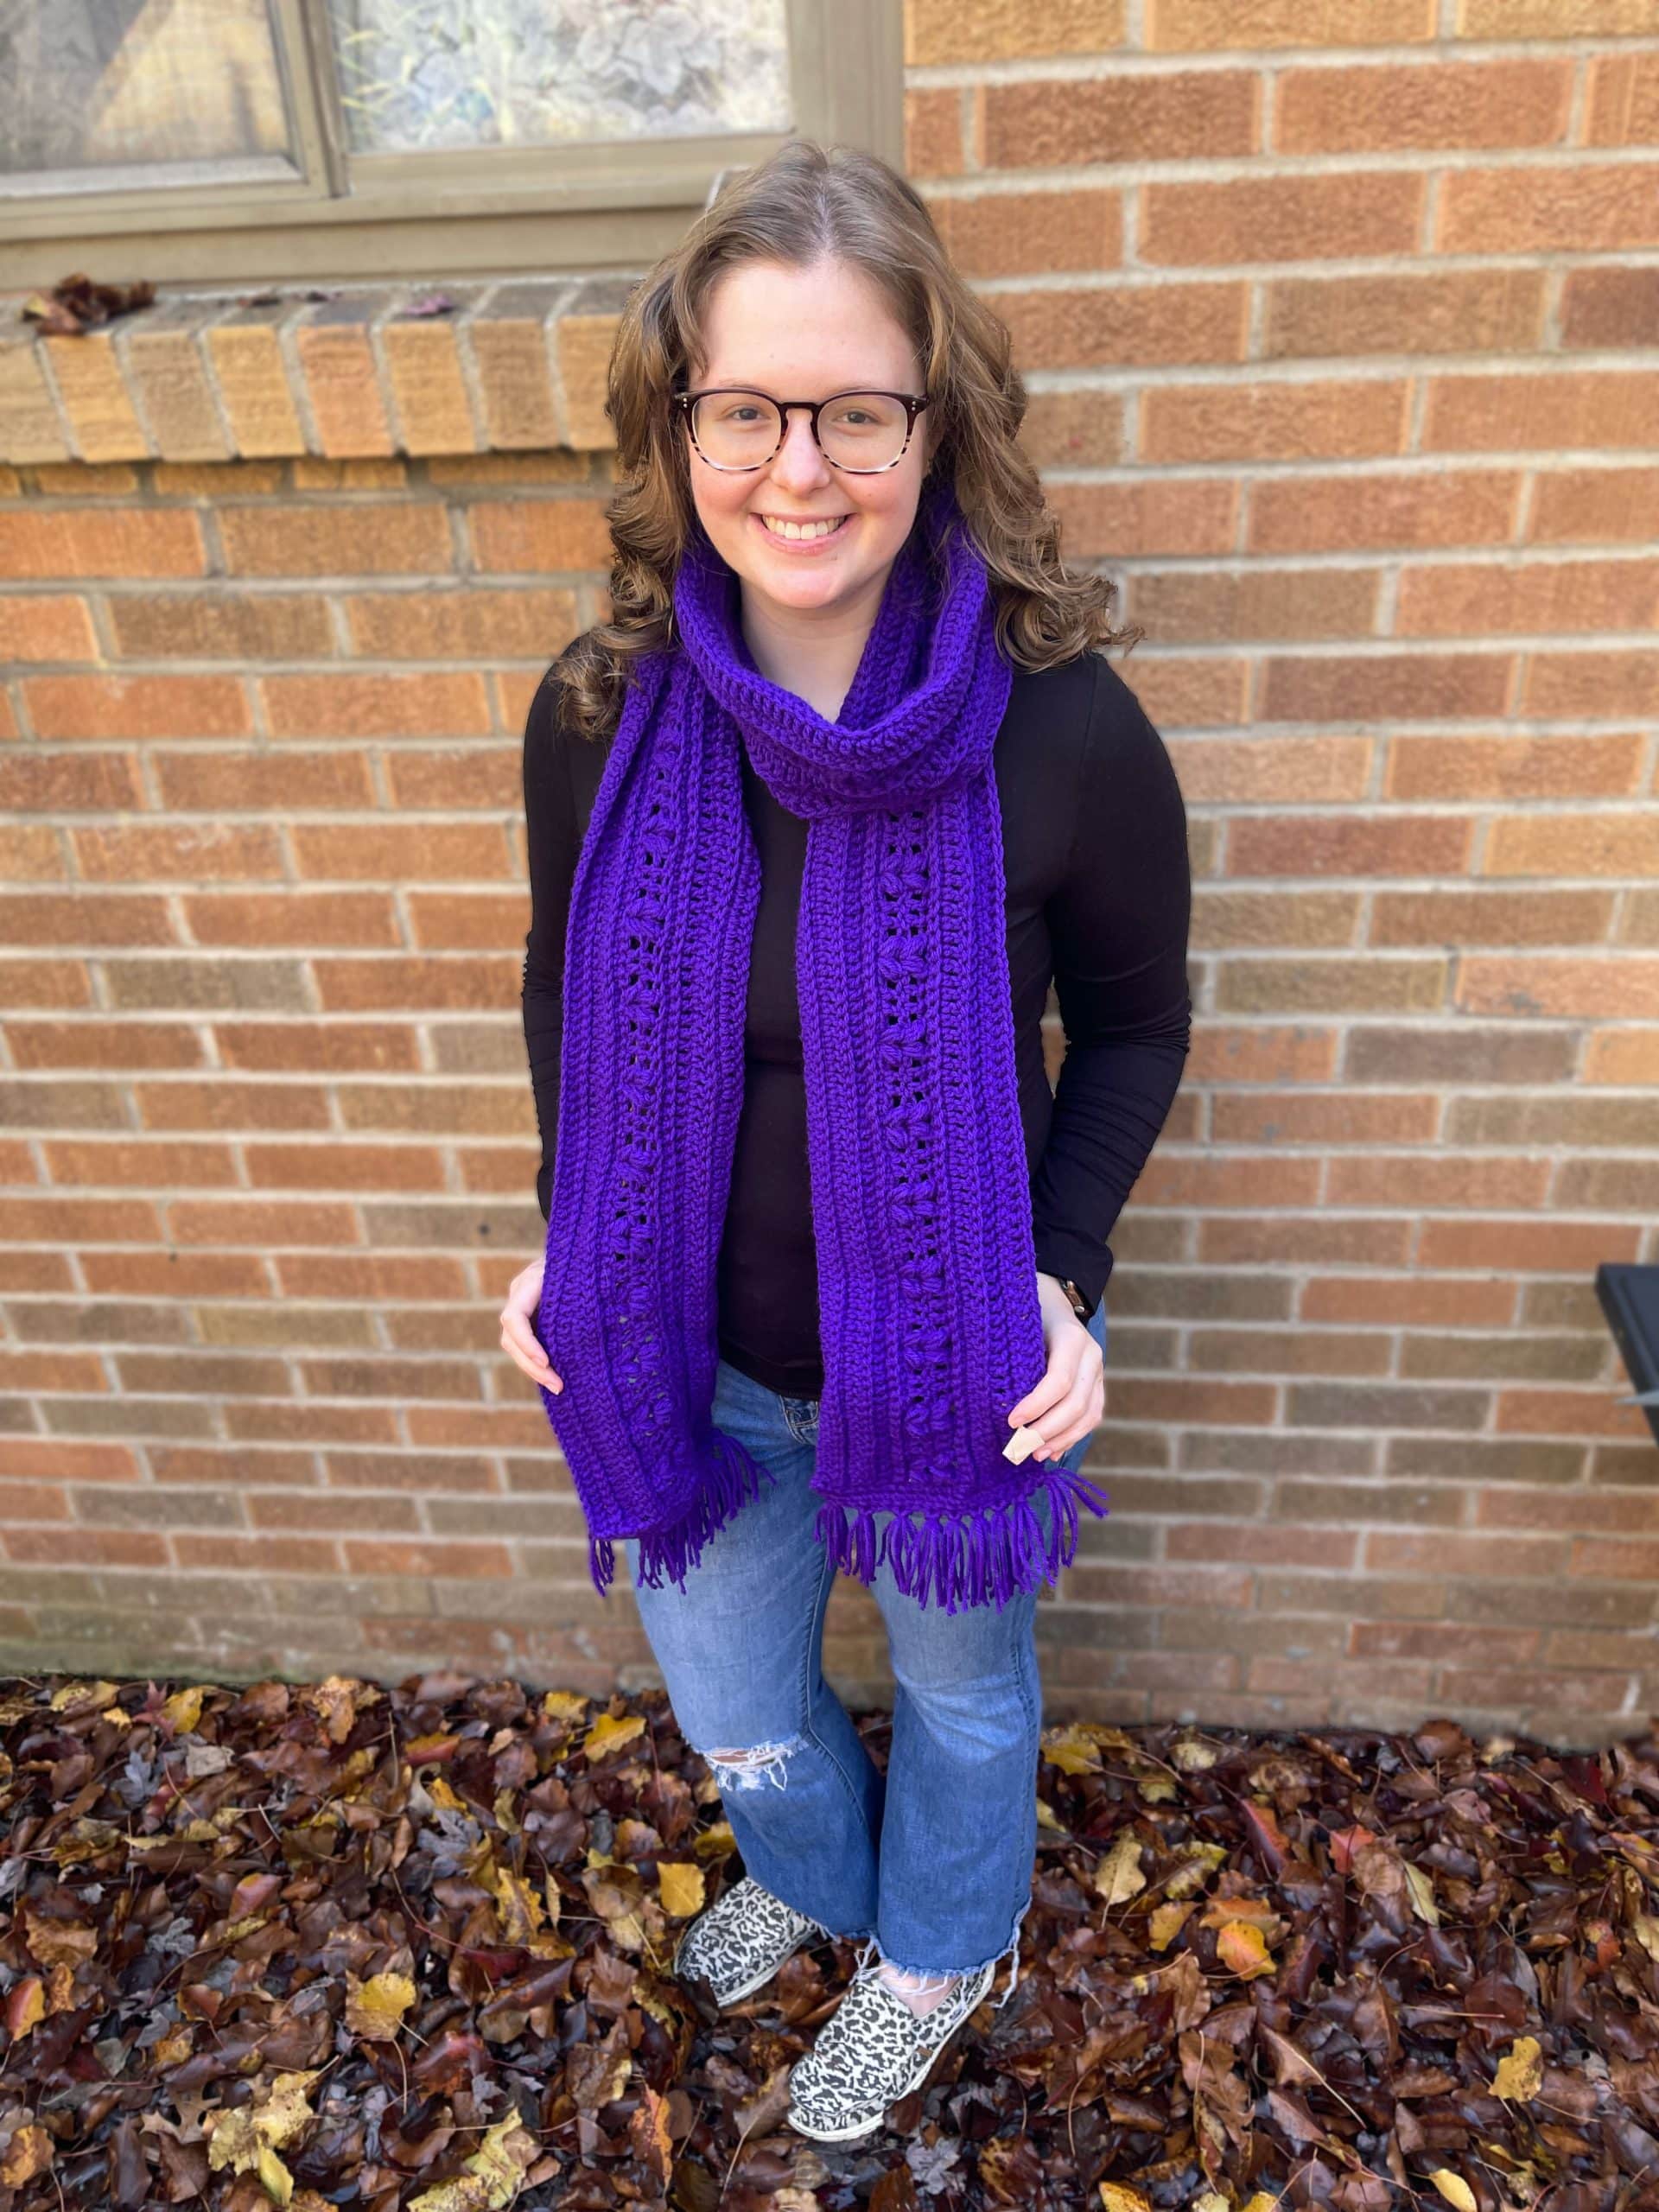
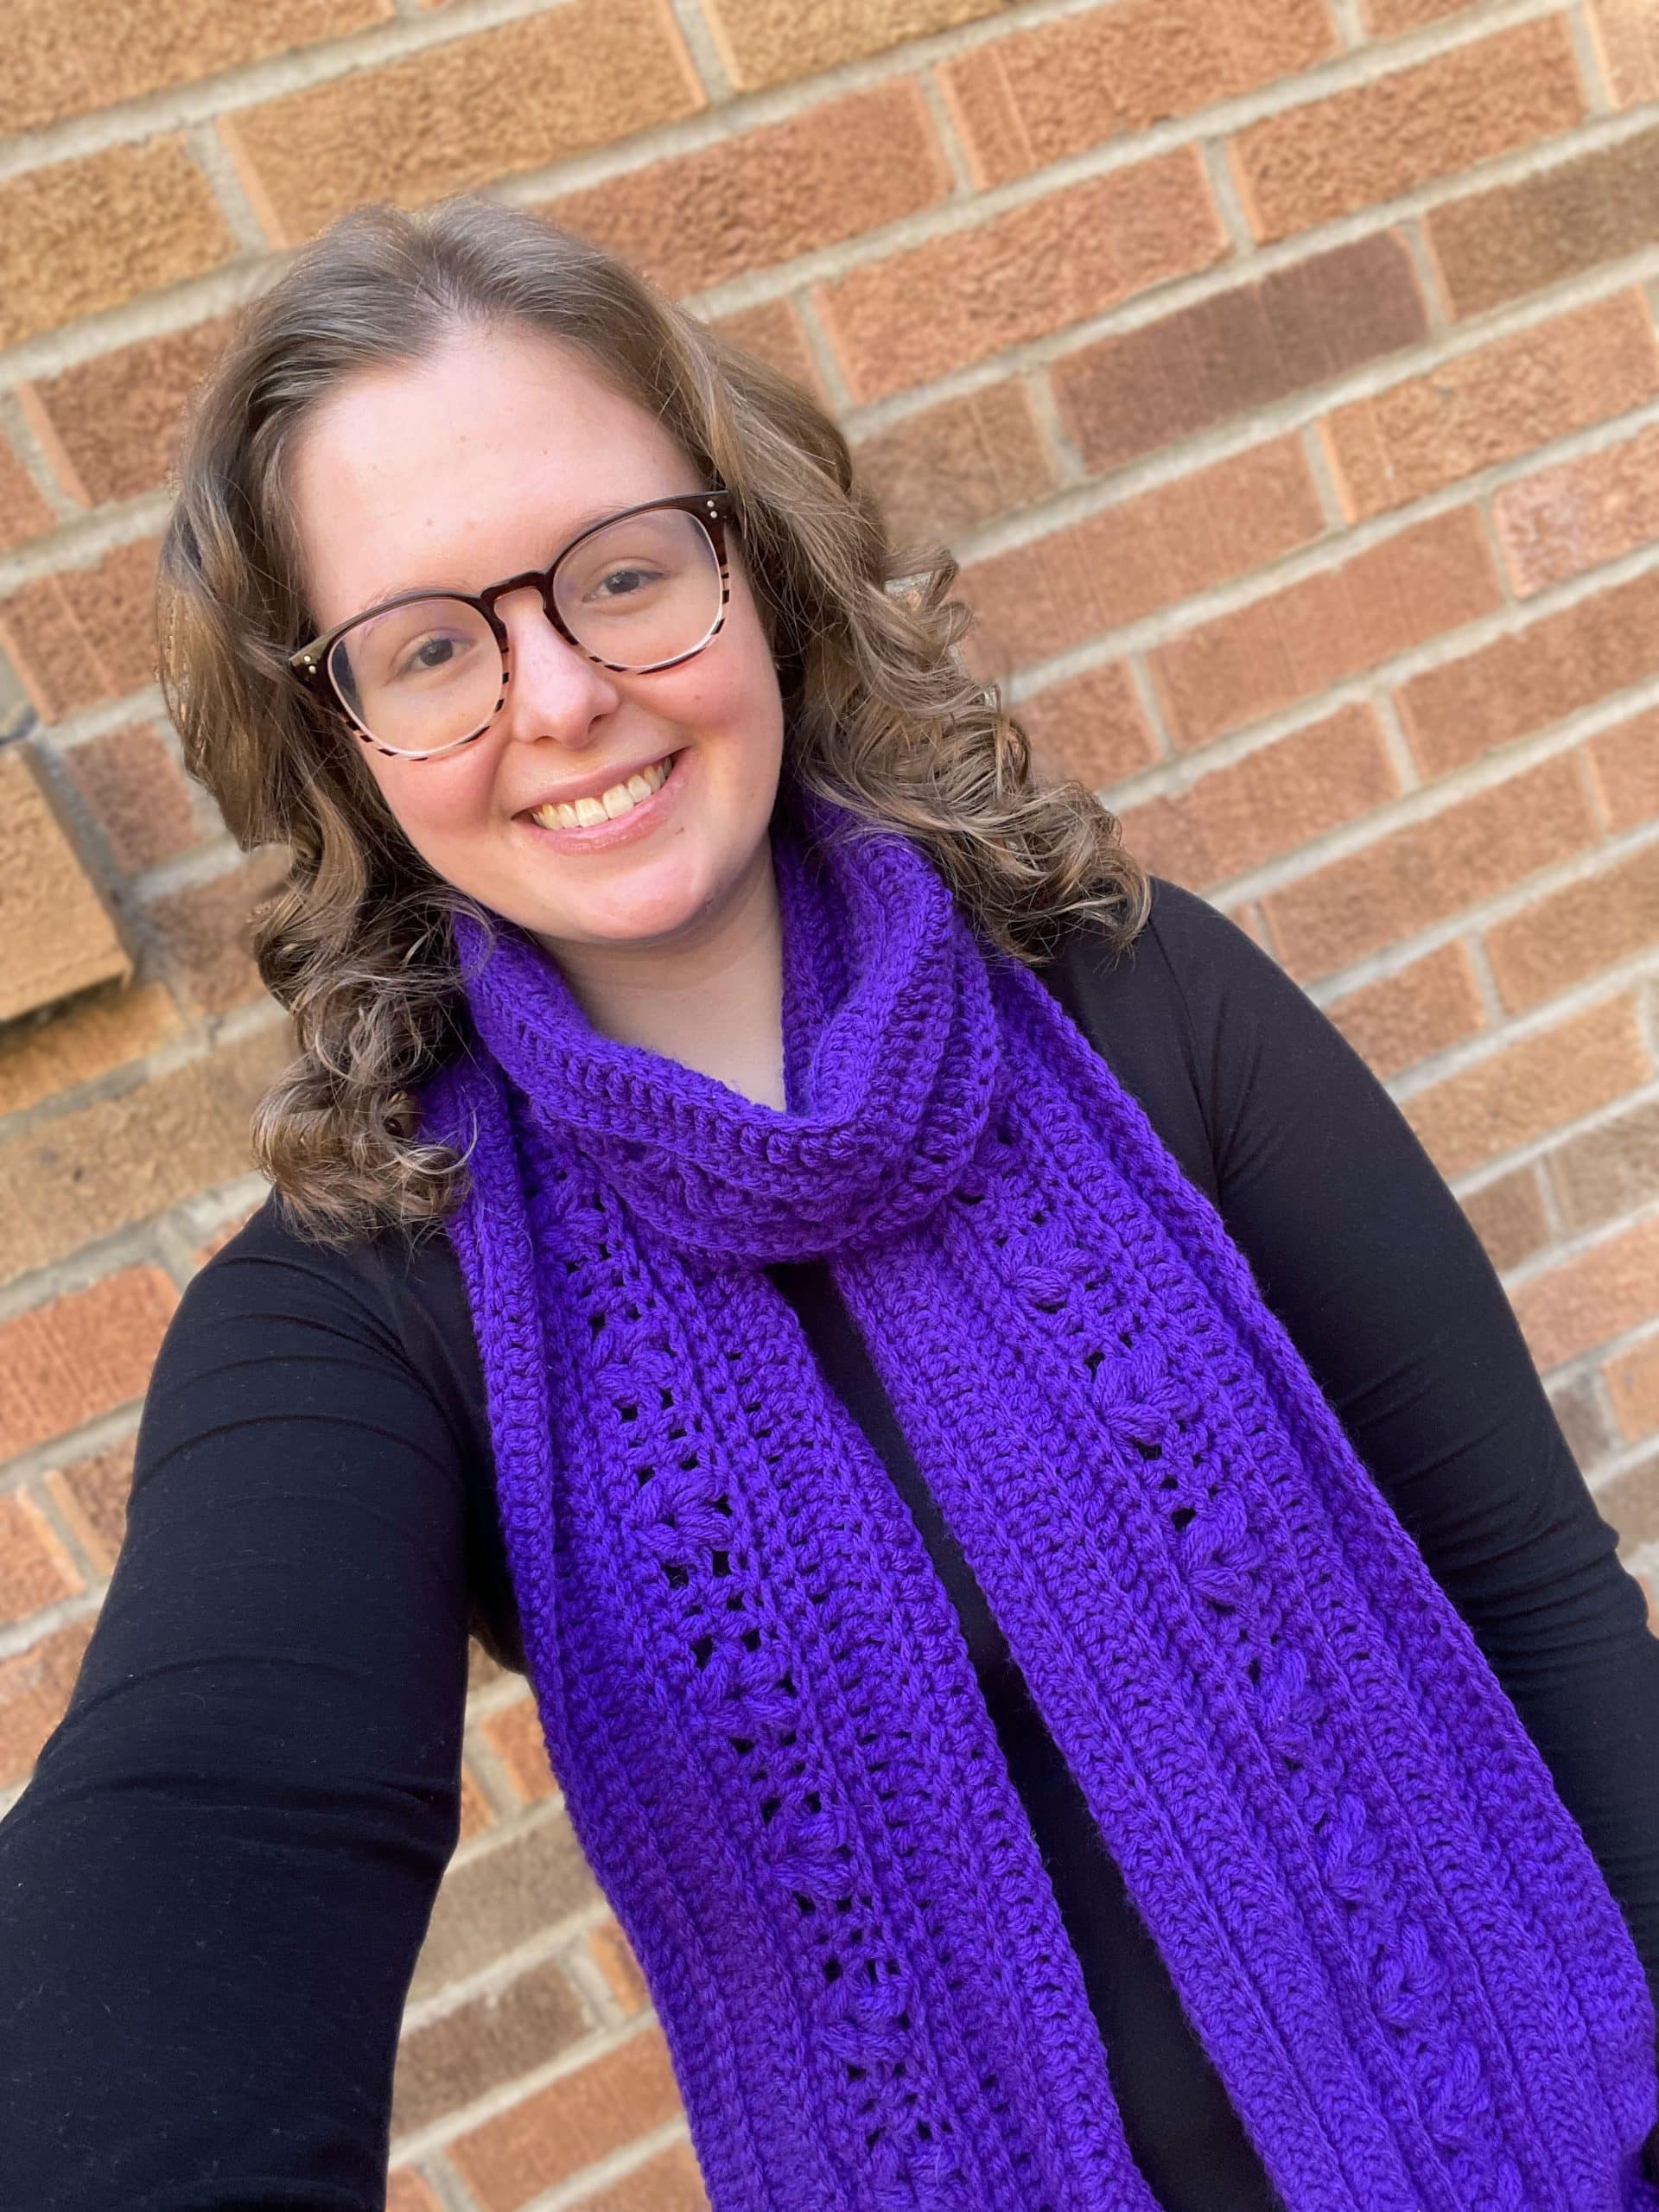
I love crochet scarves. They’re so pretty. I made this one for my husband since he loves this intense purple and needed a scarf.

If you would like to purchase the downloadable and printable PDF version of this pattern, you can find it on my Etsy or on Ravelry.


Read on for this free Harvest Stitch Scarf Crochet Pattern!


Disclosure: This post may contain affiliate links and I may receive a commission if you purchase through them, at no extra cost to you.


Yarn and Stitches


Yarn


I used weight 4 acrylic yarn for this scarf, but you could use whatever you want. It took about 418 yards


Stitches Used (US Terminology)


Slip Knot: tutorial by SarahMaker

  1. Create a slip knot on your crochet hook.

  2. Yarn over and pull through the slip knot loop, creating a new loop on your hook. This is the first chain stitch.

  3. Repeat these steps to create additional chain stitches: Yarn over, then draw the yarn over through the last loop on your hook to form a new chain stitch.
  1. Insert Hook: Insert the crochet hook into the stitch.

  2. Yarn Over (YO): Yarn over by bringing the yarn over the hook from the back to the front. The yarn should be positioned above the hook.

  3. Pull Through: Pull the yarn through the stitch. You should now have two loops on the hook.

  4. Yarn Over and Pull Through Both Loops: Yarn over again and pull through both loops on the hook. This completes one single crochet stitch.

  5. Repeat: To continue making single crochet stitches, insert the hook into the next chain, yarn over and pull through, then yarn over and pull through both loops on the hook.

  6. End of Row: When you reach the end of the row, you’ll typically work a turning chain (usually one chain for a single crochet) before you start the next row. This turning chain helps create the proper height for the next row of stitches.
  1. Insert Hook: Insert your crochet hook into the stitch that you want to create the slip stitch in.

  2. Yarn Over and Pull Through: Yarn over (wrap the yarn around the hook from back to front), and then pull the yarn through the stitch and through the loop on your hook in one motion. This is different from other crochet stitches, as you’re not creating any additional loops on the hook.


Slip stitches are used to join rounds, close gaps, or move your hook to a different location within your work.

  1. Yarn Over (YO): Yarn over by bringing the yarn over the hook from the back to the front. The yarn should be positioned above the hook.

  2. Insert Hook: Insert the crochet hook into the stitch where you want to begin the double crochet.

  3. Yarn Over and Pull Through: Yarn over again and pull the yarn through the stitch. You should now have three loops on your hook.

  4. Yarn Over and Pull Through Two Loops: Yarn over once more and pull through the first two loops on the hook. This leaves you with two loops on the hook.

  5. Yarn Over and Pull Through Remaining Loops: Yarn over one last time and pull through the remaining two loops on the hook. This completes one double crochet stitch.

  6. Repeat: To continue making double crochet stitches, yarn over, insert the hook into the next stitch, yarn over and pull through, yarn over and pull through two loops, then yarn over and pull through the remaining two loops.

  7. End of Row: When you reach the end of the row, you’ll typically work a turning chain (usually two chains for a double crochet) before you start the next row. This turning chain helps create the proper height for the next row of stitches.

When finishing an amigurumi piece, you’ll need to fasten off to secure the last stitch.

Cut the working yarn, leaving a tail, and pull the tail through the last loop on the hook, tightening it to secure the stitch.

Here’s a helpful video tutorial.


Harvest Stitch Scarf Crochet Pattern/Tutorial


Skill Level: Beginner/Intermediate


Materials and Tools


  • Weight 4 yarn, ~418 yds.
  • 5.0 mm crochet hook
  • Tapestry Needle (for weaving in ends)
  • Scissors
  • Stitch Markers


Harvest Stitch Tutorial

A harvest stitch is two puff stitches into one stitch but with a chain 2 between them.

  1. Yarn over, then put your hook into the stitch, yarn over, pull through. Do this 3 times total in same stitch.
  2. Yarn over and pull through 6 stitches.
  3. Yarn over and pull through last 2.
  4. Chain 2.
  5. Repeat 1-3 into same stitch so that you have 2 puff stitches in same stitch.


How to Crochet a Harvest Stitch Scarf Steps
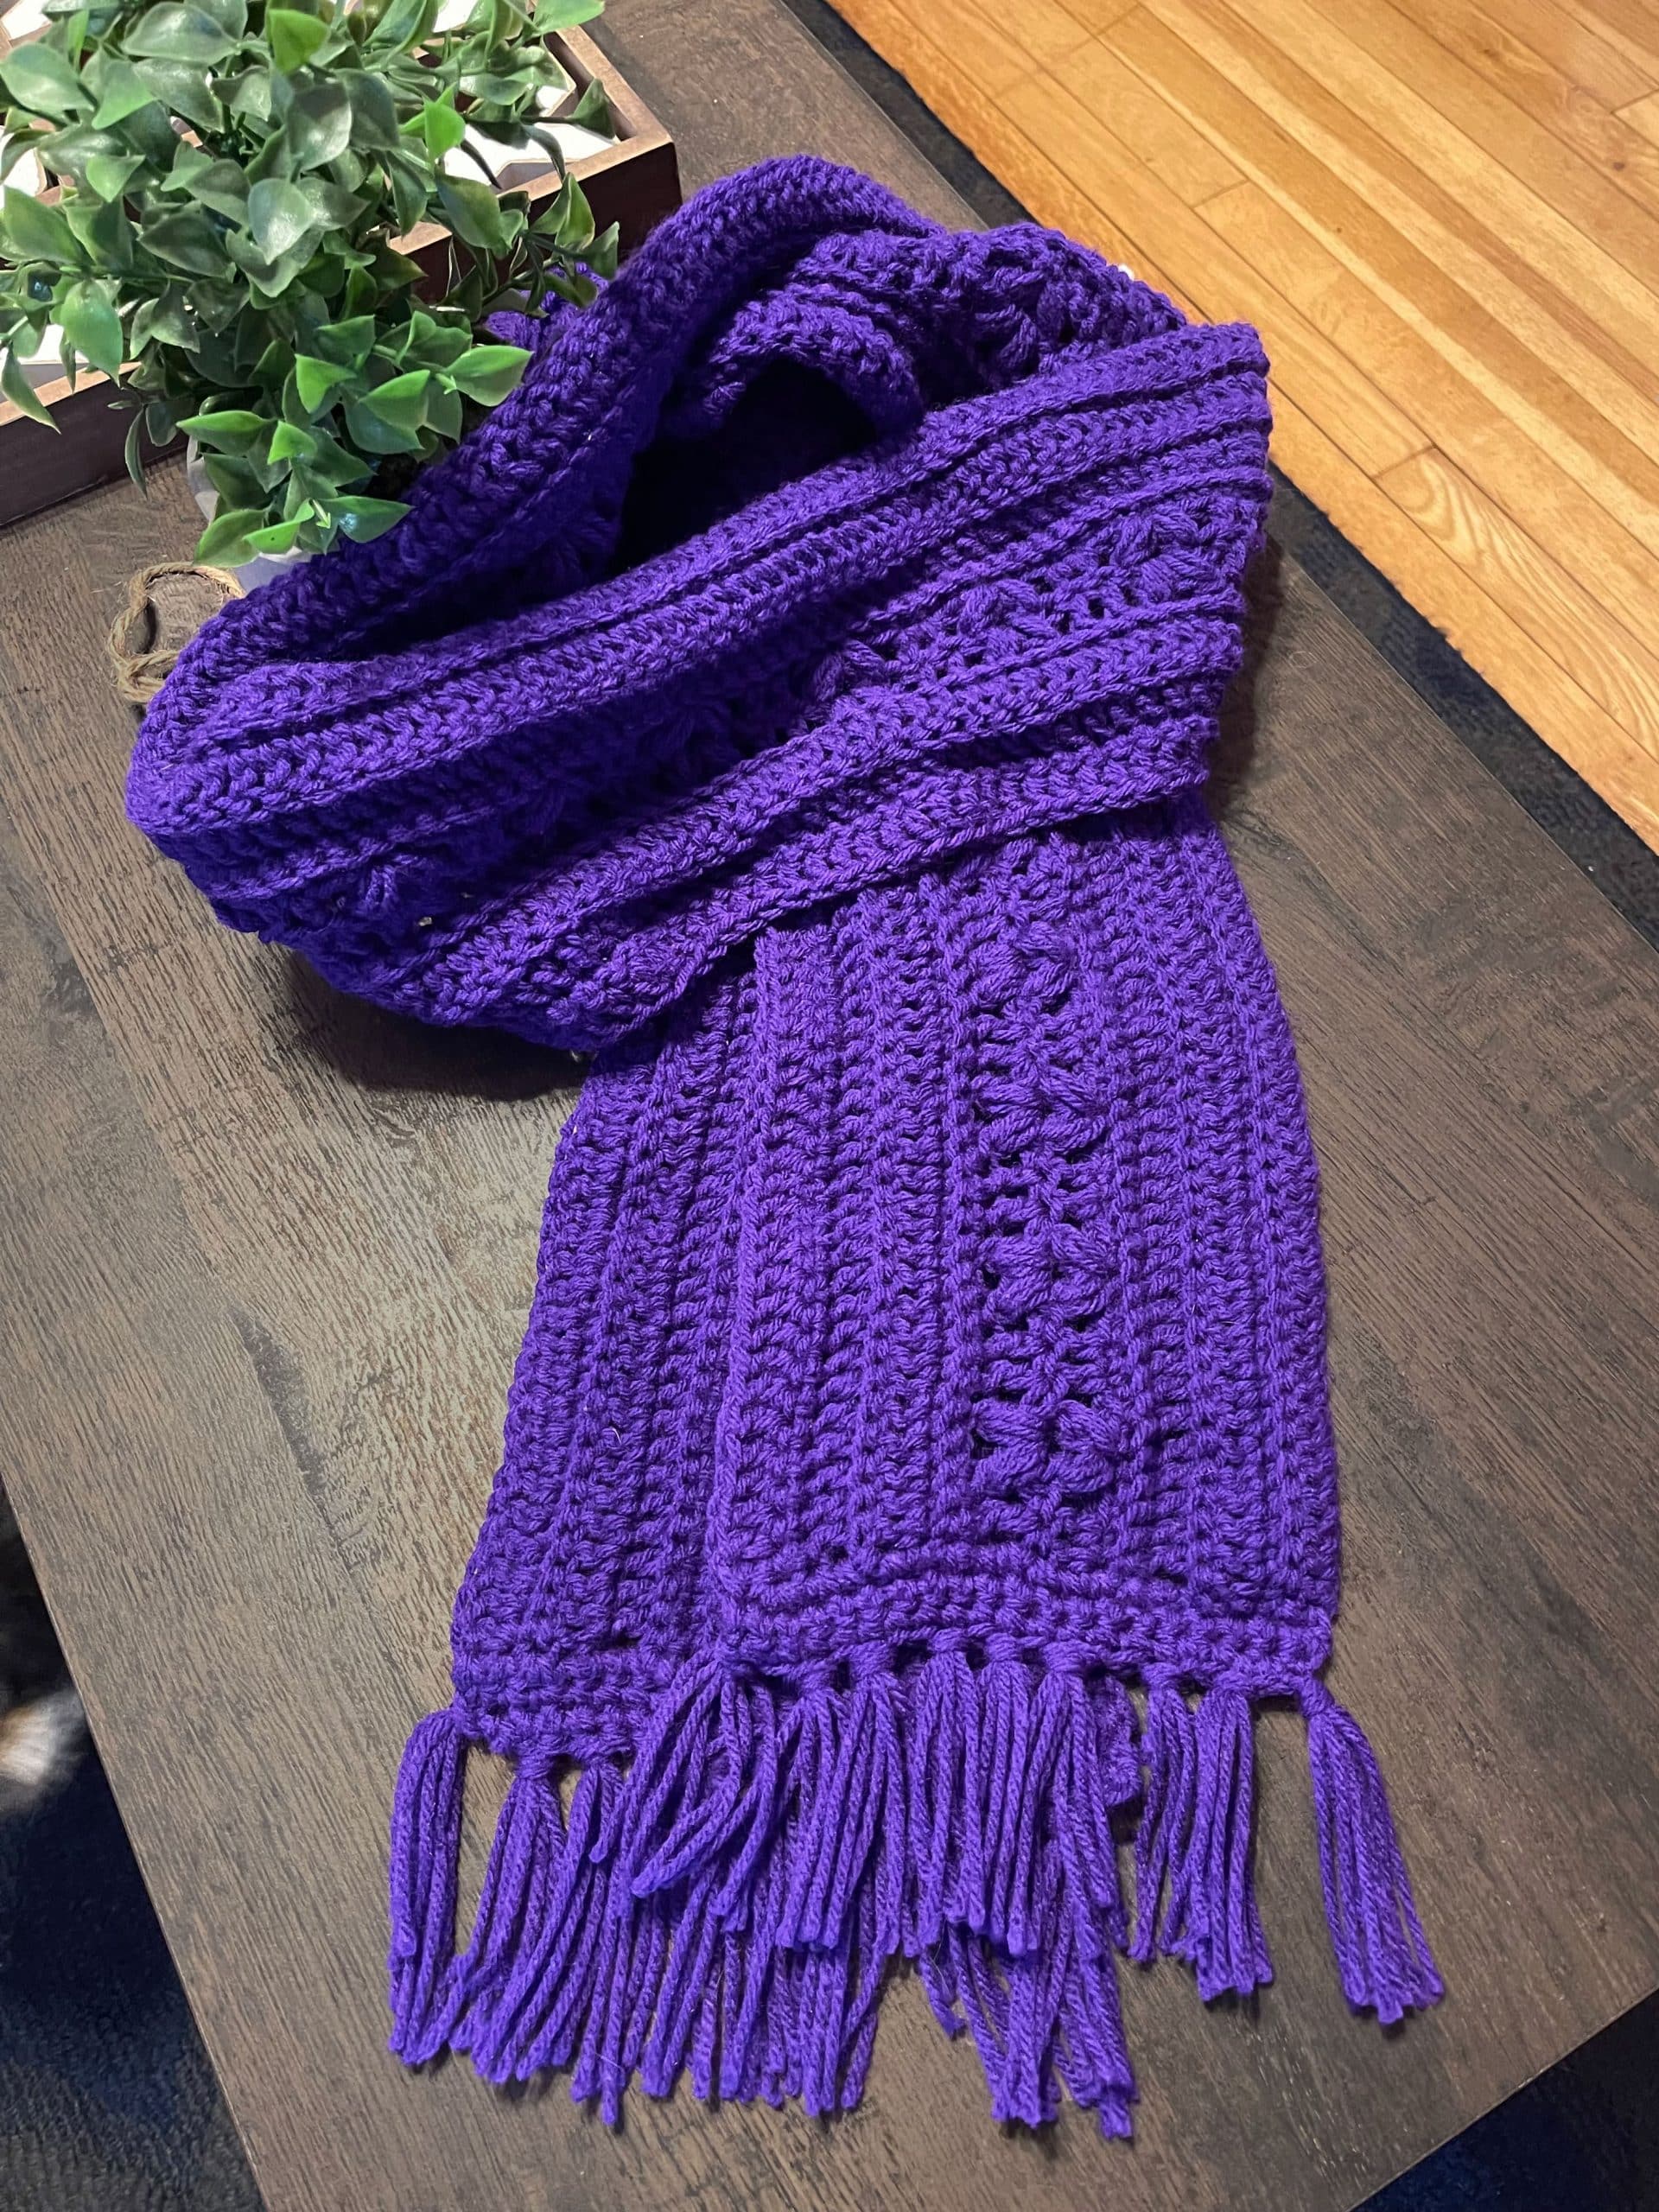
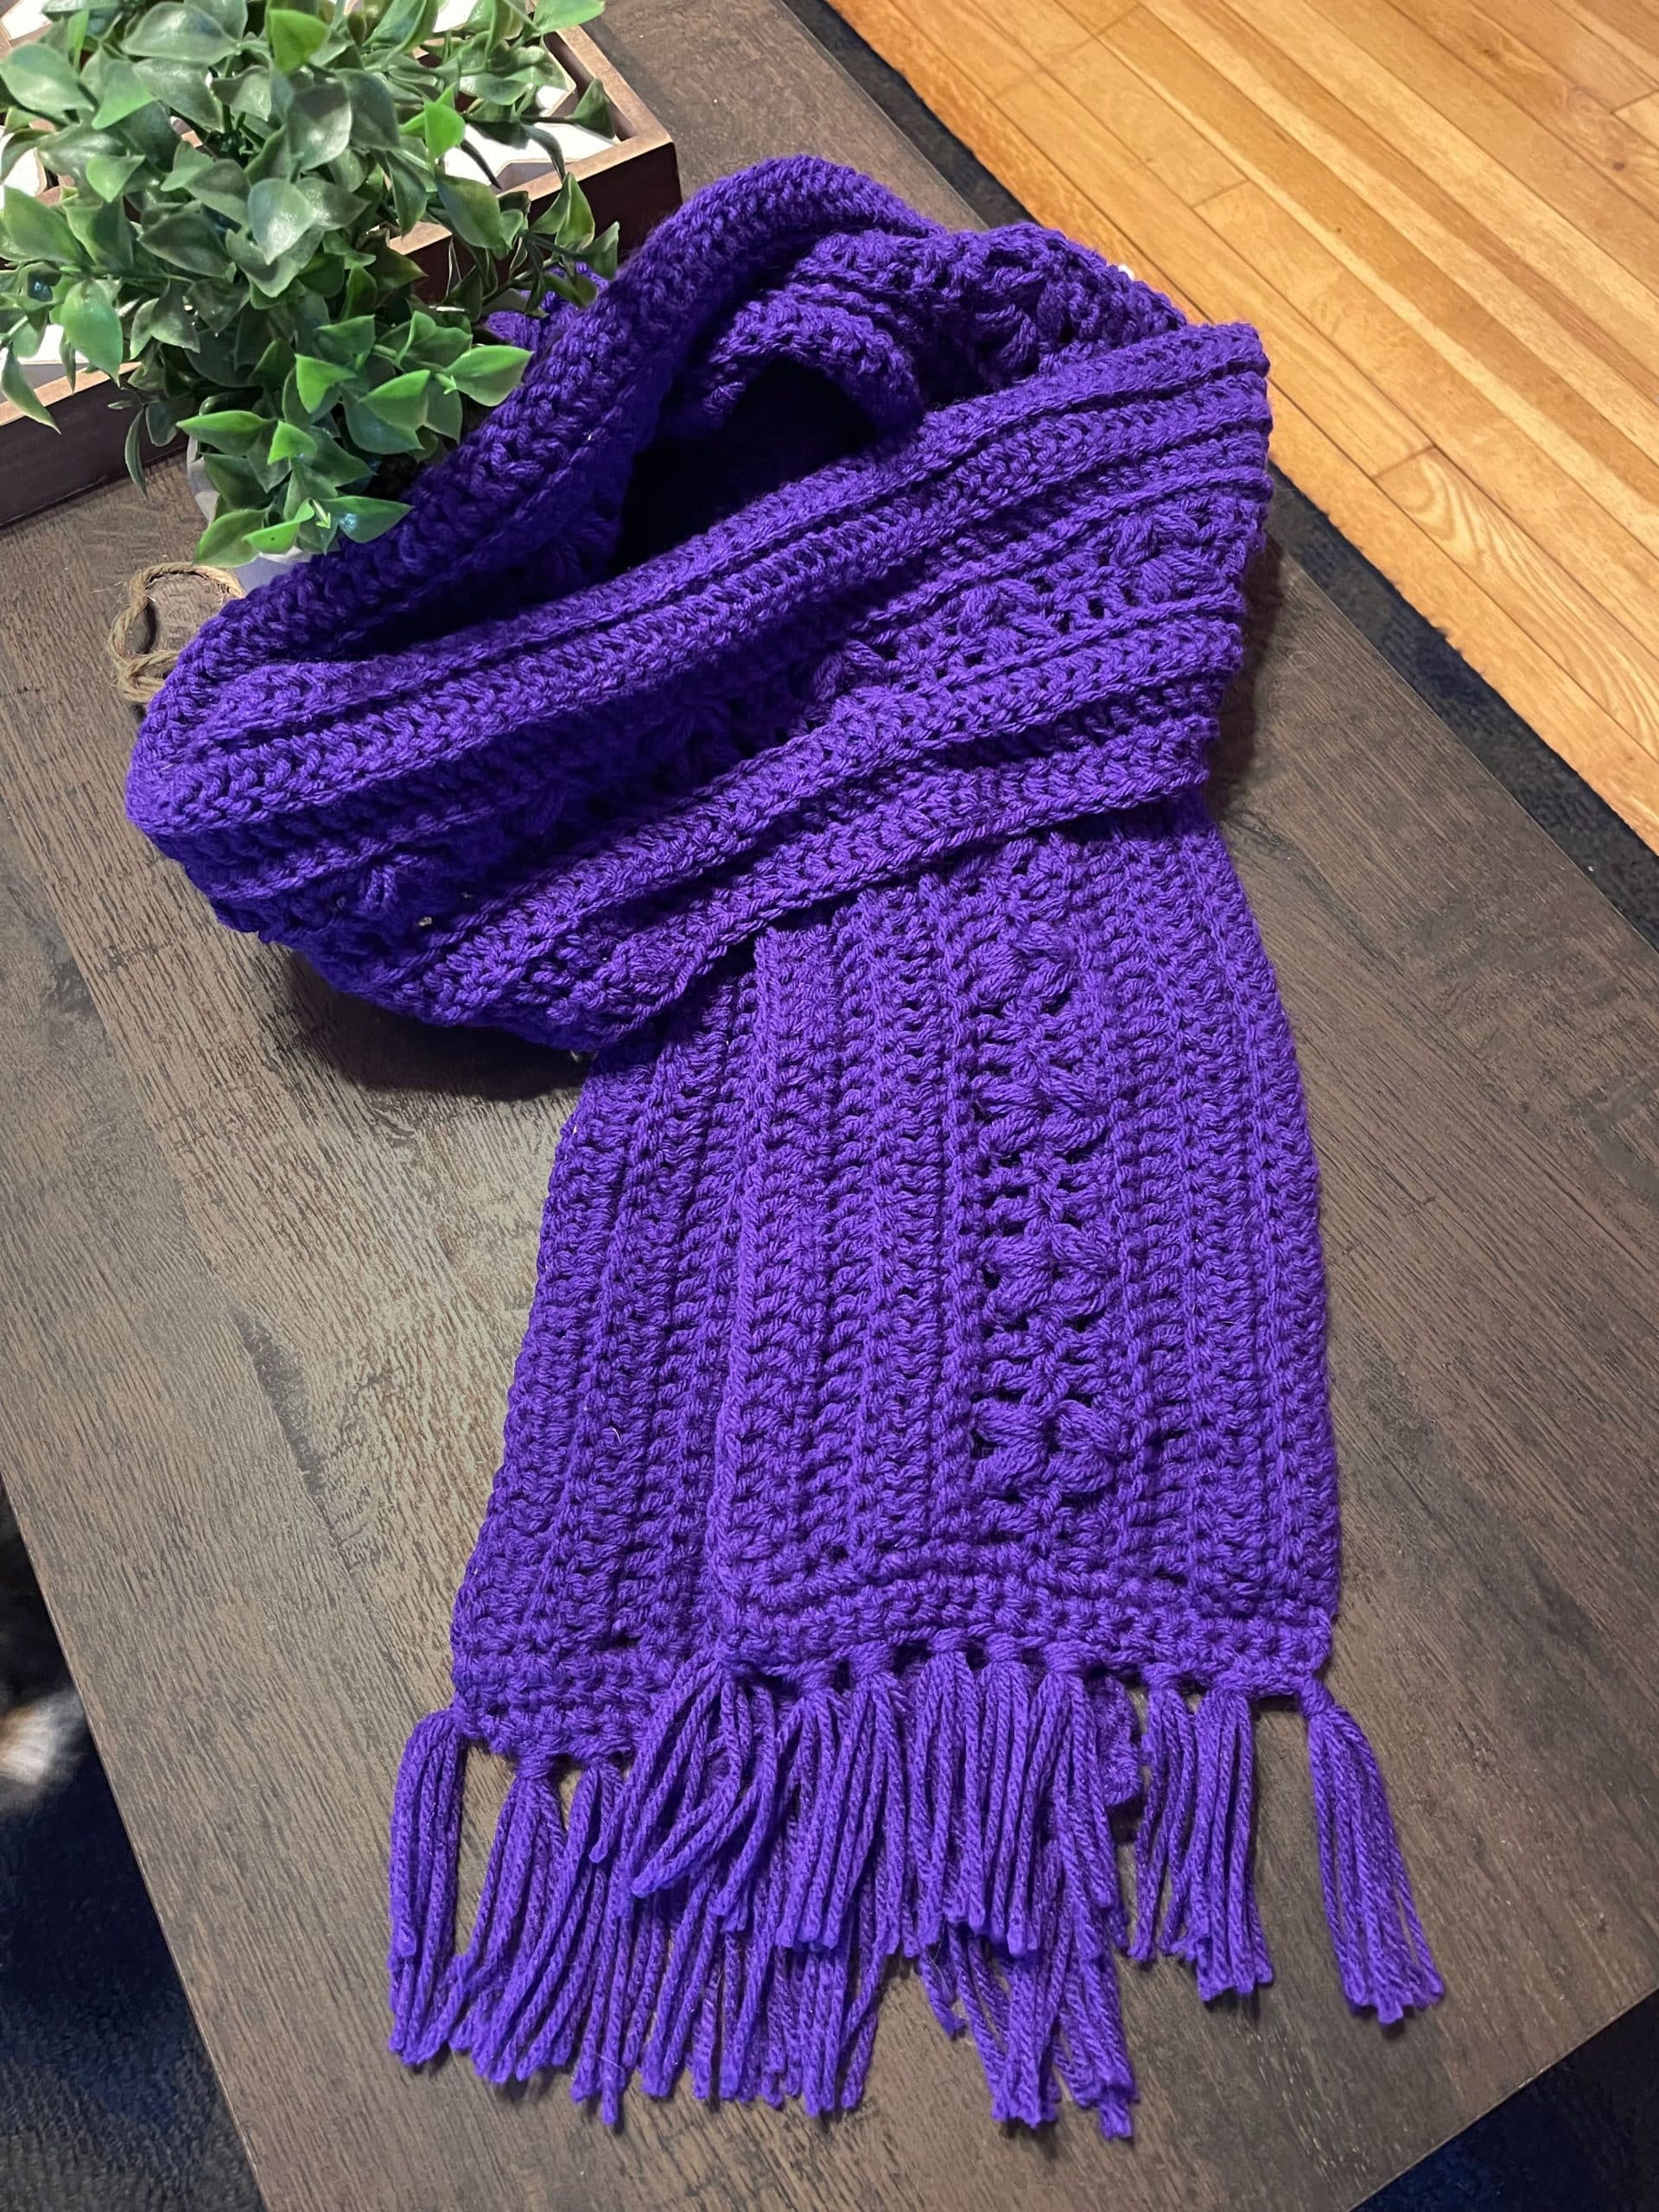
Purple scarf on table

Notes:
• If the round you’re about to start is a SC round, chain 1 and turn beforehand.

• If the round you’re about to start is a DC round, chain 2 and turn beforehand.

(The first round I’ve factored that in already.)

• The CH 2 counts as a DC for the harvest stitch rounds.

• If you want to lengthen or shorten it, it must be a multiple of 7 + 2.

• If you have trouble with the harvest stitch, here is a Youtube tutorial.


R1: CH 284
R2: starting in third chain from hook, DC x 282
R3: SC blo x 282
R4-5: DC blo x 282
R6-7: SC blo x 282
R8: (DC x 2, skip 2 stitches, harvest stitch, skip 2 stitches) x 40, then DC x 2 (282)
R9: DC in previous DC stitches and place harvest stitch under the chain from the below harvest stitch.

R10-11: SC blo x 282
R12-13: DC blo x 282
R14: SC blo x 282
R15: DC x 282


I did 3 rows of 20 SC across the ends to make a border. Then add the tassels there.


Share on Pinterest to Make Later!

Free Harvest Stitch Scarf Crochet Pattern


More Free Crochet Patterns


Free Giraffe Headband Crochet Pattern
Free Bubble Tie Headband Crochet Pattern
Free Double Crochet Headband Crochet Pattern

All My Crochet Patterns


And that’s all folks! 

Hope you enjoyed this free harvest stitch headband crochet pattern. Let me know if you have any questions. And don’t forget to pin this post on Pinterest to save it for later!


Subscribe to get notified when we post!

* indicates required


Pattern Terms of Use:


This pattern is for personal use only. Do not redistribute. Any redistribution of this pattern is theft. You may sell the finished product. Credit AbiesCustomDesigns for the pattern and use your own photos. Tutorial videos or written instructions of this pattern are prohibited.

@Copyright AbiesCustomDesigns 2023 by Abigail Spencer
All Rights Reserved


Leave a Comment