Hey y’all!
Mushrooms have been so popular recently. They’re a really cute way to add to a cottagecore aesthetic. And there’s something really satisfying about decorating your home with the things you make. Or even gifting your handmade products to the people you love.
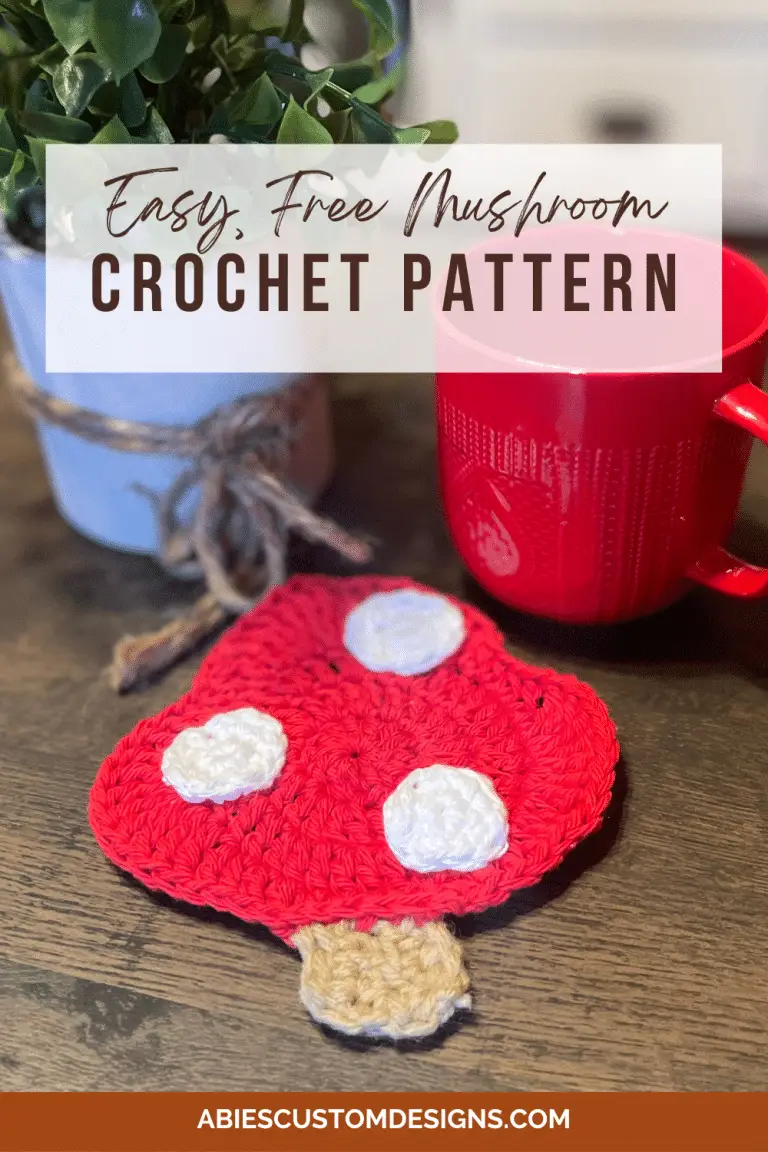
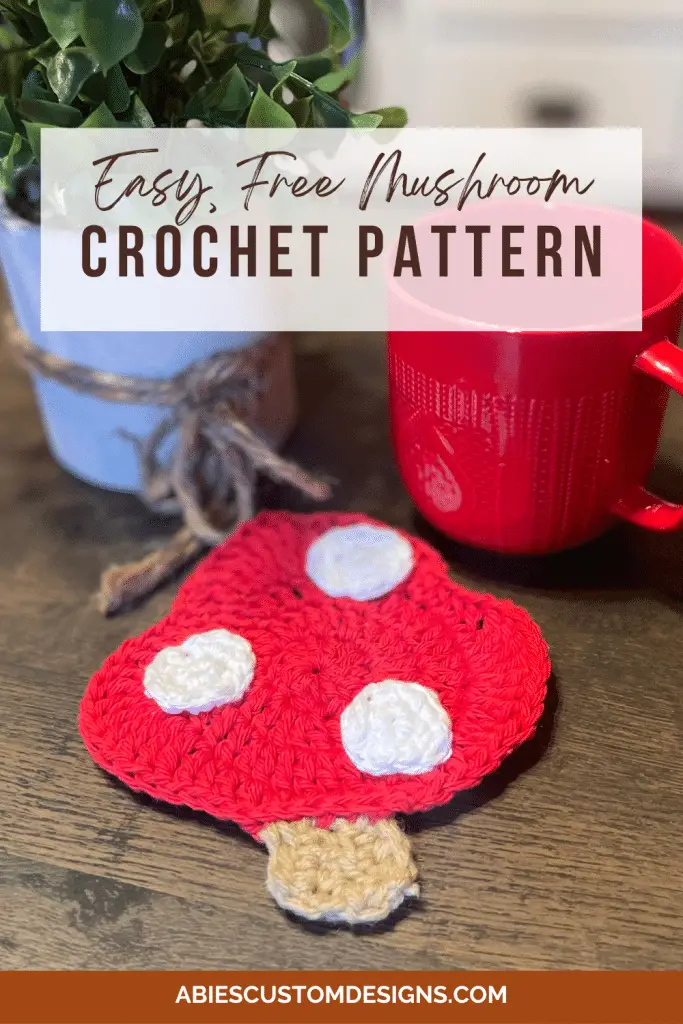
This free mushroom coaster crochet pattern is very easy to make and also beginner friendly. I’ll walk you through all the steps with photos along the way.
If you would like to purchase the downloadable and printable PDF version of this pattern, you can find it on my Etsy or on Ravelry.

Disclosure: This post may contain affiliate links and I may receive a commission if you purchase through them, at no extra cost to you.
Materials
Yarn
The type of yarn you use is very important for a coaster. Some types of yarn will melt under heat or not absorb liquids as well as others. Plus, being washable is pretty important for a coaster. You can either use cotton or wool, but cotton is my favorite.
Why use Cotton Yarn for a Crochet Coaster?
- Absorbency: Cotton yarn is great for absorbing moisture. So if you set a cold drink on a cotton coaster, it’ll absorb any sweat from it. And if you happen to spill anything on it, that will be absorbed as well.
- Durability: Since coasters are frequently used, they need to be durable. Cotton yarn is great for this as it’s very durable and can withstand daily use.
- Heat Resistance: Keeping hot drinks from burning your furniture is an important function for a coaster. Cotton yarn can withstand the heat from beverages without melting. This makes it a great choice.
- Easy to Clean: Most cotton yarn is able to be put in the washing machine on the gentle cycle. This makes it much easier to clean than other yarns that would have to be hand-washed.
- Variety: There are many different textures and colors available for cotton yarn. Some are super soft. Some are coarse. Some are solid colors. Some are multicolored. This allows you to create coasters that match your personal style and home decor.
- Environmentally Friendly: Cotton is a natural plant-based fiber, making it biodegradable and more environmentally friendly than synthetic alternatives.
- Minimal Stretching: Cotton yarn has minimal stretching compared to some other fibers. This helps the coaster maintain its shape and size over time.
These are the basic characteristics of cotton yarn. However, always check the label of the specific cotton yarn that you buy to make sure there aren’t any specific instructions.
Yarn I Used
For these crochet mushroom coasters, I used Peaches and Cream weight 4 medium cotton yarn. I really like this yarn for coasters specifically because it feels very durable and is a bit coarser than other cotton yarns that I’ve used. I love soft cotton yarn for hats and headbands, but I like a bit more sturdy cotton for a coaster. That could just be me though.
Any type of weight 4 cotton yarn will work for this pattern!
Stitches Used in This Pattern
Slip Knot: tutorial by SarahMaker
Here’s a helpful video tutorial.
Crochet Mushroom Coaster Pattern/Tutorial
Skill Level: Beginner/Intermediate
Materials and Tools
Terminology (US)
SC – single crochet
MR – magic ring
INC – increase
DEC – decrease
R – round
HDC – half double crochet
DC – double crochet
TR – treble
CH – chain
Finished Size: ~5 inches wide
Pattern Notes
When I say do 2 dc in same stitch or 2 tr in same stitch, that’s the same as a dc-inc or tr-inc.
How to Crochet a Mushroom Coaster Steps
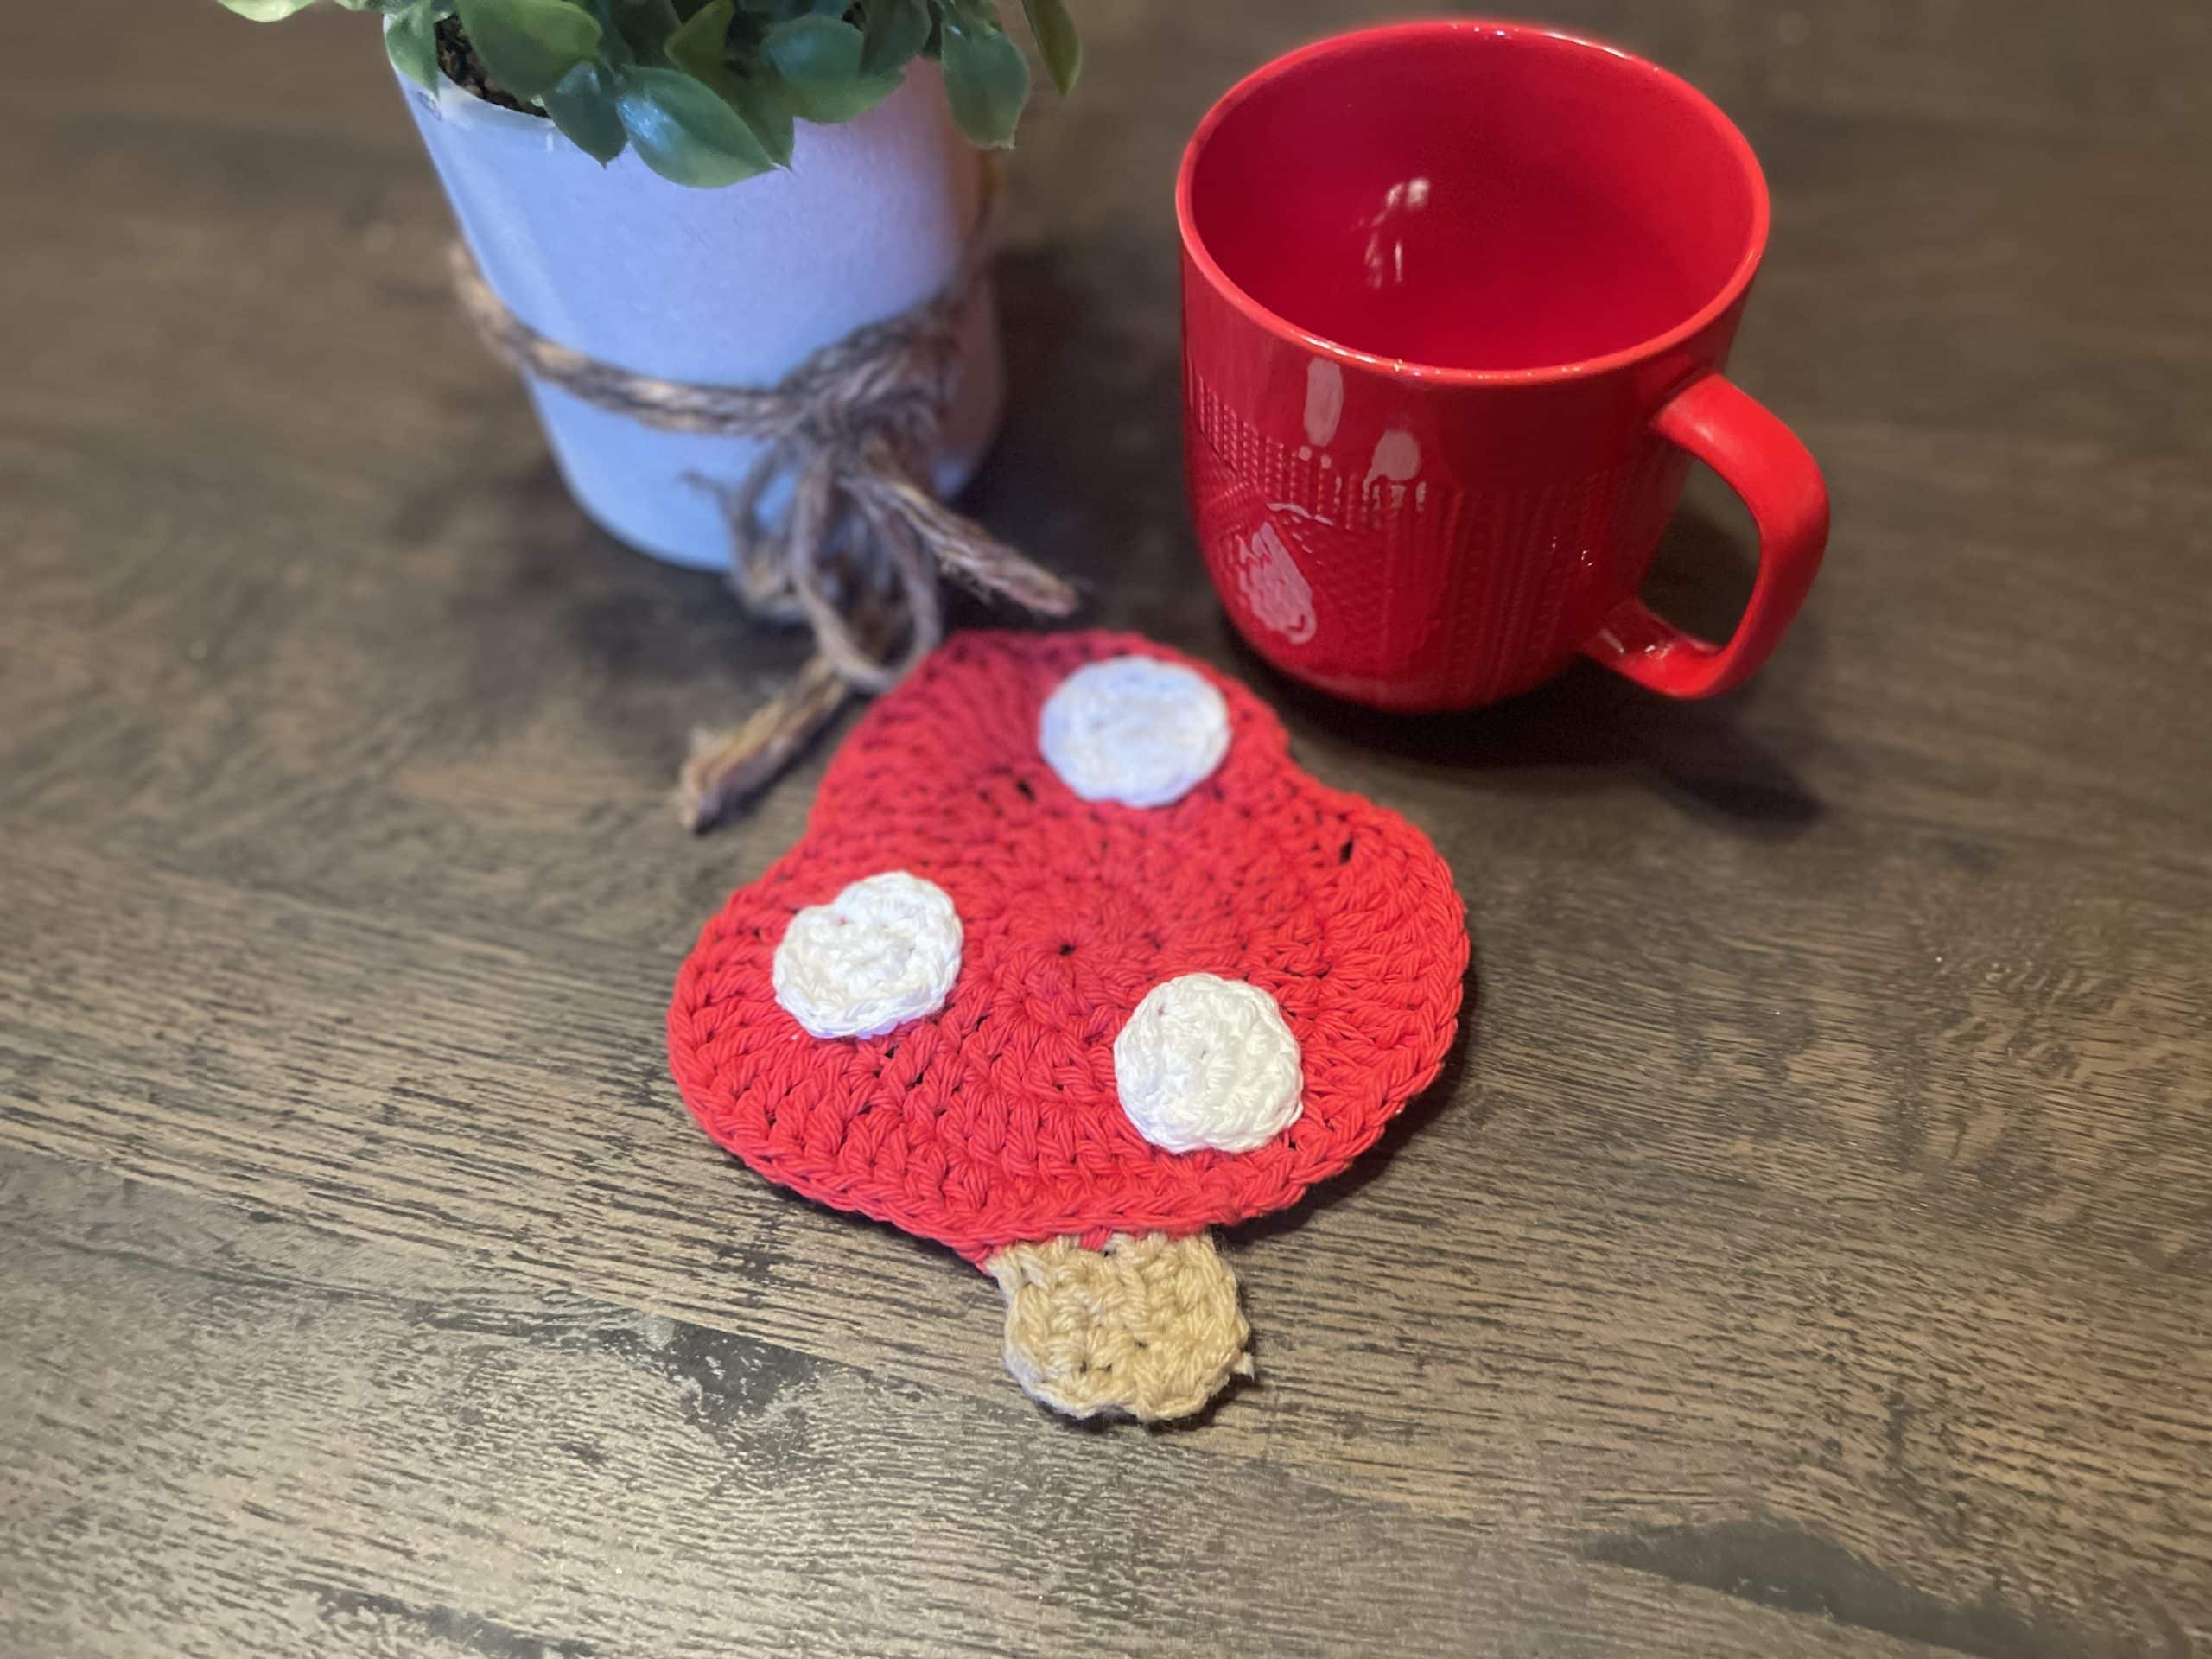
Approximate time: 45 minutes
Round 1:
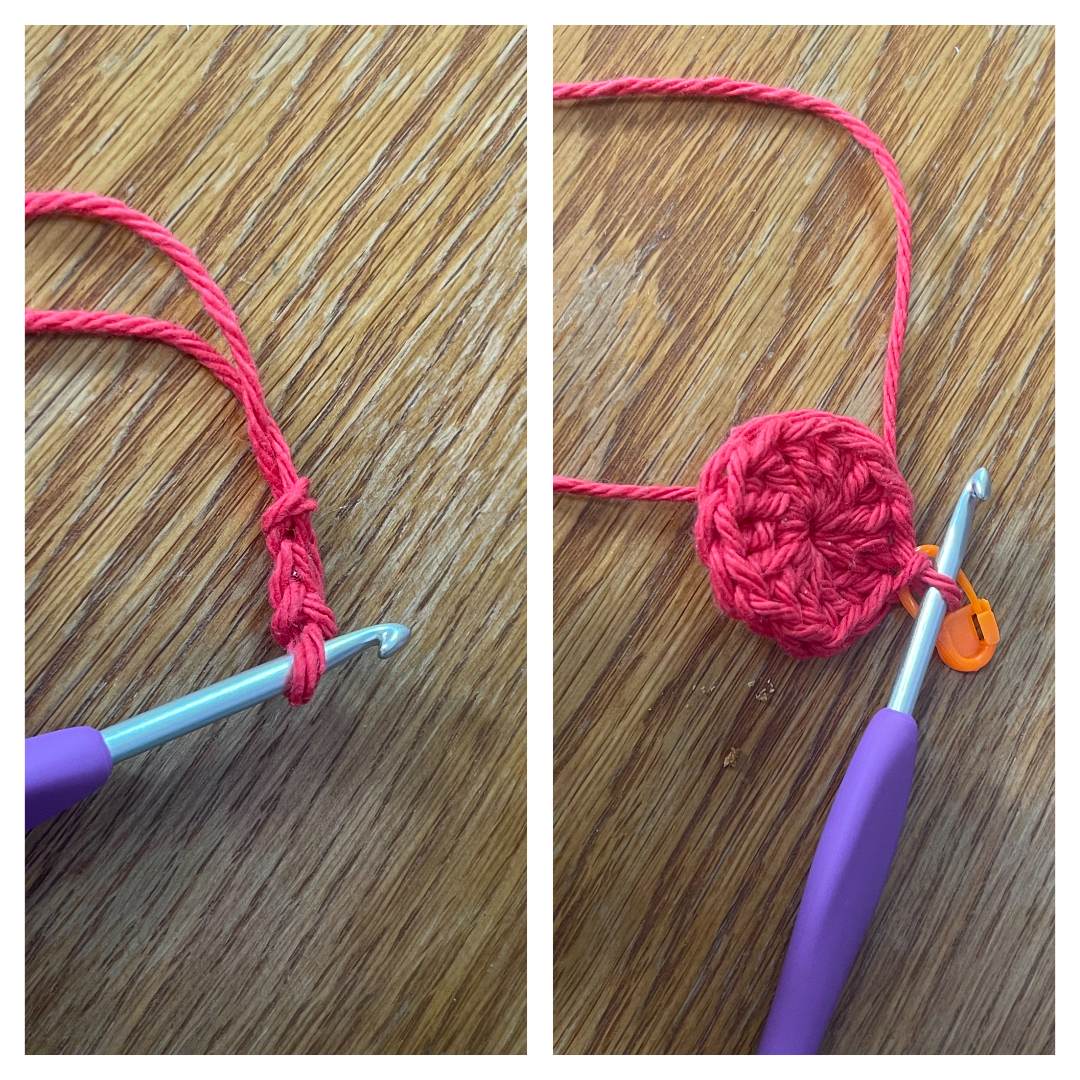
Slip knot
Chain 3
In the second stitch from the hook (the first that you chained), do 12 dc
Pull the center closed
Slip stitch into the first dc
(12)
Round 2:
Ch 2
Make 2 dc in each stitch. (this is a dc-inc)
Sl st into first dc
(24)
Round 3:
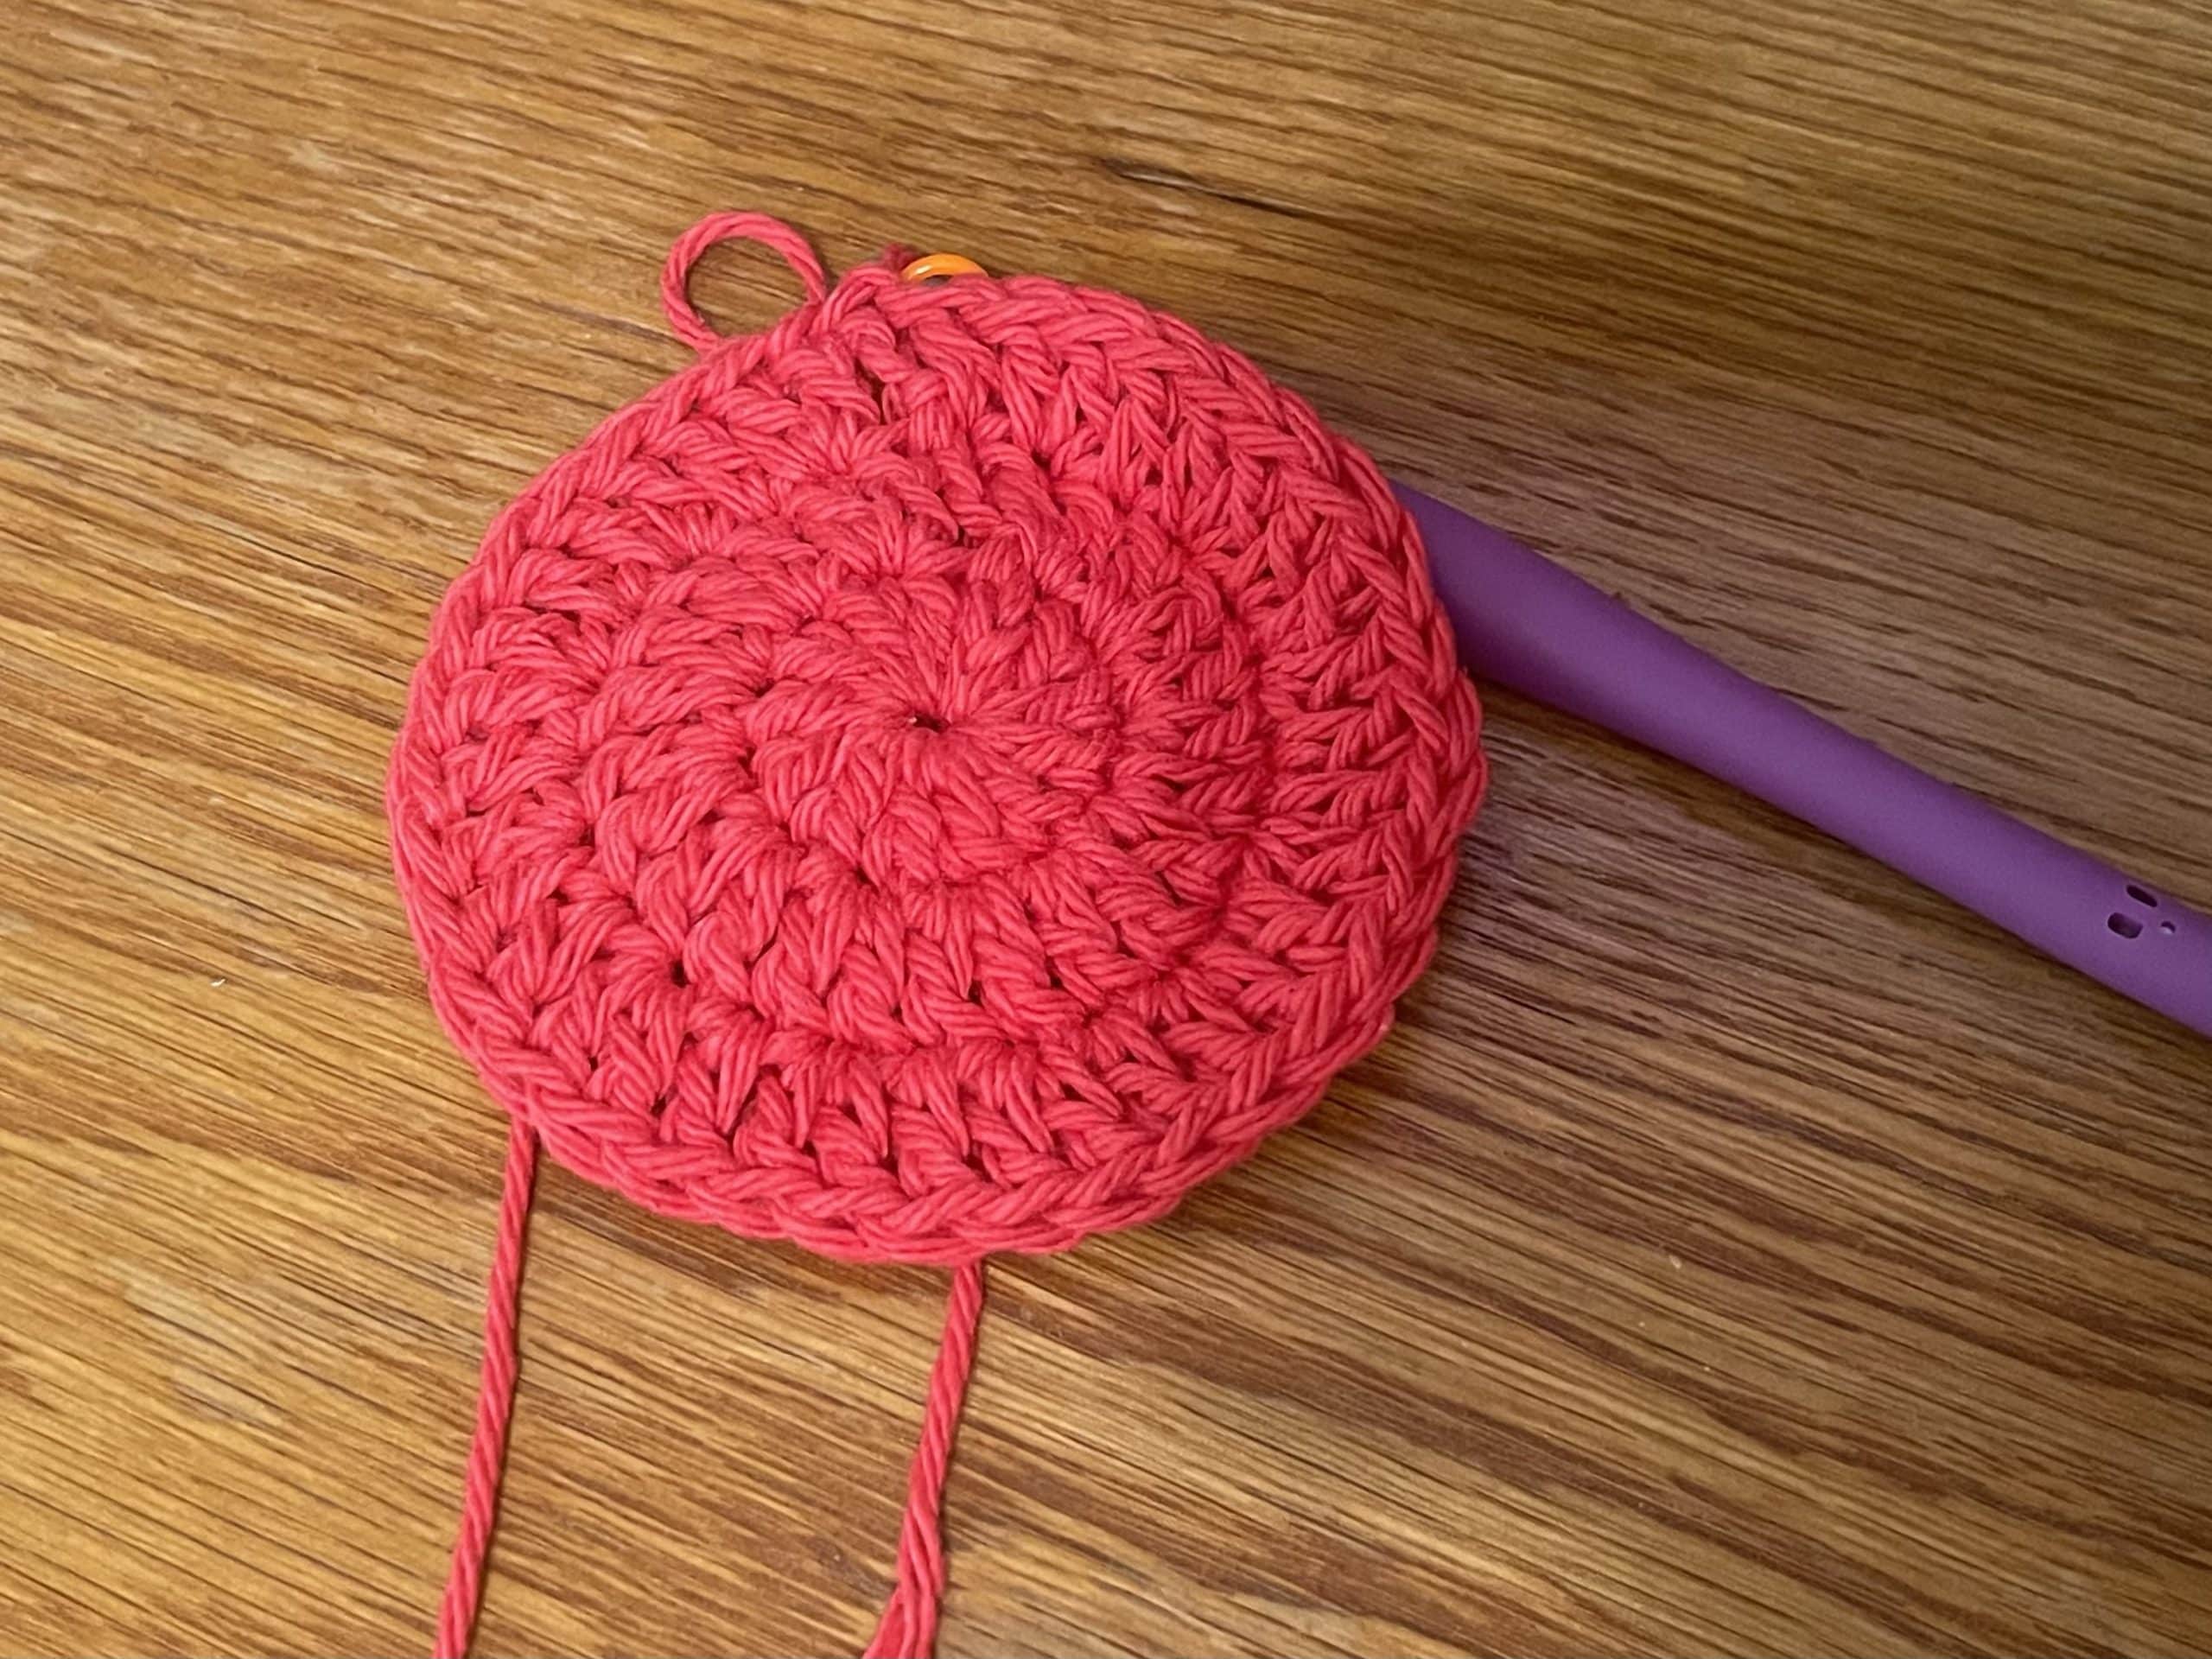
Ch 2
Alternate between 2 dc in same stitch and 1 dc in same stitch.
Sl st into first dc
(36)
Round 4:
Ch 2
dc in next 2 stitches
2 dc in next stitch
tr in next stitch
2 tr in next st
3 tr in next stitch
2 tr in next stitch
Tr in next st
Dc in next st
Hdc in next 3 stitches
Tr in next stitch
2 tr in next stitch
3 tr in next stitch
5 tr in next stitch
3 tr in next stitch
2 tr in next stitch
tr in next stitch
Hdc in next 3 stitches
Dc in next st
Tr in next st
2 tr in next stitch
3 tr in next stitch
2 tr in next st
Tr in next stitch
2 dc in next stitch
dc in next 2 stitches
Hdc in next 4 stitches
Sl st into first dc
Stem
Round 1:
Slip knot
Chain 4
Round 2-5:
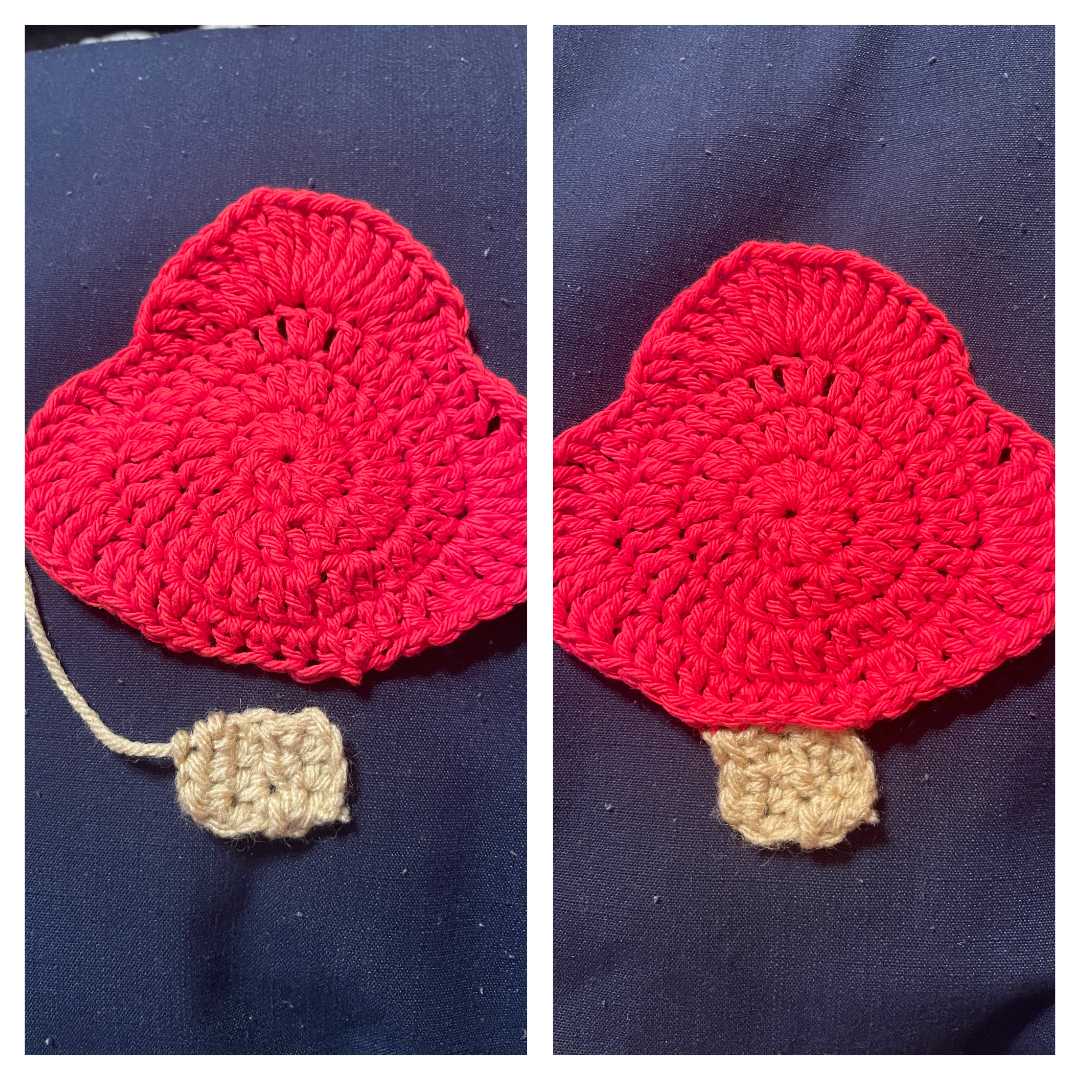
hdc x 3
Chain 1 and turn
Sew on. Make sure to sew to the bottom back loops of the mushroom.
White Spots (make 3)
Round 1:
MR 6 (6)
Round 2:
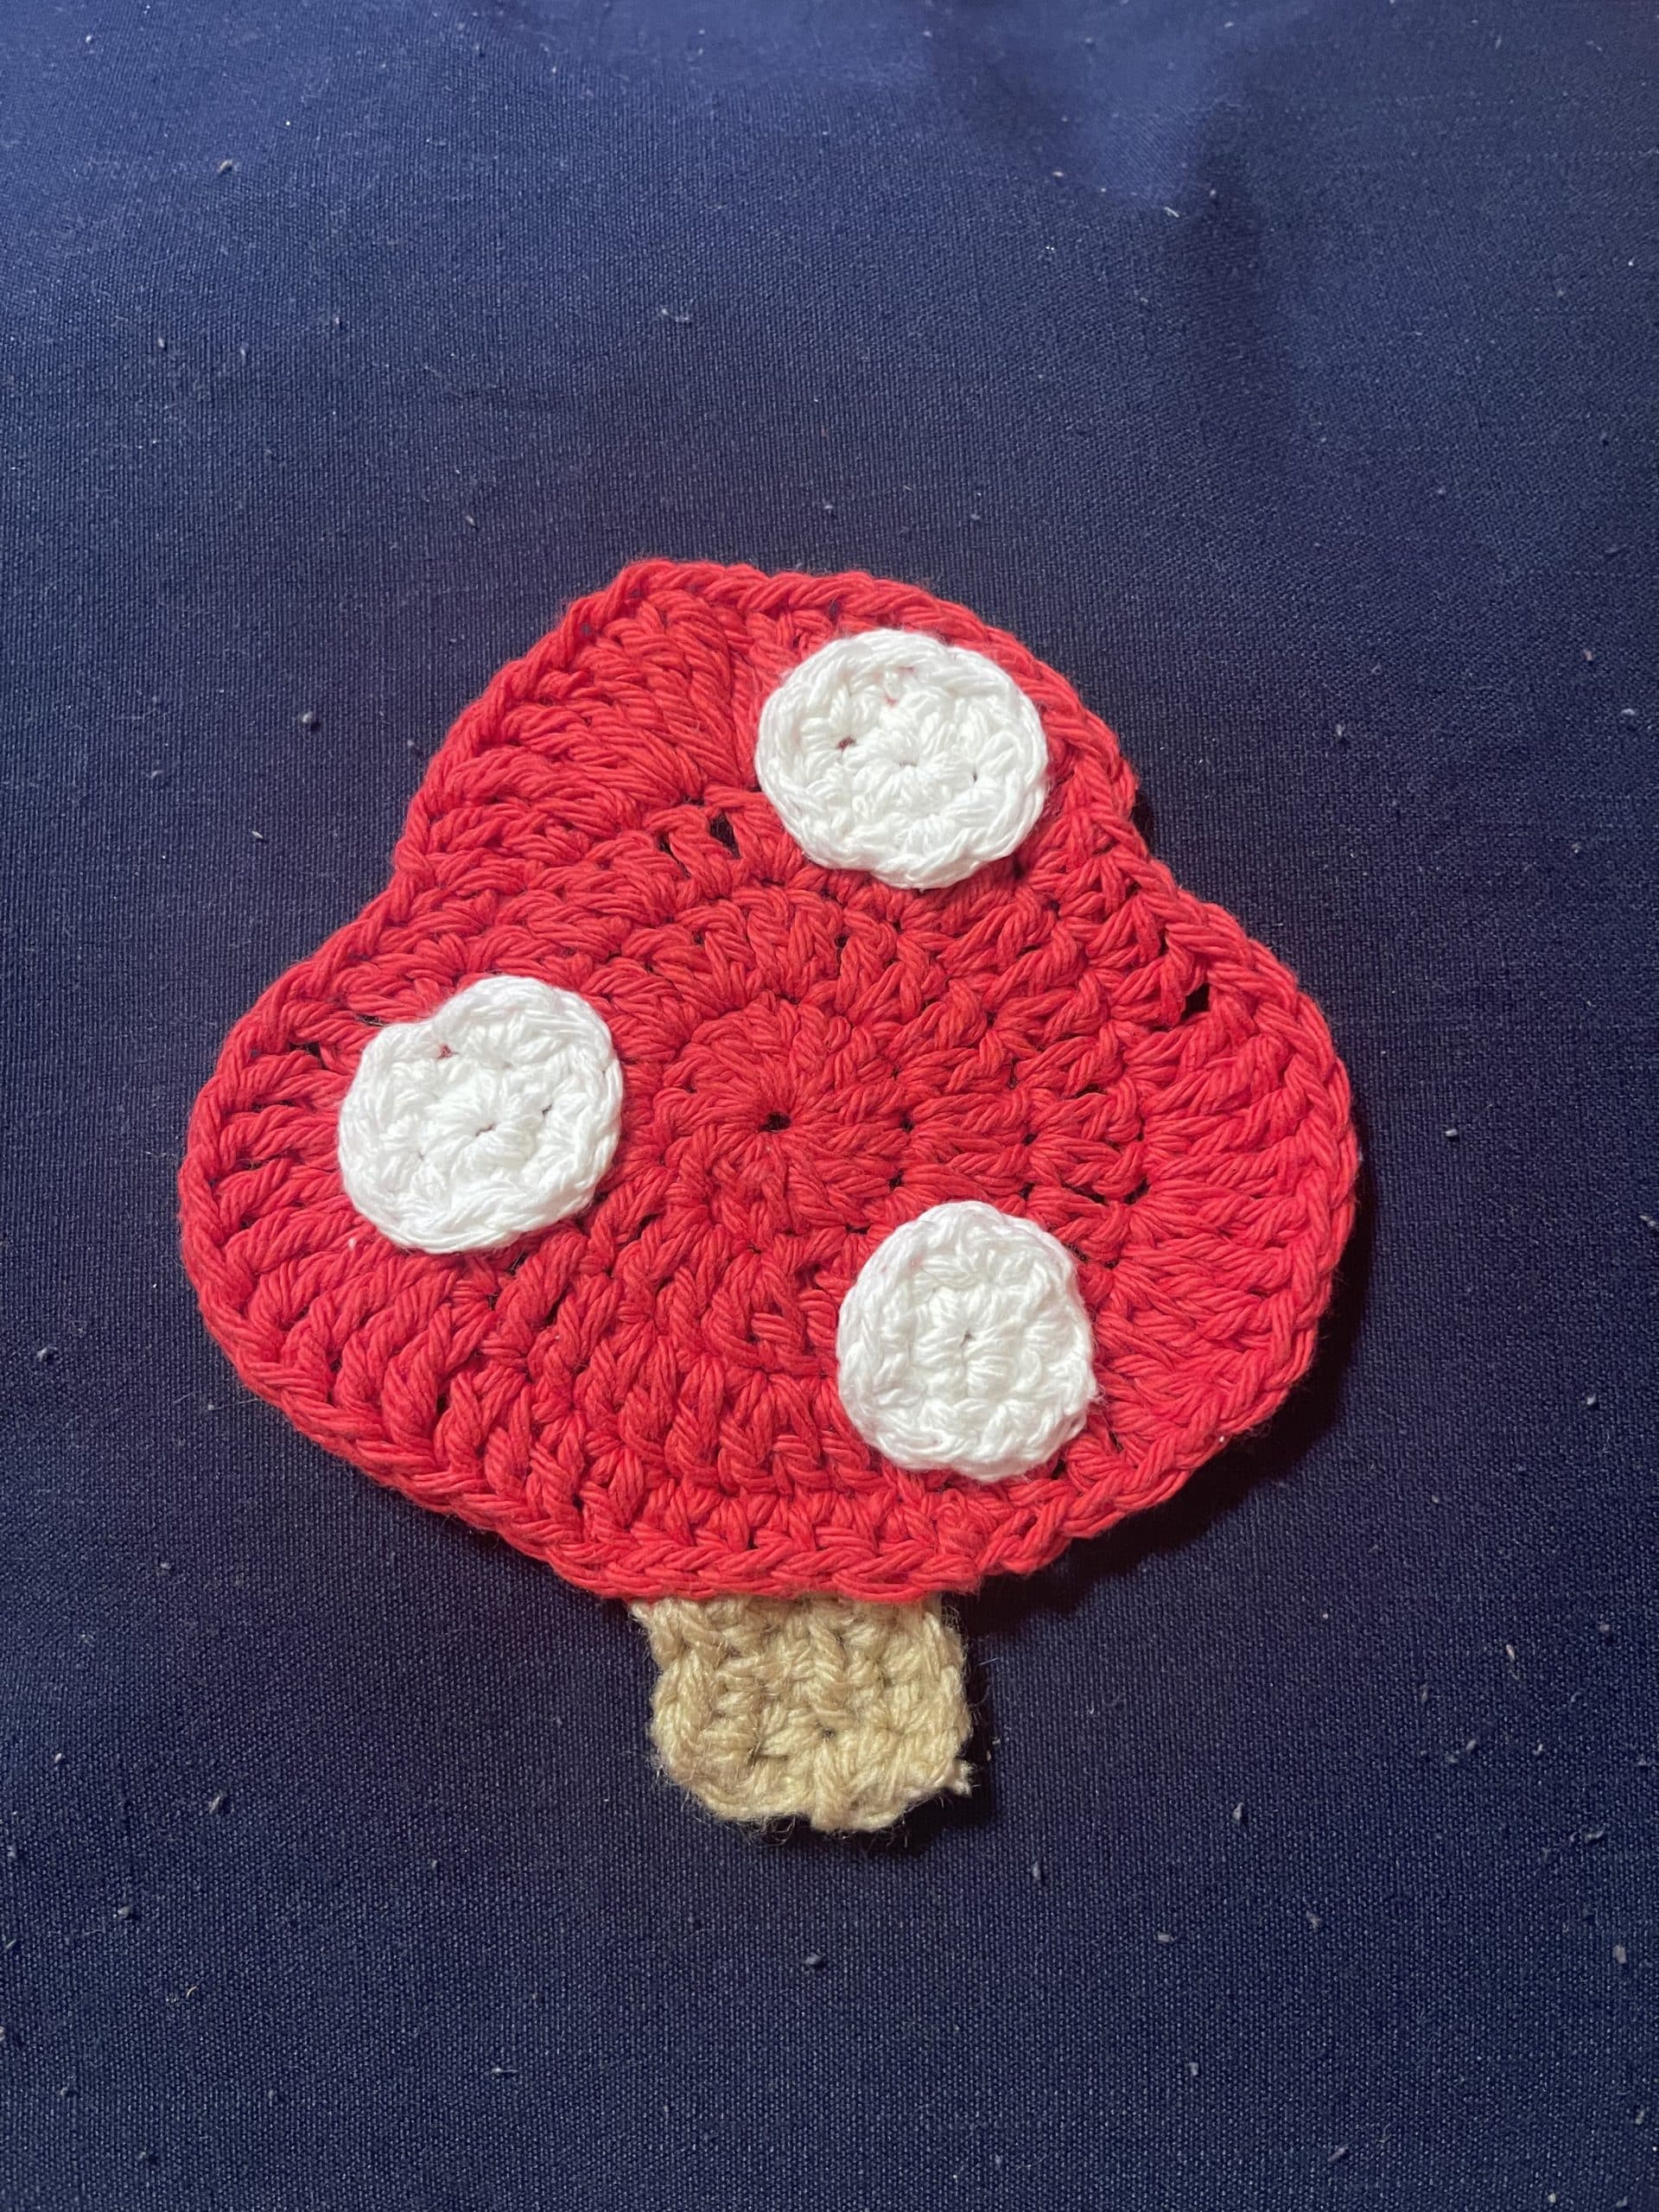
Inc x 2
SC x 2
Inc x 2
(8)
slip stitch and fasten off, leaving a long tail for sewing.
Sew white spots on.
Crochet Coaster Care Instructions
The Safest Method:
- Read Care Instructions: Check the label of the cotton yarn you used to make the coasters for any specific care instructions. Different yarn brands might have recommendations for washing and care.
- Pre-Treat Stains (if needed): If your coasters have stains, gently spot clean them before washing. Use a mild detergent or soap and a soft cloth or sponge. Avoid scrubbing too vigorously to prevent damaging the crochet stitches.
- Prepare Washing Solution: Fill a basin or sink with lukewarm water. You can add a small amount of mild detergent specifically designed for delicate fabrics or hand washing. Be cautious not to use harsh detergents that might weaken or damage the yarn.
- Submerge the Coasters: Gently place the coasters in the prepared water and press them down to ensure they are fully submerged.
- Gently Agitate: Gently swish the coasters in the water to help the detergent penetrate. Avoid excessive agitation, as it can cause friction between the stitches and lead to distortion.
- Soak Time: Allow the coasters to soak for about 15-20 minutes to help loosen dirt and oils.
- Rinse: Drain the soapy water and refill the basin with clean, lukewarm water. Gently agitate the coasters in the clean water to rinse out any soap residue.
- Press Out Excess Water: Press the coasters between clean, dry towels to remove excess water. Be careful not to twist or wring them, as this can misshape the stitches.
- Reshape and Dry: Place the coasters on a clean, dry towel or a mesh drying rack. Reshape them back to their original shape and size if they have stretched or misshaped during washing. Allow them to air dry in a well-ventilated area, away from direct sunlight and heat sources.
The Washer and Dryer Method:
Crochet Cotton Coasters should be alright in the washing machine as long as it is set to the delicate wash cycle with cold water. It’s also safest to avoid the spin cycle. Most cotton yarn will be fine in the dryer on a low heat.
**Always read the yarn label for specific instructions on washing and drying. Some cotton yarn cannot be put in the washer and dryer, and some cotton yarn can.**
Share on Pinterest to Make Later!
More Free Crochet Patterns
Easy Circle Coaster Pattern (both SC and DC versions.)
Cactus Coaster Crochet Pattern
And that’s all folks!
Hope you enjoyed this free mushroom coaster crochet pattern. Let me know if you have any questions. And don’t forget to pin this post on Pinterest to save it for later!
Pattern Terms of Use:
This pattern is for personal use only. Do not redistribute. Any redistribution of this pattern is theft. You may sell the finished product. Credit AbiesCustomDesigns for the pattern and use your own photos. Tutorial videos or written instructions of this pattern are prohibited.
@Copyright AbiesCustomDesigns 2023 by Abigail Spencer
All Rights Reserved

