Hey y’all!
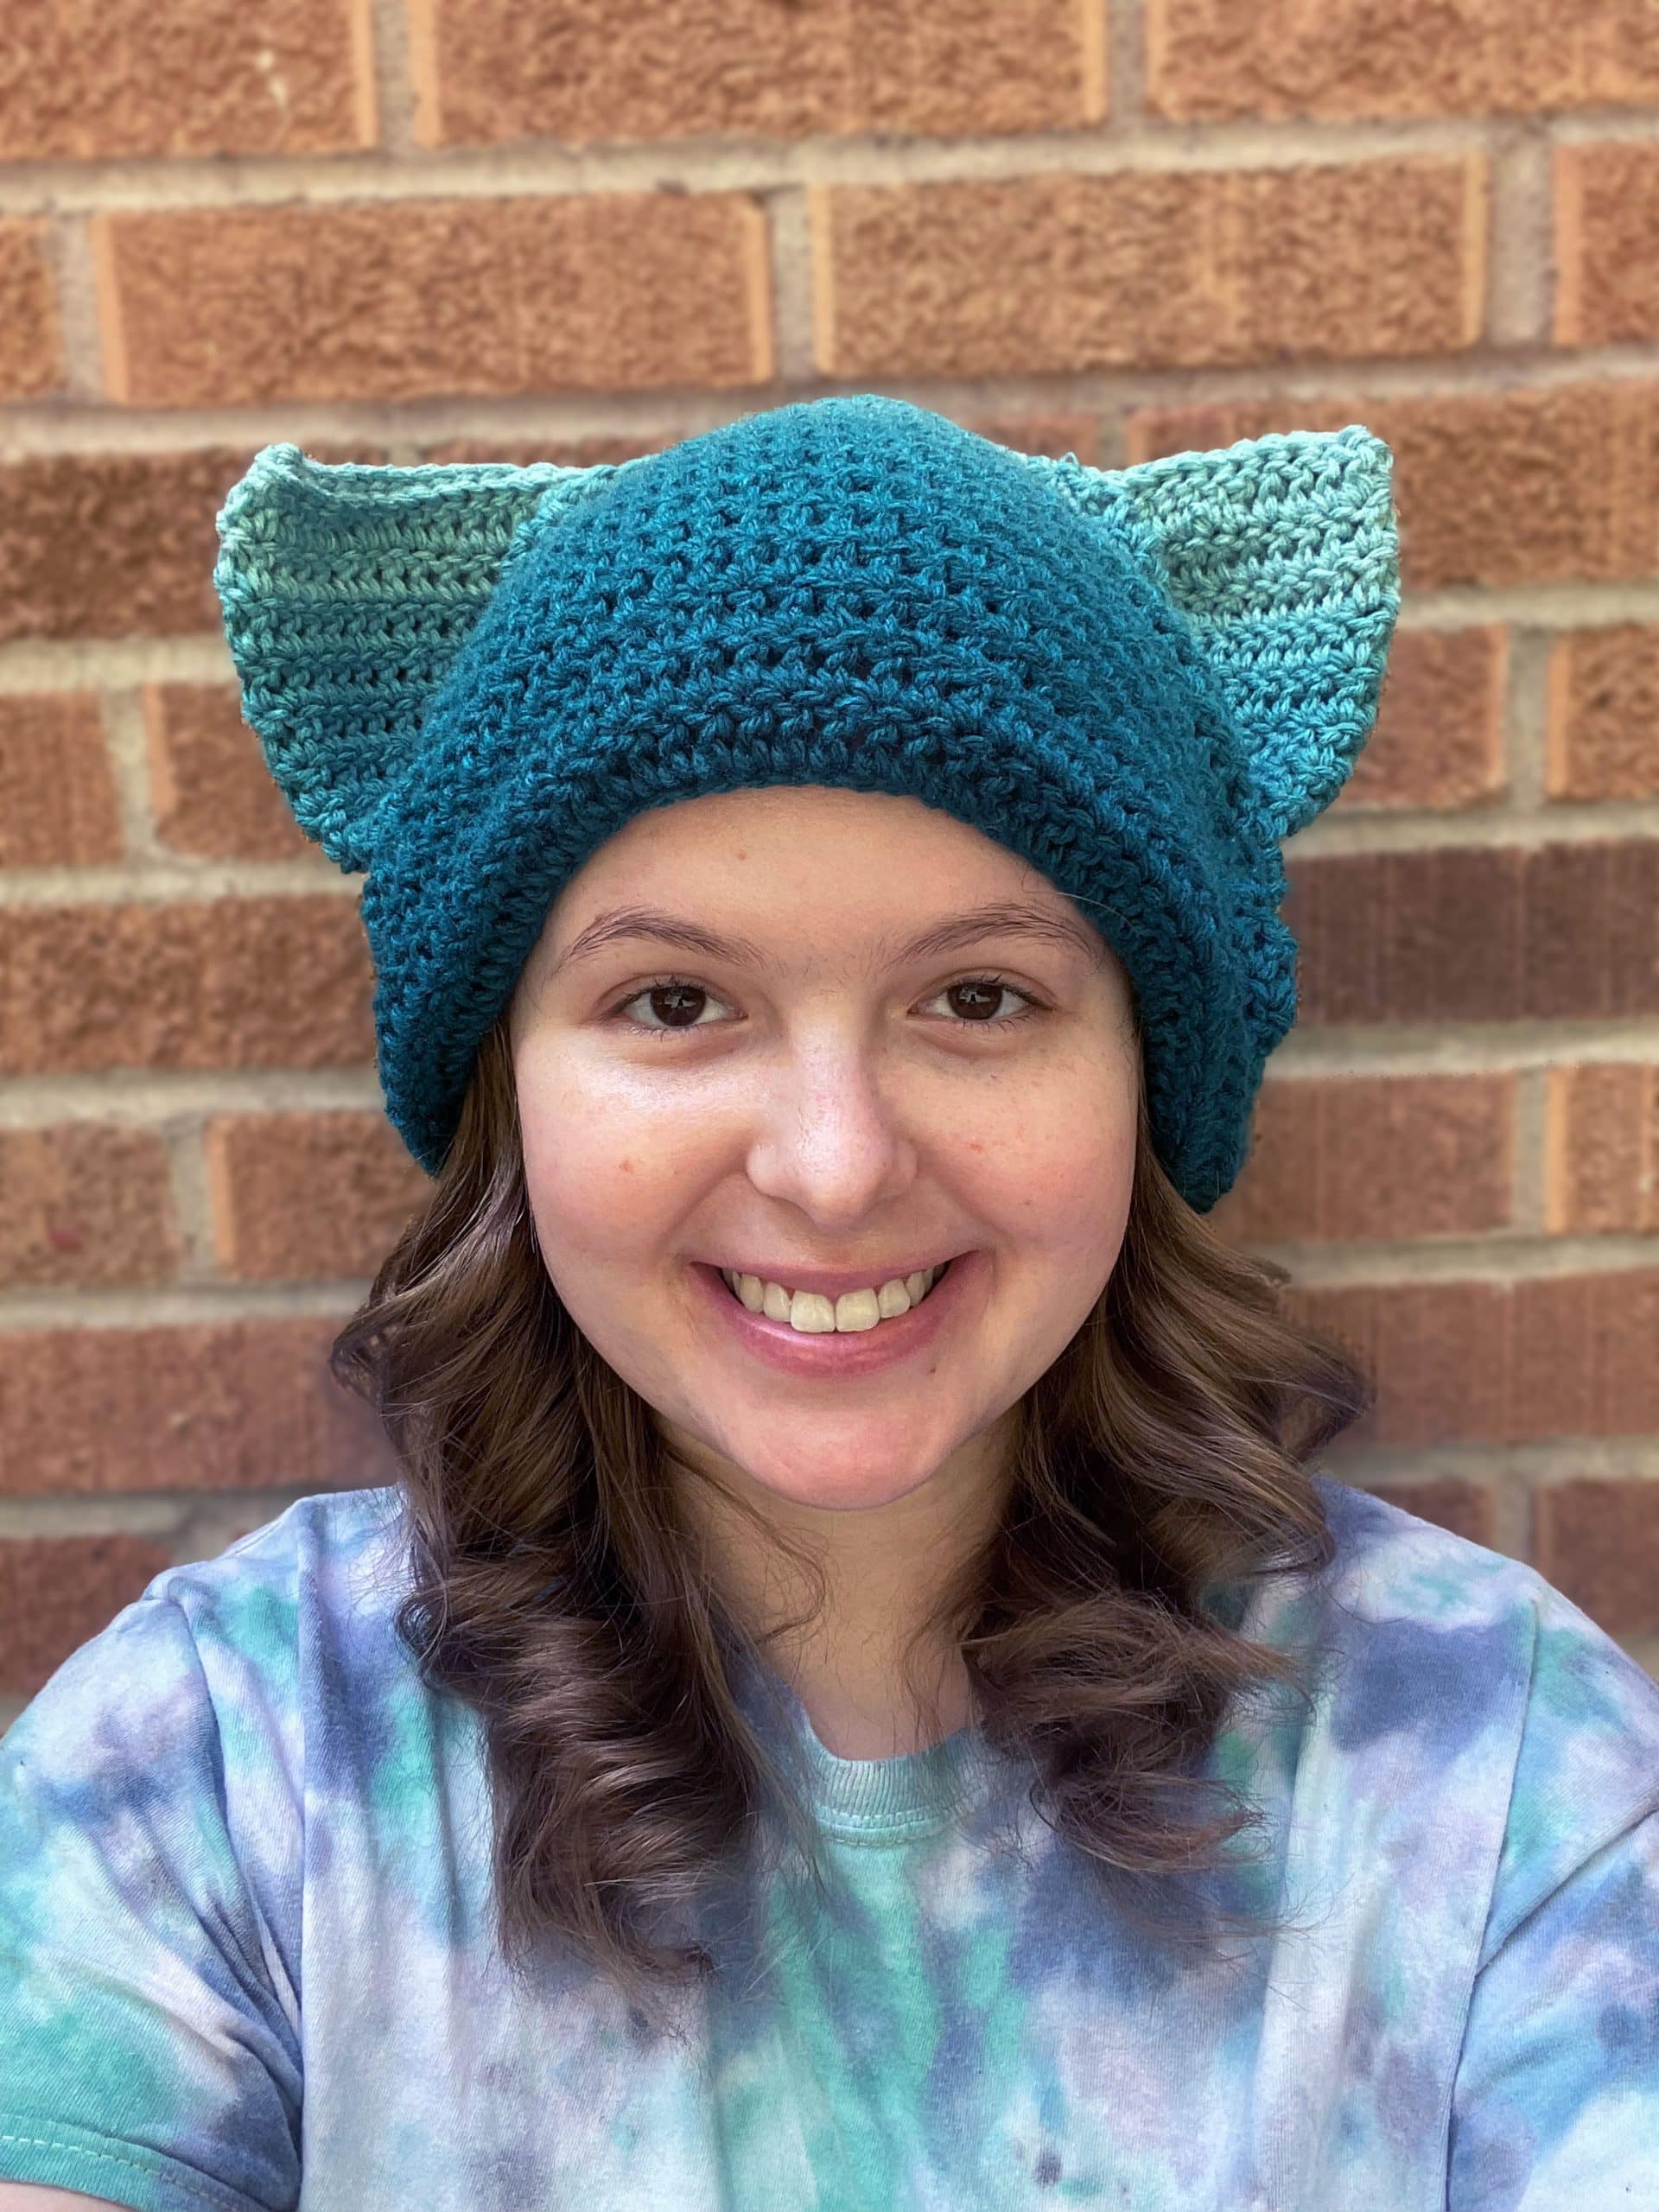
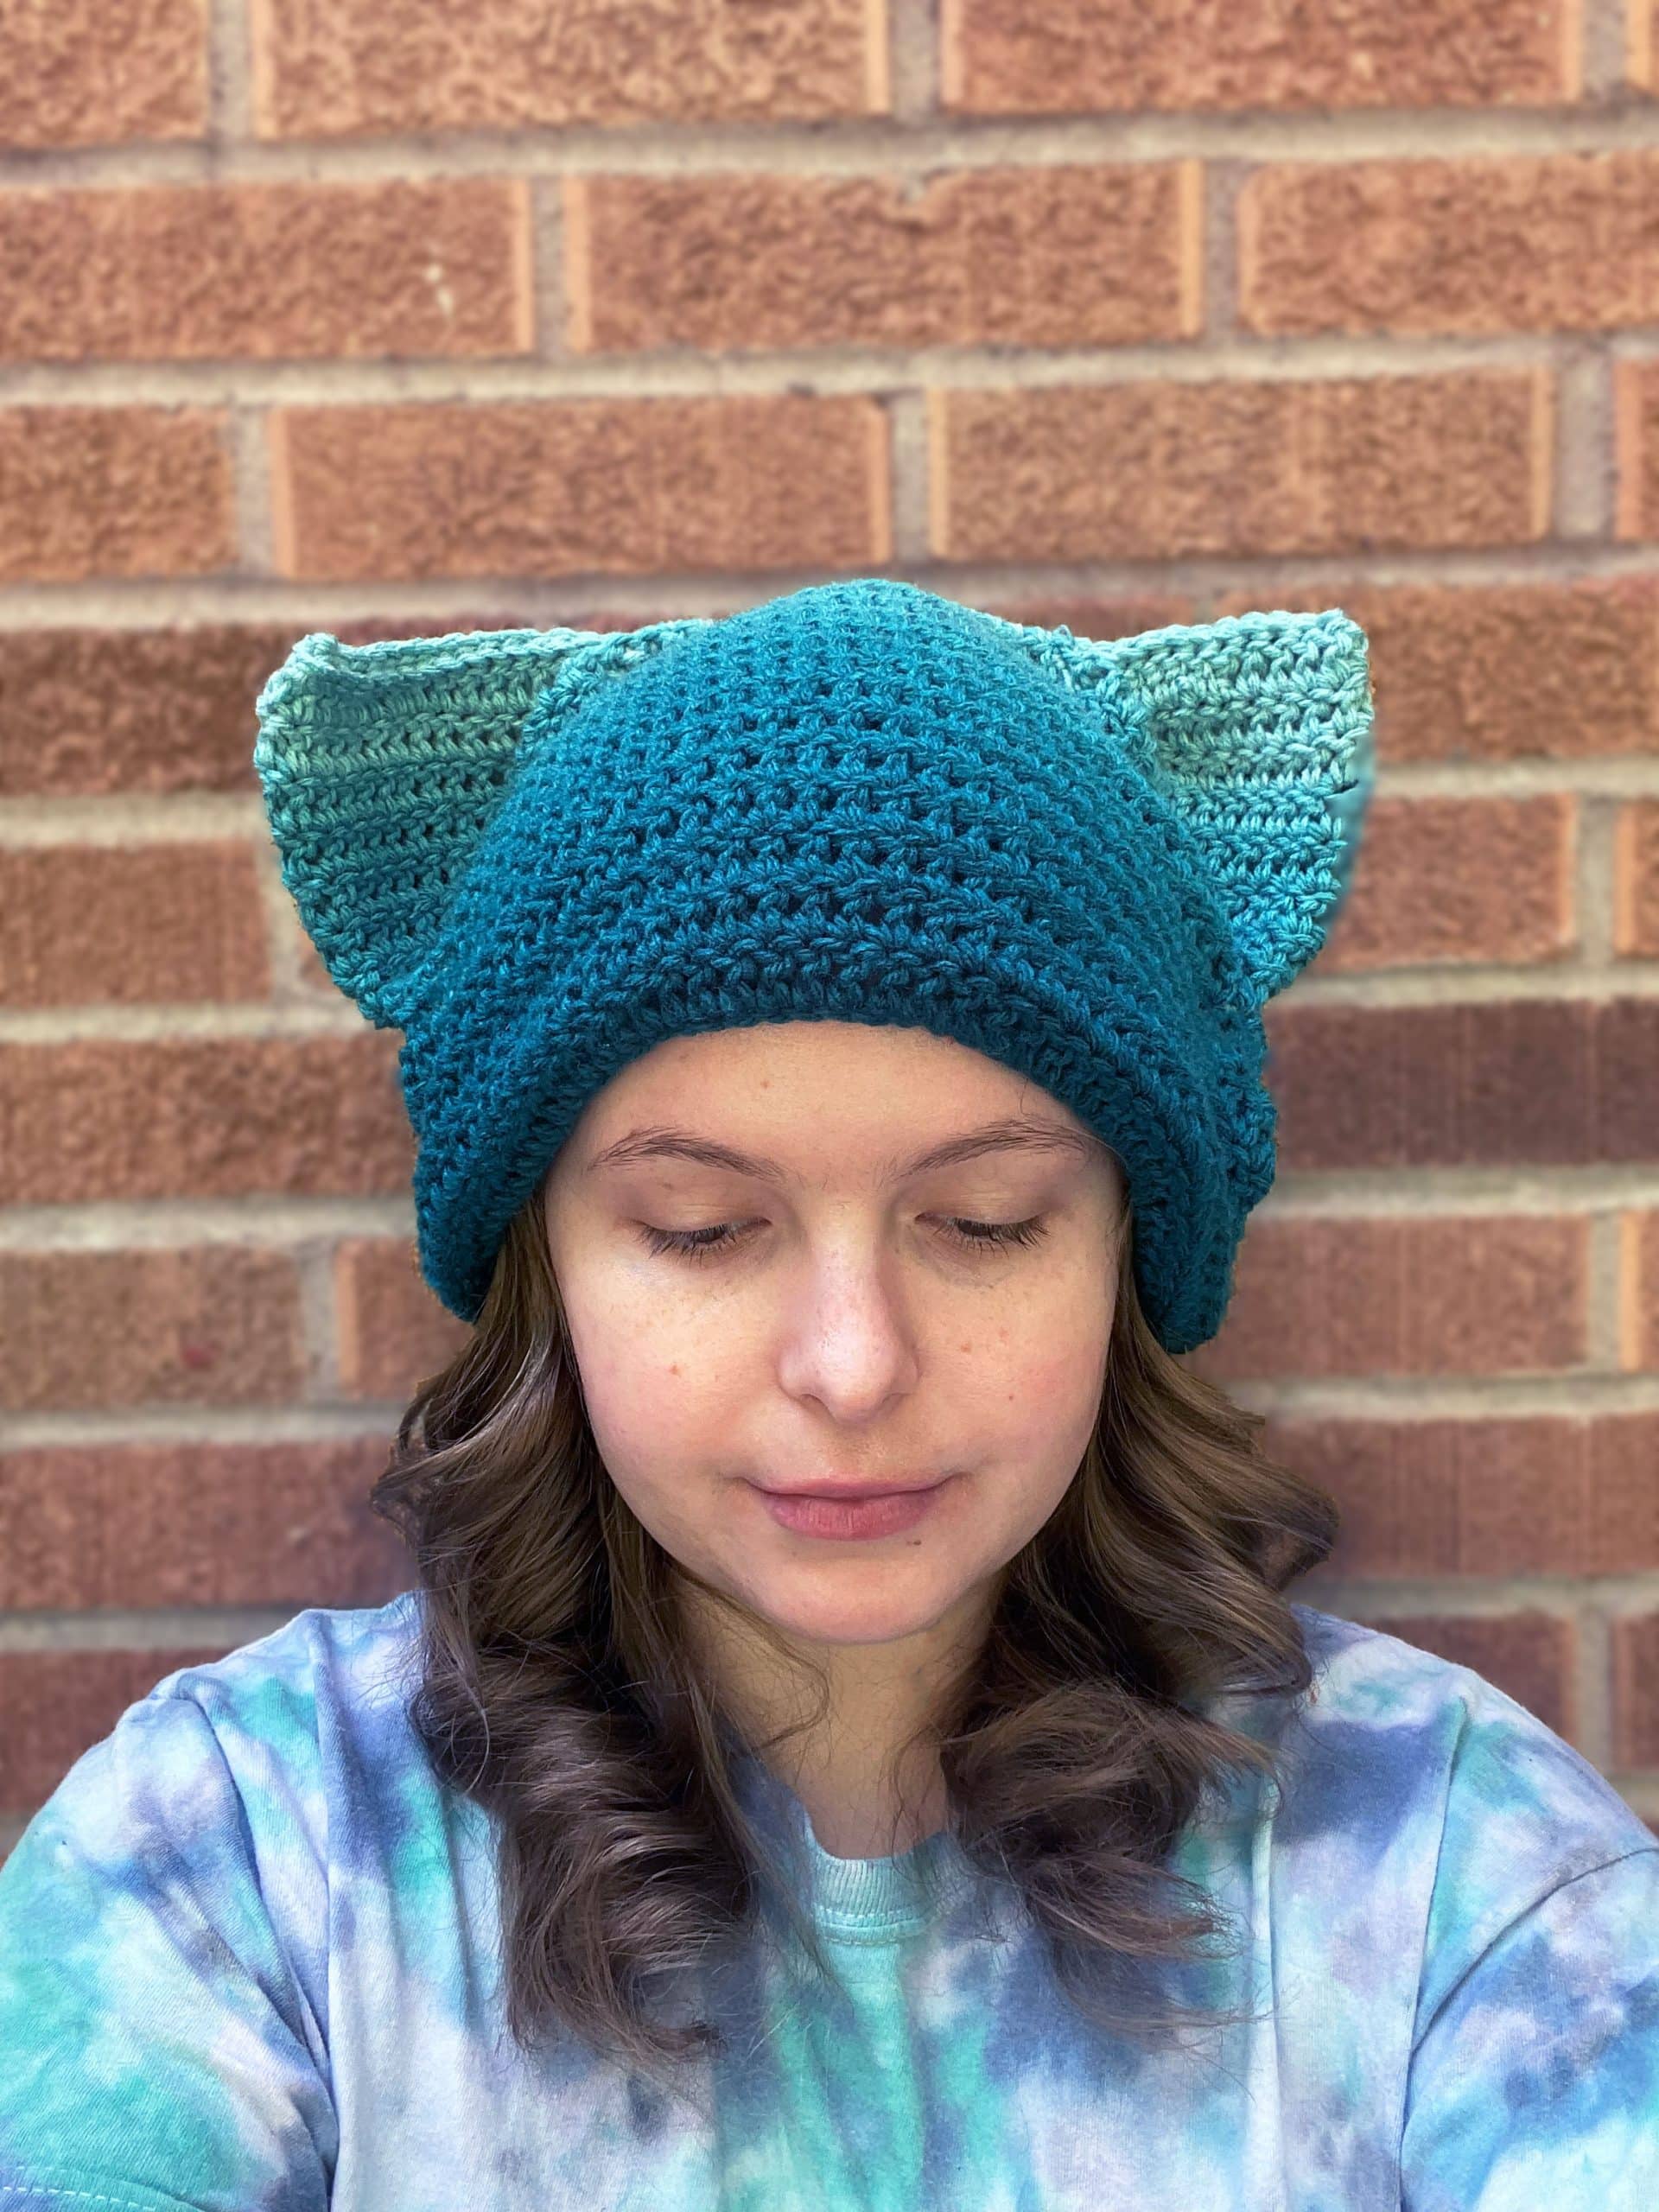
I made this pattern on accident. I was trying to make the “classic” cat ear beanie. Like this one here. But, I accidentally messed it up and did increases for 11 rounds when I wasn’t supposed to, and I looked like a jester from medieval times with how big my cat ears were. So, I decided that this can be a happy little accident, as Bob Ross would say, and I could make these giant shapeless ears into actual cute smaller ears by sewing them into shape. And thus, this free easy cat ear beanie was born.
This free crochet pattern is easy to make, and a beginner would be able to make it no problem. I’ll walk you through all the steps with photos along the way.
Read on for this Free Easy Cat Ear Beanie Crochet Pattern!
Disclosure: This post may contain affiliate links and I may receive a commission if you purchase through them, at no extra cost to you.
Yarn and Stitches
Yarn
I used weight 4 acrylic yarn. Specifically Red Heart Super Saver Yarn in the ombre deep teal color. I love acrylic yarn for hats because once you wash them they become super soft, it’s super cheap, and it’s super warm.
However, you can use whatever yarn you want, as long as it’s weight 4.
Stitches Used (US Terminology)
Slip Knot: tutorial by SarahMaker
Here’s a helpful video tutorial.
Cat Ear Beanie Crochet Pattern/Tutorial
Skill Level: Beginner
Materials and Tools
How to Crochet a Cat Ear Beanie Steps

**Each increase is a double crochet increase.
**Chain 2 at the beginning of every round.
R1:
CH 80
Slip stitch into the first chain to create a loop.
(80)
R2-7:
** Don’t forget to chain 2 at the beginning of every round, last warning lol
DC around the loop.
Slip stitch into first DC
(80)
R8-18:
inc
DC around the loop.
Slip stitch into first DC
(91)
R19:
DC around the loop.
Slip stitch into first DC
(91)
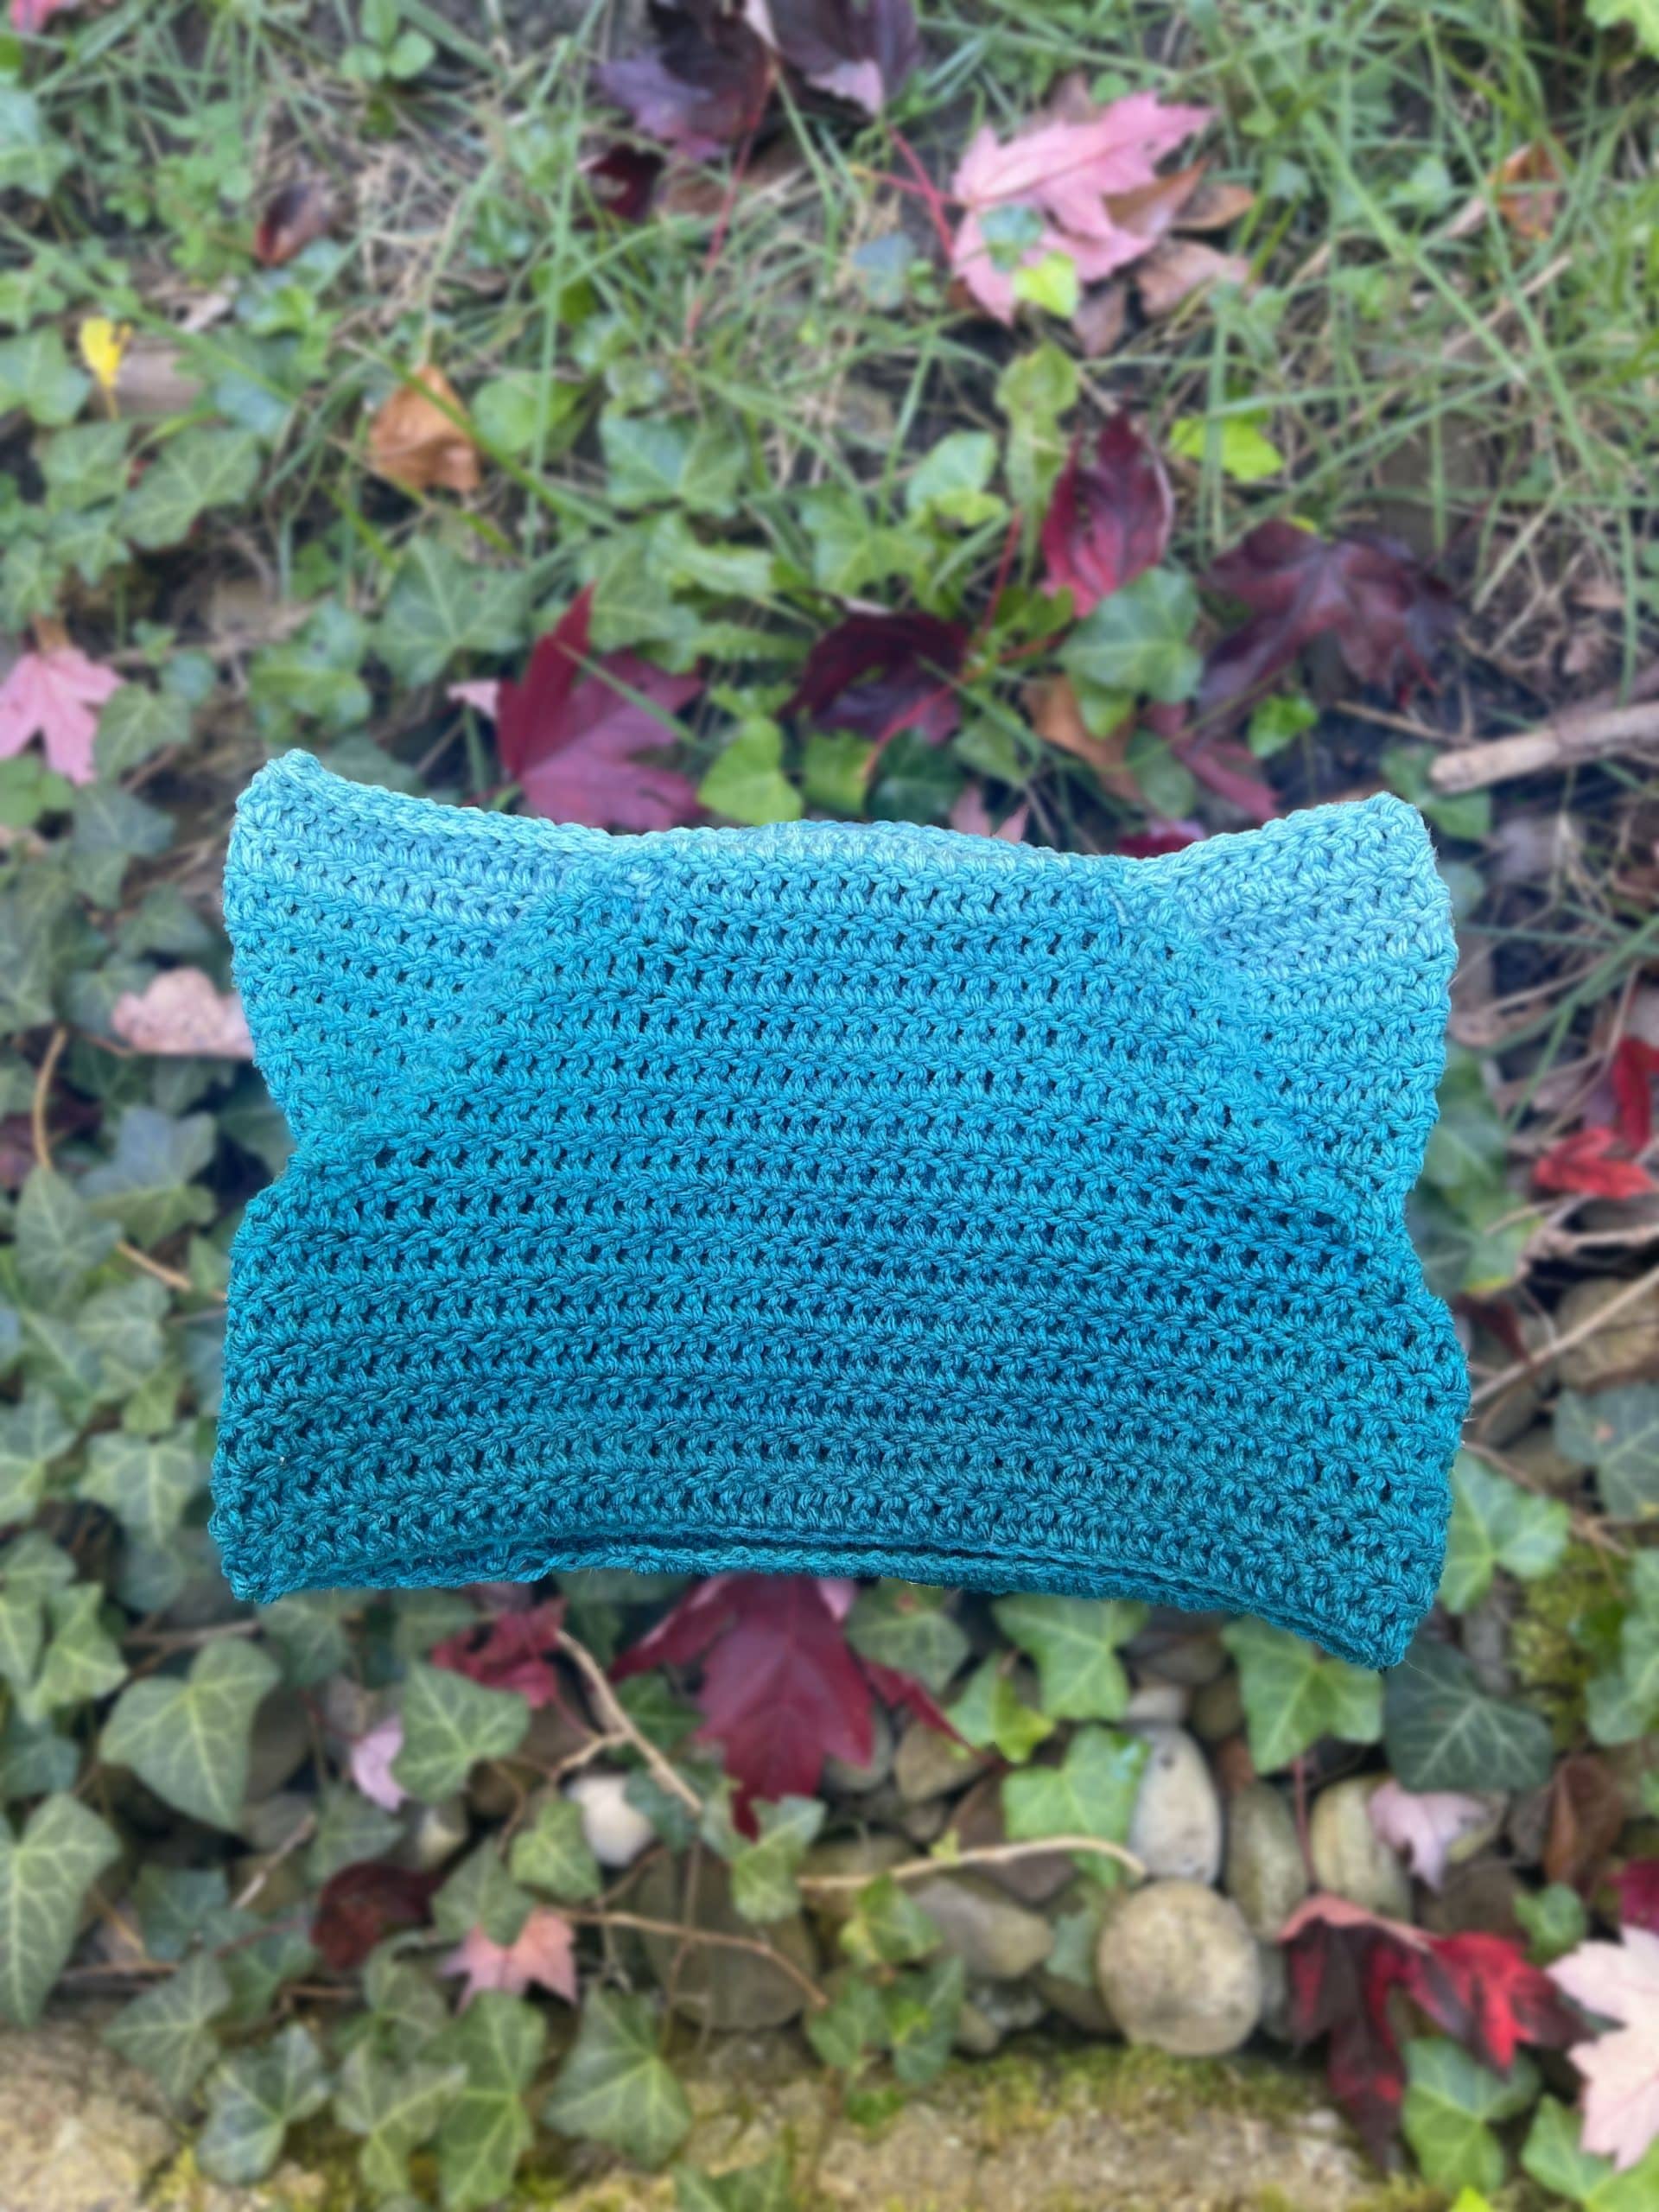
Slip stitch the top of the hat together so that it’s closed.
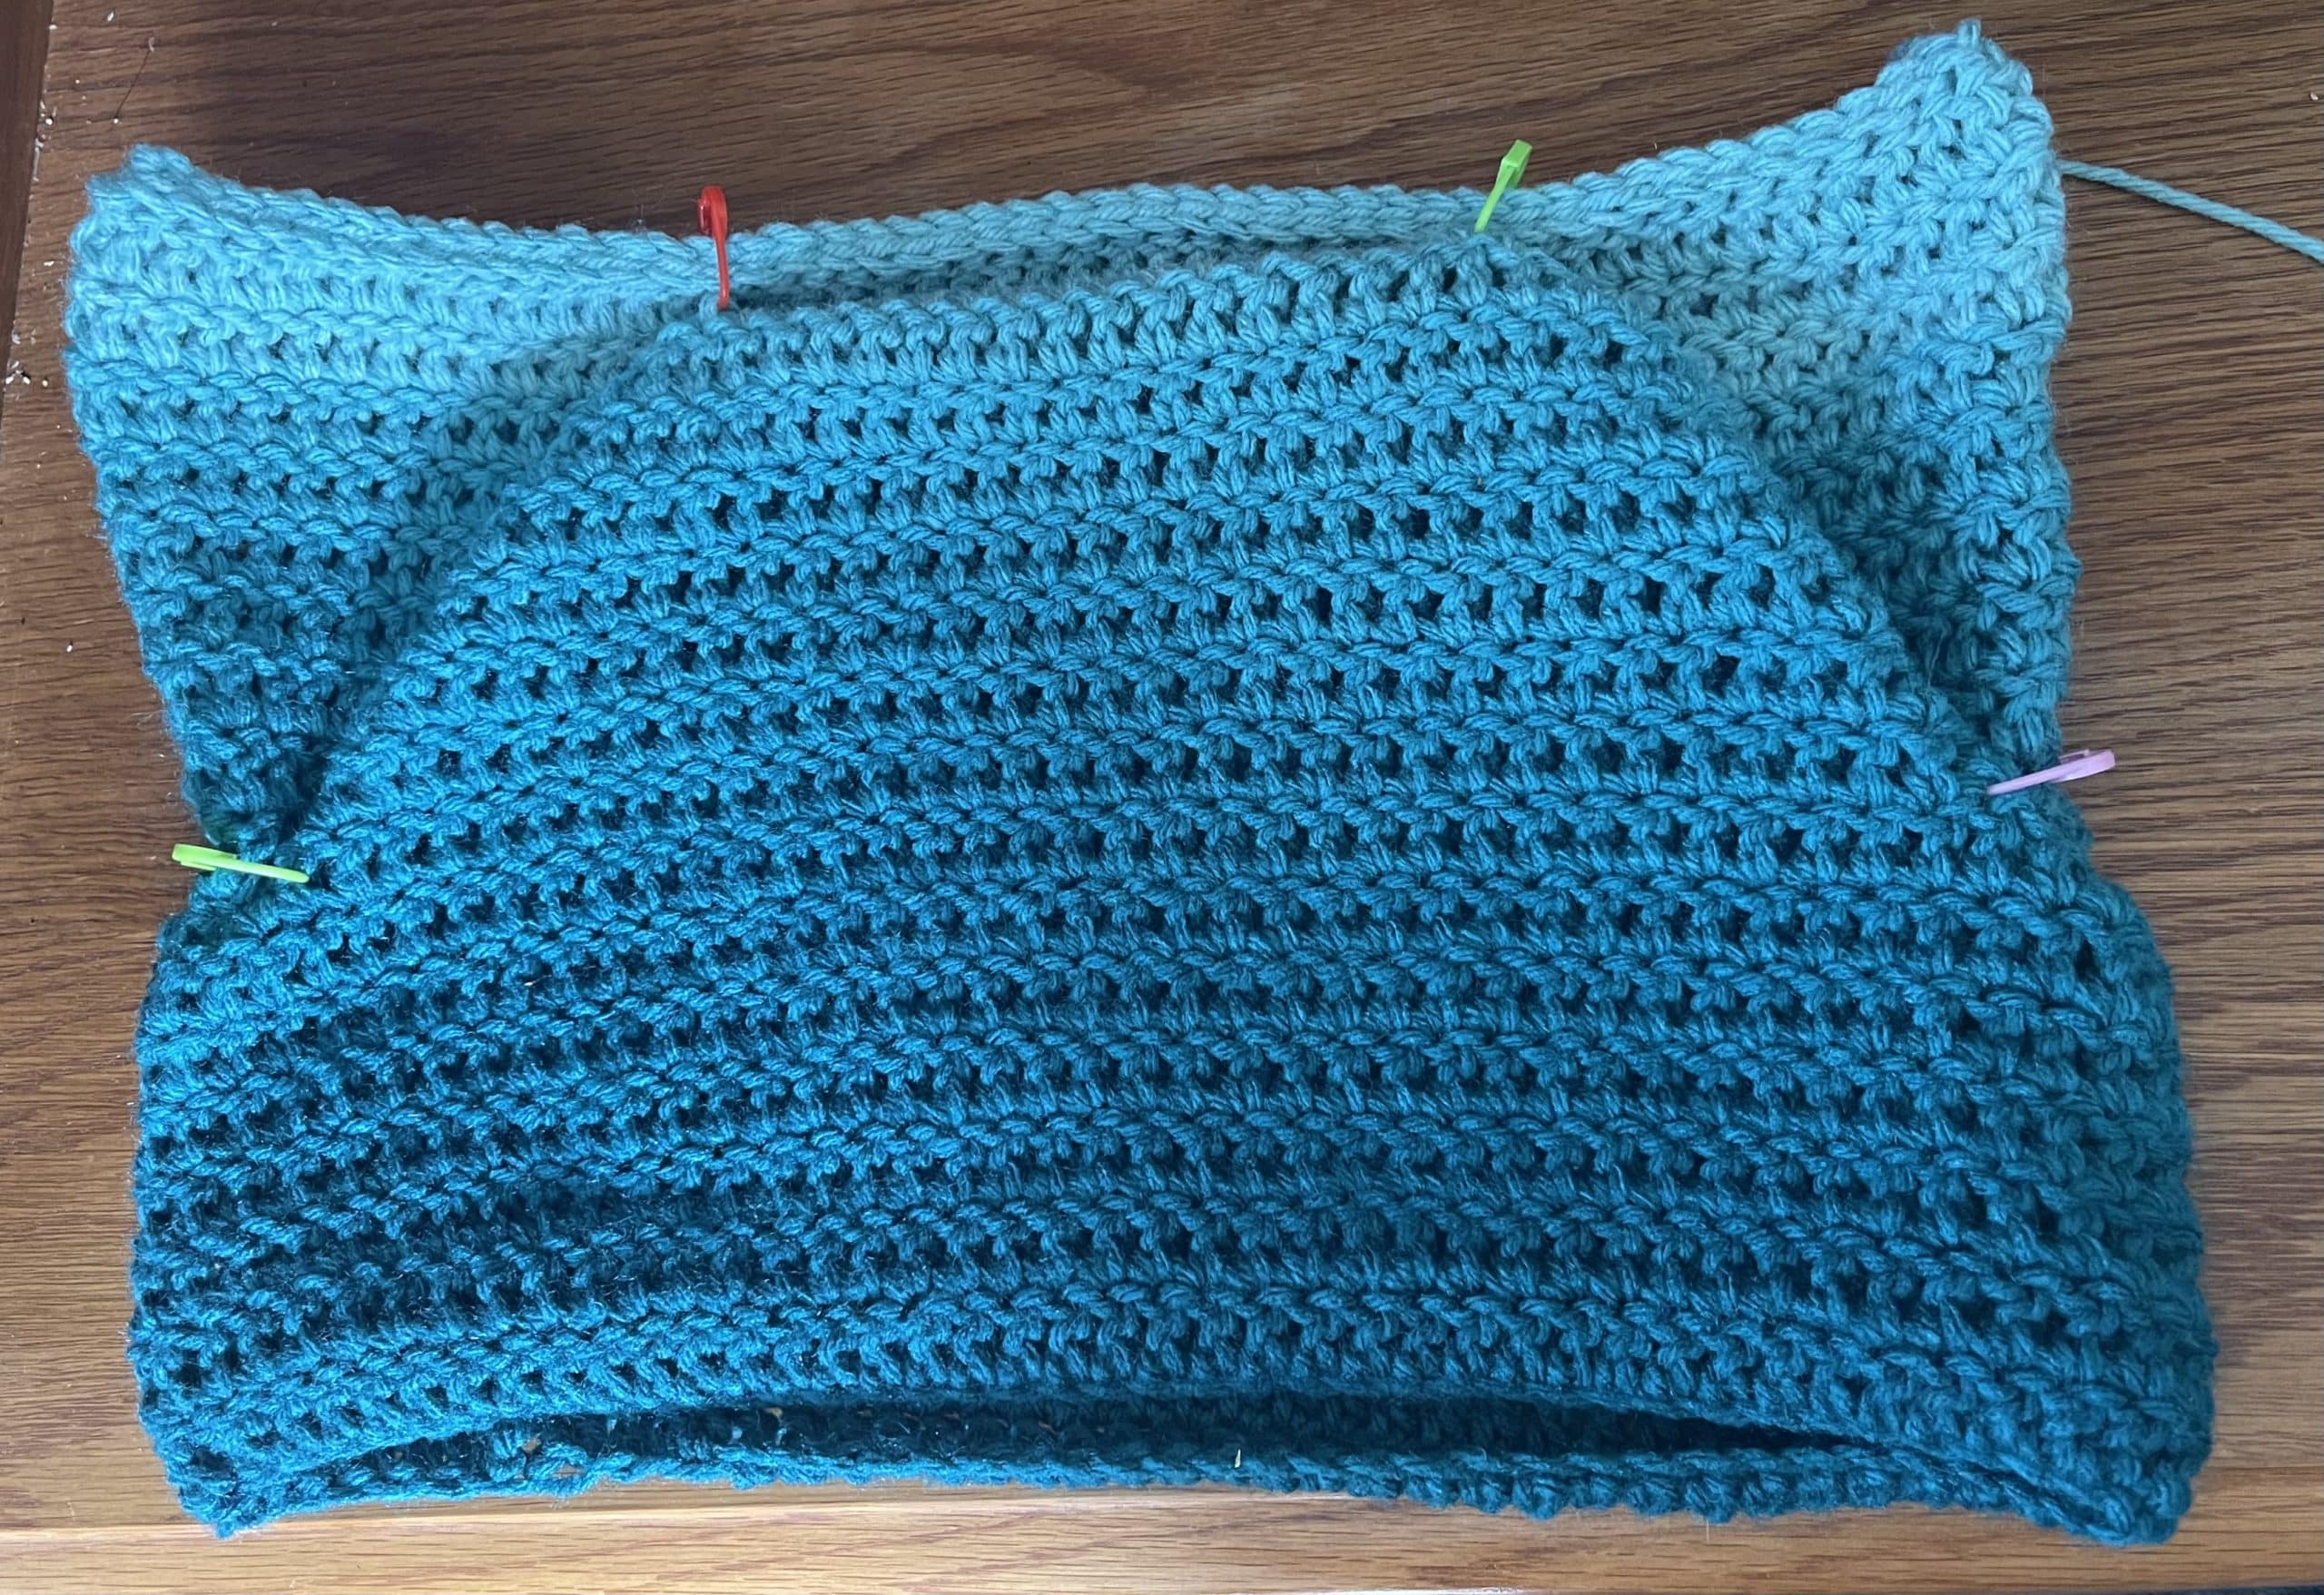
Sew the ears into shape. Make sure to sew where the stitch markers are in the photo.
The easiest way is to pinch them into shape while wearing the hat and looking in the mirror. You can place the stitch marker in where you’re pinching the hat. You can then double check the placement is where you want it when you take it off.

Share on Pinterest to Make Later!
More Free Crochet Patterns
Free Shark Hat Crochet Pattern
Free Bubble Tie Headband Crochet Pattern
Free Double Crochet Headband Crochet Pattern
Free Giraffe Headband Crochet Pattern
And that’s all folks!
Hope you enjoyed this free cat ear beanie crochet pattern. Let me know if you have any questions. And don’t forget to pin this post on Pinterest to save it for later!
Pattern Terms of Use:
This pattern is for personal use only. Do not redistribute. Any redistribution of this pattern is theft. You may sell the finished product. Credit AbiesCustomDesigns for the pattern and use your own photos. Tutorial videos or written instructions of this pattern are prohibited.
@Copyright AbiesCustomDesigns 2023 by Abigail Spencer
All Rights Reserved


