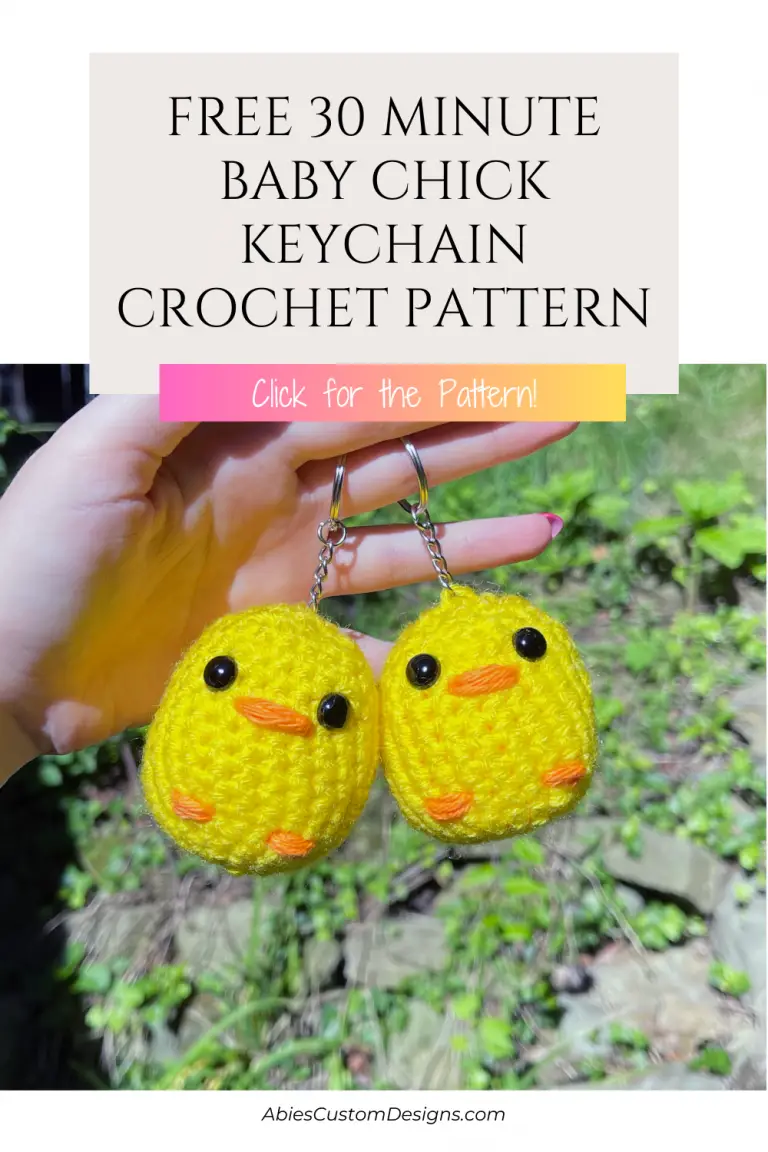
Free 30 Minute Baby Chick Keychain Crochet Pattern

Hey y’all!

I was wanting a really cute and really fast amigurumi keychain to make, so I designed this adorable baby chicken! It’s super simple and easy and works up really fast. Color variations coming soon!

This free crochet pattern is easy to make. I’ll walk you through all the steps.

If you would like to purchase the downloadable and printable PDF version of this pattern, you can find it on my Etsy or on Ravelry.


Read on for this free 30 Minute Baby Chick Keychain Crochet Pattern!


Disclosure: This post may contain affiliate links and I may receive a commission if you purchase through them, at no extra cost to you.


Video


Yarn and Stitches


Yarn


I used weight 4 acrylic yarn for this chick, but you could use whatever you want.


Basic Stitches Used (US Terminology)


Slip Knot: tutorial by SarahMaker

  • Hold the Yarn: Hold the yarn in your hand with the tail (the loose end) in your palm and the working yarn (the yarn connected to the skein) over your index finger.

  • Form a Loop: With your index finger and thumb, grasp the working yarn to hold it against the tail end. This forms a loop with the working yarn crossing over the tail.

  • Insert Hook: Insert your crochet hook under both strands of the working yarn (the strand that leads to the skein) from front to back.

  • Yarn Over and Pull Through: Yarn over (wrap the yarn around the hook) and pull through the loop that’s on your hook. This creates a slip stitch.

  • Chain Stitch (Optional): Some crocheters like to start with a chain stitch to give the magic ring a bit more stability. If you choose to do this, chain one, which will act as the first single crochet in your round.

  • Begin Stitching Inside the Ring: Start making your first round of stitches inside the loop. For example, if you’re making single crochets, insert your hook into the loop, yarn over, and pull up a loop to create the first single crochet.

  • Work the Desired Number of Stitches: Work the number of stitches required for your pattern inside the magic ring. For instance, if your pattern calls for six single crochets in the magic ring, you would make six single crochets in total.

  • Tighten the Ring: Hold the tail end of the yarn with your non-hook hand while gently pulling the loose end of the working yarn. This will tighten the loop, closing the center hole of the magic ring.

  • Close the Ring: Once the center hole is tightly closed, you can either slip stitch to the first stitch of the round or continue working in a continuous spiral, depending on your pattern instructions.


Remember that the magic ring might take a bit of practice to master, but it’s a great skill to have for certain crochet projects.

A magic ring, also known as a magic loop or magic circle, is a technique used in crochet to start projects that are worked in the round. It’s particularly useful when creating items like amigurumi, where you want to close up the center hole tightly.

  1. Insert Hook: Insert the crochet hook into the stitch.

  2. Yarn Over (YO): Yarn over by bringing the yarn over the hook from the back to the front. The yarn should be positioned above the hook.

  3. Pull Through: Pull the yarn through the stitch. You should now have two loops on the hook.

  4. Yarn Over and Pull Through Both Loops: Yarn over again and pull through both loops on the hook. This completes one single crochet stitch.

  5. Repeat: To continue making single crochet stitches, insert the hook into the next chain, yarn over and pull through, then yarn over and pull through both loops on the hook.

  6. End of Row: When you reach the end of the row, you’ll typically work a turning chain (usually one chain for a single crochet) before you start the next row. This turning chain helps create the proper height for the next row of stitches.
  1. Perform two single crochets in one stitch.


Increases are used to add stitches to your work and create a wider section.

  1. Insert Hook: Insert your crochet hook into the first stitch.

  2. Yarn Over and Pull Through: Yarn over (wrap the yarn around the hook) and pull through the stitch. You should have two loops on your hook.

  3. Move to the Next Stitch: Insert your hook into the next stitch.

  4. Yarn Over and Pull Through: Yarn over and pull through the stitch. Now you have three loops on your hook.

  5. Yarn Over and Pull Through All Loops: Yarn over and pull through all three loops on your hook. This completes the single crochet decrease (sc2tog). You’ve effectively decreased two stitches into one.


A decrease stitch is used to reduce the number of stitches in a row or round, shaping your work by making it narrower.

When finishing an amigurumi piece, you’ll need to fasten off to secure the last stitch.

Cut the working yarn, leaving a tail, and pull the tail through the last loop on the hook, tightening it to secure the stitch.

Here’s a helpful video tutorial.


30 Minute Baby Chick Keychain Crochet Pattern/Tutorial


Skill Level: Beginner


Materials and Tools


  • Weight 4 yarn
  • 4.0 mm crochet hook
  • Tapestry Needle (for weaving in ends)
  • Scissors
  • Safety Eyes
  • Stuffing


How to Crochet a Baby Chick Keychain Steps

Total Time: ~ 30 minutes


R1: MR 6
R2: Inc x 6 (12)
R3: (SC, Inc) x 6 (18)
R4: (SC 2, Inc) x 6 (24)
R5-12: SC x 24 (24)
R13: (SC 2, Dec) x 6 (18)
R14: (SC, Dec) x 6 (12)


Insert safety eyes between rounds 11 and 12, 5 stitches apart.

Stuff

R15: Dec x 6 (6)

Sew closed and weave in ends.

Sew on the mouth and feet by sewing the yarn around the stitches multiple times.


Share on Pinterest to Make Later!
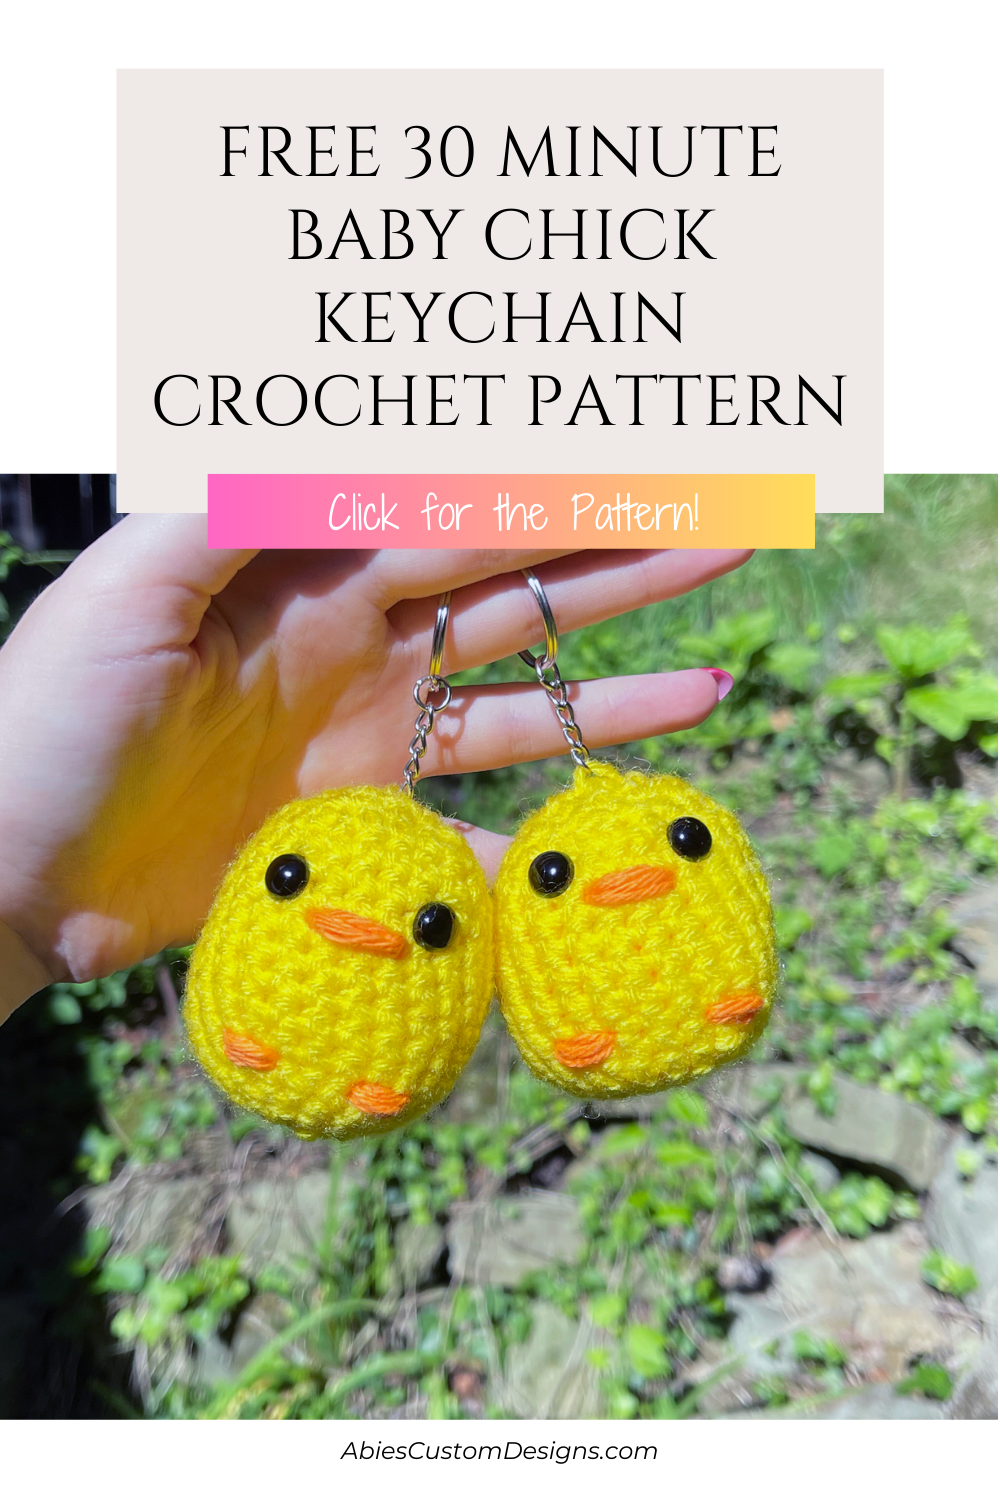

Free 30 Minute Baby Chick Keychain


More Free Crochet Patterns


Free Monkey With Banana Crochet Pattern
Free Pig Crochet Pattern
Free Cupcake Snake Crochet Pattern
Free Cactus Hedgehog Crochet Pattern
Free Strawberry Owl Crochet Pattern
Free Cinnamon Roll Hermit Crab Crochet Pattern

All My Crochet Patterns


And that’s all folks! 

Hope you enjoyed this free 30 Minute Baby Chick Keychain crochet pattern. Let me know if you have any questions. And don’t forget to pin this post on Pinterest to save it for later!


Subscribe to get notified when we post!

* indicates required


Pattern Terms of Use:


This pattern is for personal use only. Do not redistribute. Any redistribution of this pattern is theft. You may sell the finished product. Credit AbiesCustomDesigns for the pattern and use your own photos. Tutorial videos or written instructions of this pattern are prohibited.

@Copyright AbiesCustomDesigns 2024 by Abigail Spencer
All Rights Reserved


Leave a Comment