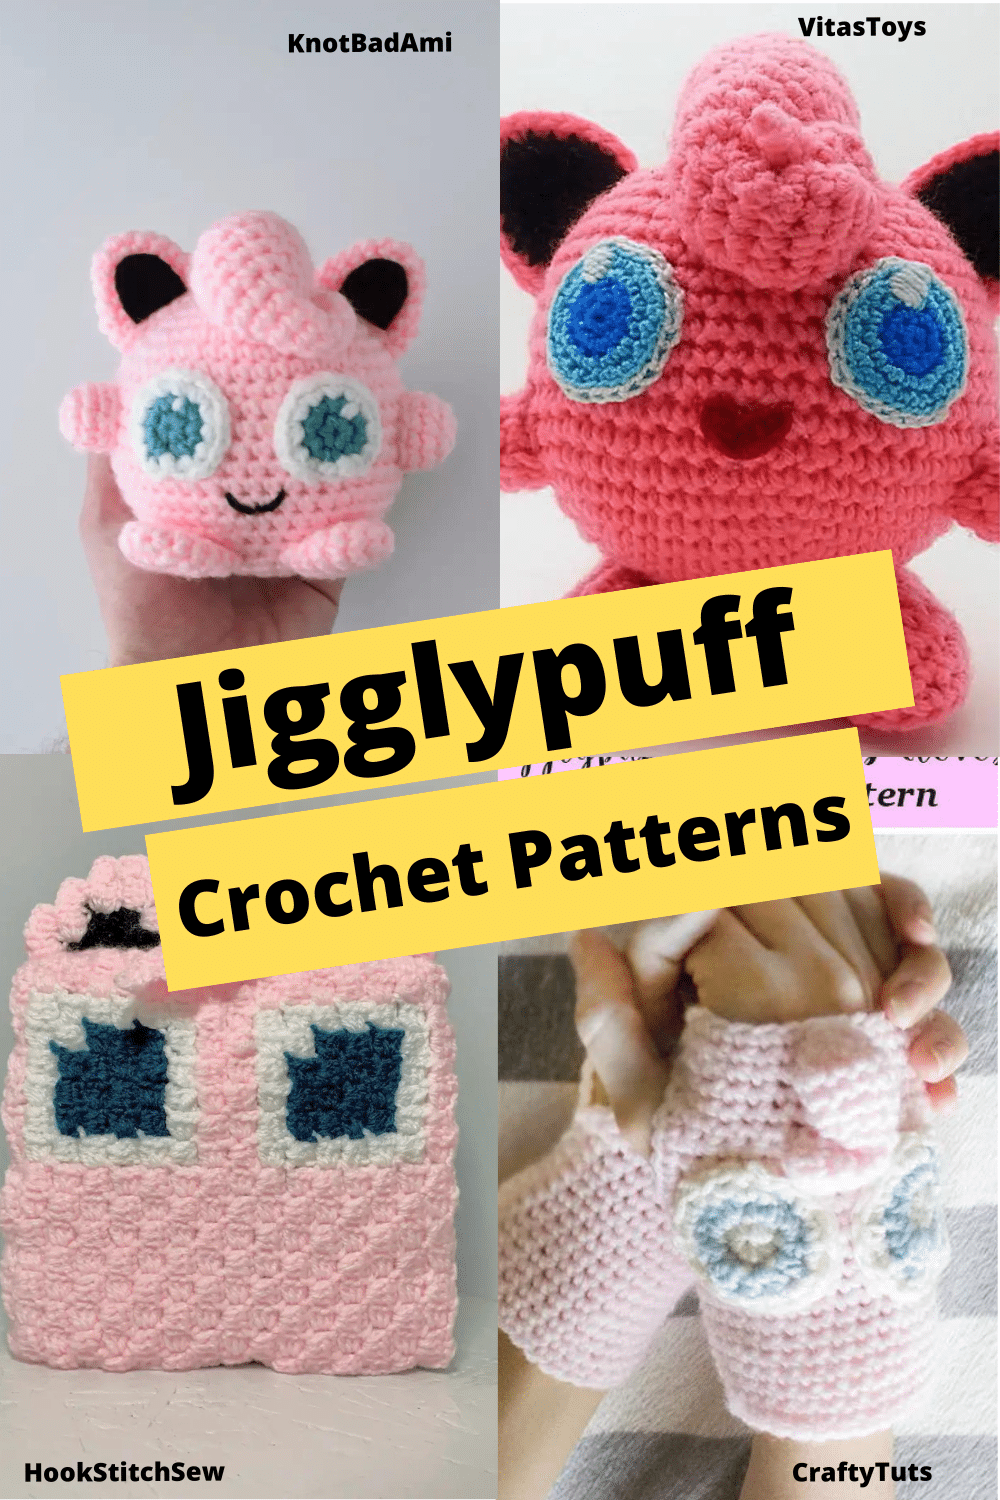
5 Jigglypuff Crochet Patterns You Need to Try

Hey y’all!

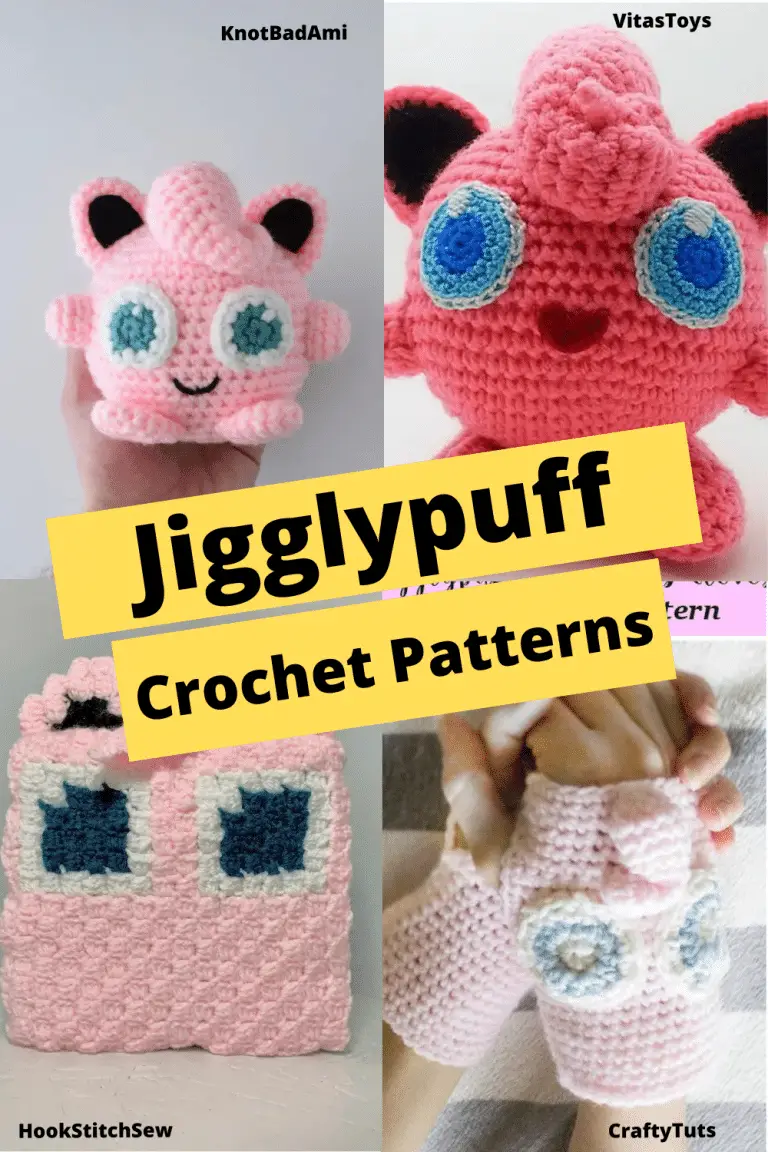
I love crochet pokemon. And I think Jigglypuff is super cute and easy to crochet. There are some amazing patterns out there from amigurumi to hats to bags to gloves. And I’ve featured some of these different jigglypuff crochet patterns down below.

If that sounds interesting to you, read on!

Disclosure: This post may contain affiliate links and I may receive a commission if you purchase through them, at no extra cost to you.


Jigglypuff Crochet Patterns

Jigglypuff Crochet Patterns


Subscribe to get notified when we post!

* indicates required


What is Amigurumi?

Amigurumi is a Japanese art form that involves using crochet techniques to create stuffed plushies. It’s very popular in the crafting community because of all the creative and unique plushies you can make. There are thousands of patterns available for free on blogs (such as mine), or for purchase on Etsy, Ravelry, and Lovecrafts. It’s also popular because people use the technique to make personalized gifts for the people they love.

The word amigurumi is a combination of two Japanese words: “ami” (meaning crochet or knitted) and “nuigurumi” (meaning stuffed doll). Even though it’s origins are in Japan, amigurumi is very popular worldwide!

You can read my Ultimate Guide to Amigurumi to learn more!


What you’ll need to make Amigurumi:


  • A crochet hook – I recommend a pack that comes with every size, but if you’re on a budget, you can just get the hook size that the pattern uses. I use this crochet hook pack from Amazon. I had to superglue a couple of the hooks to the handles after awhile, but it’s a cheap starting point and I like the feel of the handles.
  • Stitch Markers – To me, these are essential. Without them, you’d have to be 100% accurate with your stitch counting each round to know where the round ends. But, luckily, my recommendation is super cheap. I use these stitch markers from Amazon. I’ve used them for a couple years with no complaints. They’re my favorite over others I’ve used.
  • Safety Eyes (and maybe noses) – Probably 99% of amigurumi requires safety eyes. I use these from Amazon and it conveniently comes with a little case.
  • Stuffing – Another amigurumi essential. I’d also say 99% of amigurumi requires stuffing. I buy this giant bag off of Amazon and I haven’t had to buy any for a few months. (I normally crochet smaller things, not big plushies, so take that as you will)
  • Tapestry Needle – Needed to sew yarn in a lot of projects. I honestly can’t remember where I got the ones I use.
  • Scissors – Needed for cutting the yarn. Any scissors will do. The best would probably be fabric scissors though. I got a pair from Joann Fabrics.
  • Yarn – Use whatever yarn weight the pattern calls for. I tend to always use acrylic yarn. The cheapest I’ve found is Red Heart Super Saver Yarn. I love it and I don’t feel like I’m spending a fortune on yarn all the time.
  • Crochet Ring (optional) – Not necessary, but if you wrap the yarn around the loop a couple times it keeps the tension nice and tight. Might be helpful if you’re a beginner and keep your hands from cramping up. I use these from Amazon.

          OR

  • All-in-One Crochet Pack – You can get this all-in-one crochet pack that has everything you need to get started.


Basic Crochet Stitches for Amigurumi:


Slip Knot: tutorial by SarahMaker

  1. Create a slip knot on your crochet hook.

  2. Yarn over and pull through the slip knot loop, creating a new loop on your hook. This is the first chain stitch.

  3. Repeat these steps to create additional chain stitches: Yarn over, then draw the yarn over through the last loop on your hook to form a new chain stitch.
  1. Yarn Over (YO): Yarn over by bringing the yarn over the hook from the back to the front. The yarn should be positioned above the hook.

  2. Insert Hook: Insert the crochet hook into the stitch where you want to begin the double crochet.

  3. Yarn Over and Pull Through: Yarn over again and pull the yarn through the stitch. You should now have three loops on your hook.

  4. Yarn Over and Pull Through Two Loops: Yarn over once more and pull through the first two loops on the hook. This leaves you with two loops on the hook.

  5. Yarn Over and Pull Through Remaining Loops: Yarn over one last time and pull through the remaining two loops on the hook. This completes one double crochet stitch.

  6. Repeat: To continue making double crochet stitches, yarn over, insert the hook into the next stitch, yarn over and pull through, yarn over and pull through two loops, then yarn over and pull through the remaining two loops.

  7. End of Row: When you reach the end of the row, you’ll typically work a turning chain (usually two chains for a double crochet) before you start the next row. This turning chain helps create the proper height for the next row of stitches.


A double crochet is taller in height than a half-double crochet and single crochet.

  1. Yarn Over Twice (YO twice): Yarn over by bringing the yarn over the hook from the back to the front. Repeat this yarn over step once more. The yarn should now be wrapped around the hook twice.

  2. Insert Hook: Insert the crochet hook into the stitch where you want to begin the treble crochet.

  3. Yarn Over and Pull Through: Yarn over again and pull the yarn through the stitch. You should now have four loops on your hook.

  4. Yarn Over and Pull Through Two Loops: Yarn over and pull through the first two loops on the hook. This leaves you with three loops on the hook.

  5. Yarn Over and Pull Through Two Loops Again: Yarn over and pull through the next two loops on the hook. This leaves you with two loops on the hook.

  6. Yarn Over and Pull Through Remaining Loops: Yarn over one last time and pull through the final two loops on the hook. This completes one treble crochet stitch.

  7. Repeat: To continue making treble crochet stitches, yarn over twice, insert the hook into the next stitch, yarn over and pull through, yarn over and pull through two loops, yarn over and pull through two loops again, then yarn over and pull through the remaining two loops.

  8. End of Row: When you reach the end of the row, you’ll typically work a turning chain (usually four chains for a treble crochet) before you start the next row. This turning chain helps create the proper height for the next row of stitches.


The treble crochet stitch, also known as triple crochet in some regions, is a pretty tall stitch. Higher than a double crochet.

  1. Yarn Over (YO): Yarn over by bringing the yarn over the hook from the back to the front. The yarn should be positioned above the hook.

  2. Insert Hook: Insert the crochet hook into the stitch where you want to begin the half double crochet.

  3. Yarn Over and Pull Through: Yarn over again and pull the yarn through the stitch. You should now have three loops on your hook.

  4. Yarn Over and Pull Through All Loops: Yarn over once more and pull through all three loops on the hook. This completes one half double crochet stitch.

  5. Repeat: To continue making half double crochet stitches, yarn over, insert the hook into the next stitch, yarn over and pull through, then yarn over and pull through all three loops on the hook.

  6. End of Row: When you reach the end of the row, you’ll typically work a turning chain (usually one chains for a half double crochet) before you start the next row. This turning chain helps create the proper height for the next row of stitches


The half double crochet stitch is a versatile stitch that falls between a single crochet and a double crochet in terms of height.

  1. Insert Hook: Insert the crochet hook into the stitch.

  2. Yarn Over (YO): Yarn over by bringing the yarn over the hook from the back to the front. The yarn should be positioned above the hook.

  3. Pull Through: Pull the yarn through the stitch. You should now have two loops on the hook.

  4. Yarn Over and Pull Through Both Loops: Yarn over again and pull through both loops on the hook. This completes one single crochet stitch.

  5. Repeat: To continue making single crochet stitches, insert the hook into the next chain, yarn over and pull through, then yarn over and pull through both loops on the hook.

  6. End of Row: When you reach the end of the row, you’ll typically work a turning chain (usually one chain for a single crochet) before you start the next row. This turning chain helps create the proper height for the next row of stitches.
  1. Perform two single crochets in one stitch.


Increases are used to add stitches to your work and create a wider section.

  • Hold the Yarn: Hold the yarn in your hand with the tail (the loose end) in your palm and the working yarn (the yarn connected to the skein) over your index finger.

  • Form a Loop: With your index finger and thumb, grasp the working yarn to hold it against the tail end. This forms a loop with the working yarn crossing over the tail.

  • Insert Hook: Insert your crochet hook under both strands of the working yarn (the strand that leads to the skein) from front to back.

  • Yarn Over and Pull Through: Yarn over (wrap the yarn around the hook) and pull through the loop that’s on your hook. This creates a slip stitch.

  • Chain Stitch (Optional): Some crocheters like to start with a chain stitch to give the magic ring a bit more stability. If you choose to do this, chain one, which will act as the first single crochet in your round.

  • Begin Stitching Inside the Ring: Start making your first round of stitches inside the loop. For example, if you’re making single crochets, insert your hook into the loop, yarn over, and pull up a loop to create the first single crochet.

  • Work the Desired Number of Stitches: Work the number of stitches required for your pattern inside the magic ring. For instance, if your pattern calls for six single crochets in the magic ring, you would make six single crochets in total.

  • Tighten the Ring: Hold the tail end of the yarn with your non-hook hand while gently pulling the loose end of the working yarn. This will tighten the loop, closing the center hole of the magic ring.

  • Close the Ring: Once the center hole is tightly closed, you can either slip stitch to the first stitch of the round or continue working in a continuous spiral, depending on your pattern instructions.


Remember that the magic ring might take a bit of practice to master, but it’s a great skill to have for certain crochet projects.

A magic ring, also known as a magic loop or magic circle, is a technique used in crochet to start projects that are worked in the round. It’s particularly useful when creating items like amigurumi, where you want to close up the center hole tightly.

  1. Insert Hook: Insert your crochet hook into the stitch that you want to create the slip stitch in.

  2. Yarn Over and Pull Through: Yarn over (wrap the yarn around the hook from back to front), and then pull the yarn through the stitch and through the loop on your hook in one motion. This is different from other crochet stitches, as you’re not creating any additional loops on the hook.


Slip stitches are used to join rounds, close gaps, or move your hook to a different location within your work.

  1. Insert Hook: Insert your crochet hook into the first stitch.

  2. Yarn Over and Pull Through: Yarn over (wrap the yarn around the hook) and pull through the stitch. You should have two loops on your hook.

  3. Move to the Next Stitch: Insert your hook into the next stitch.

  4. Yarn Over and Pull Through: Yarn over and pull through the stitch. Now you have three loops on your hook.

  5. Yarn Over and Pull Through All Loops: Yarn over and pull through all three loops on your hook. This completes the single crochet decrease (sc2tog). You’ve effectively decreased two stitches into one.


A decrease stitch is used to reduce the number of stitches in a row or round, shaping your work by making it narrower.

When finishing an amigurumi piece, you’ll need to fasten off to secure the last stitch.

Cut the working yarn, leaving a tail, and pull the tail through the last loop on the hook, tightening it to secure the stitch.

Here’s a helpful video tutorial.


Share on Pinterest to Make Later!


My Crochet Patterns


Free Strawberry Owl Crochet Pattern

Free Cinnamon Roll Hermit Crab Crochet Pattern

Free Cactus Hedgehog Crochet Pattern

Free Cupsnake Crochet Pattern

All My Crochet Patterns


Thanks for reading!

If you want to see more from me, you can sign up for my email list. You can also find my social media accounts in the dropdown at the top 🙂

Leave a Comment